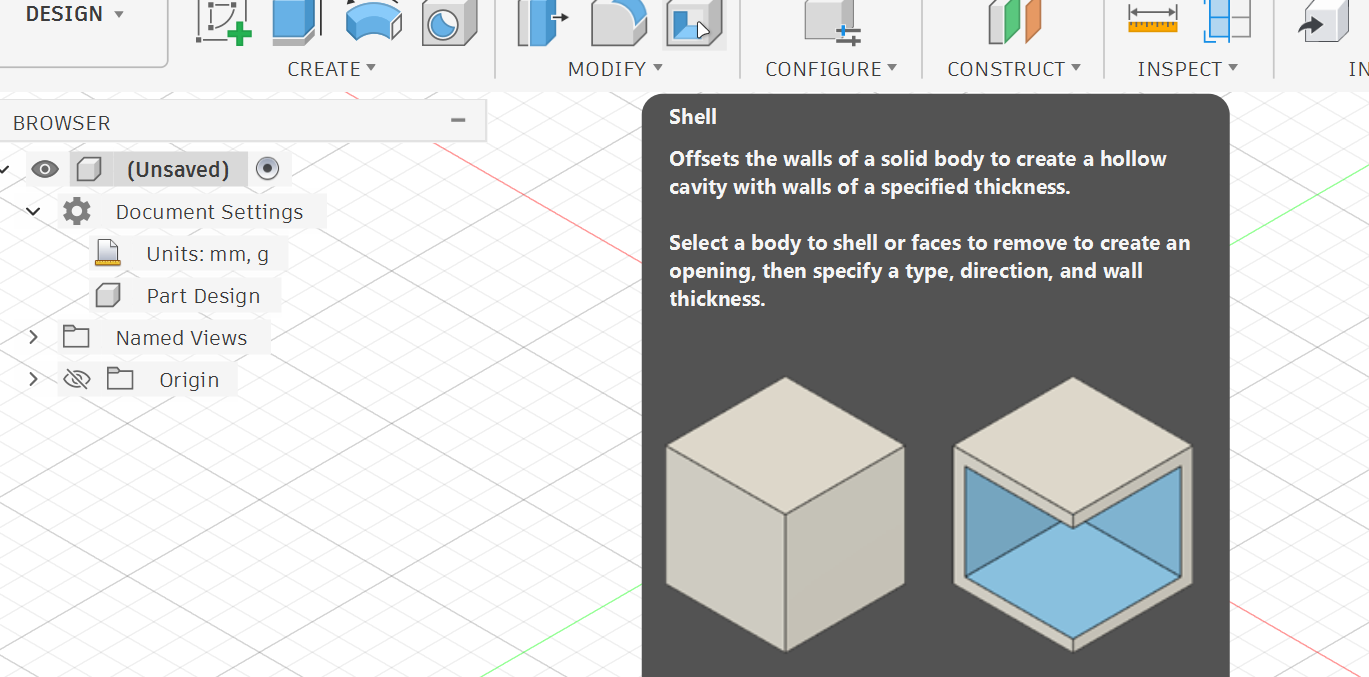
Overview
The Shell feature is used to hollow out a solid body while keeping a specific wall thickness. Instead of manually cutting the inside of an object, the feature automatically removes selected faces and creates a hollow object with consistent thickness.
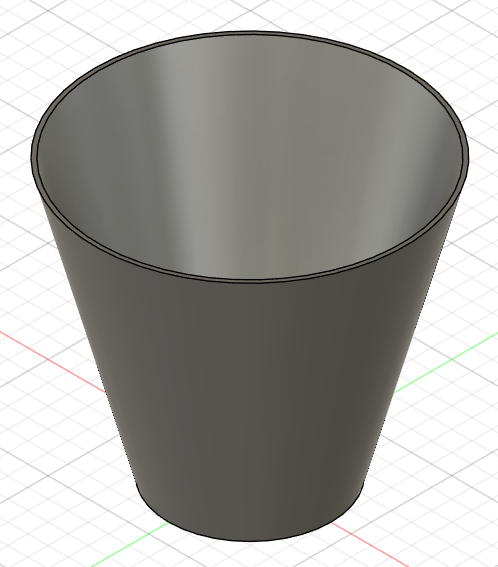
Objectives
By the end of this lesson, you will be able to
•
Understand what the Shell feature does.
•
Use Modify > Shell to hollow a solid body.
•
Select a face to remove and create an opening.
•
Control wall thickness using the Shell settings.
•
Combine Shell with Revolve, Sweep and Fillet to create a clean 3D model.
What is the Shell Feature?
The Shell feature removes material from the inside of a solid body and leaves a wall thickness around the object.
•
For example, if you create a solid cylinder, it is completely filled.
•
When you apply Shell and select the top face, Fusion 360 removes the top face and hollows the cylinder from the inside, turning it into a cup-like shape.
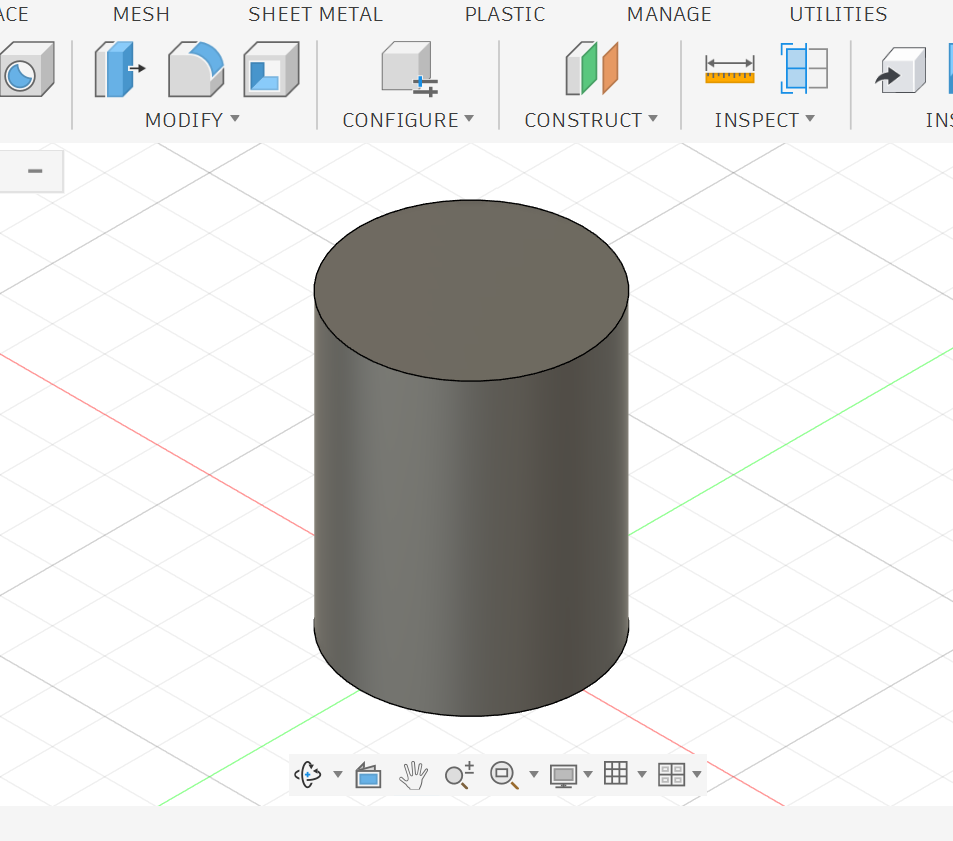
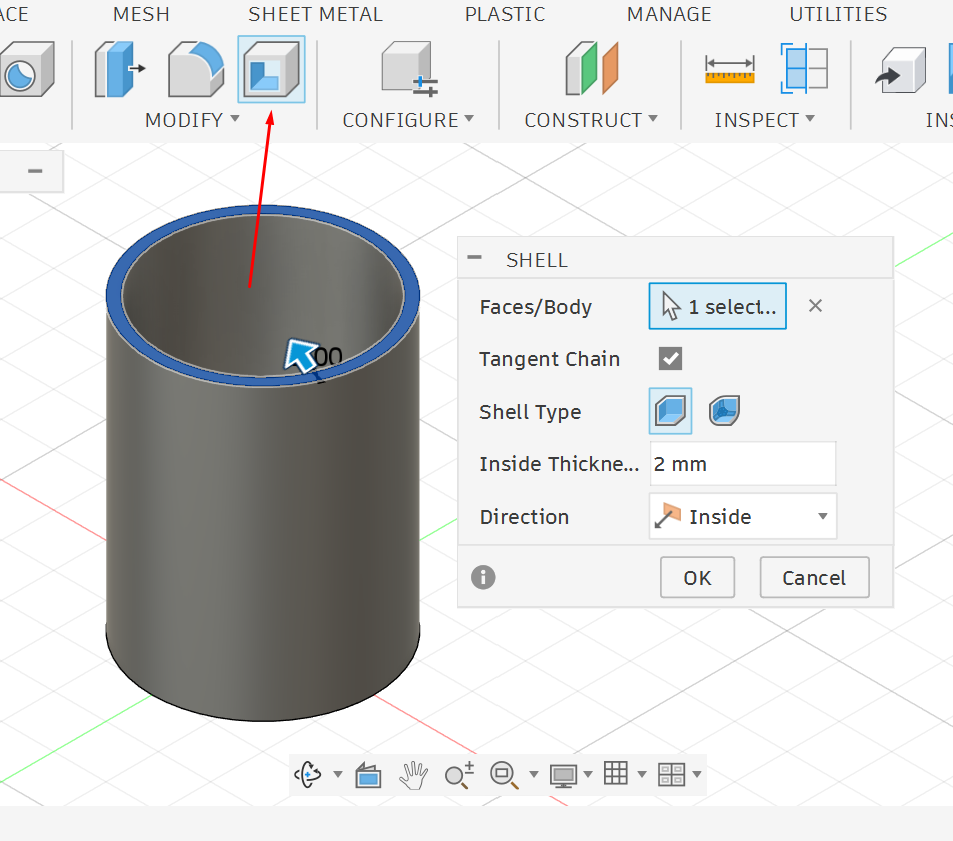
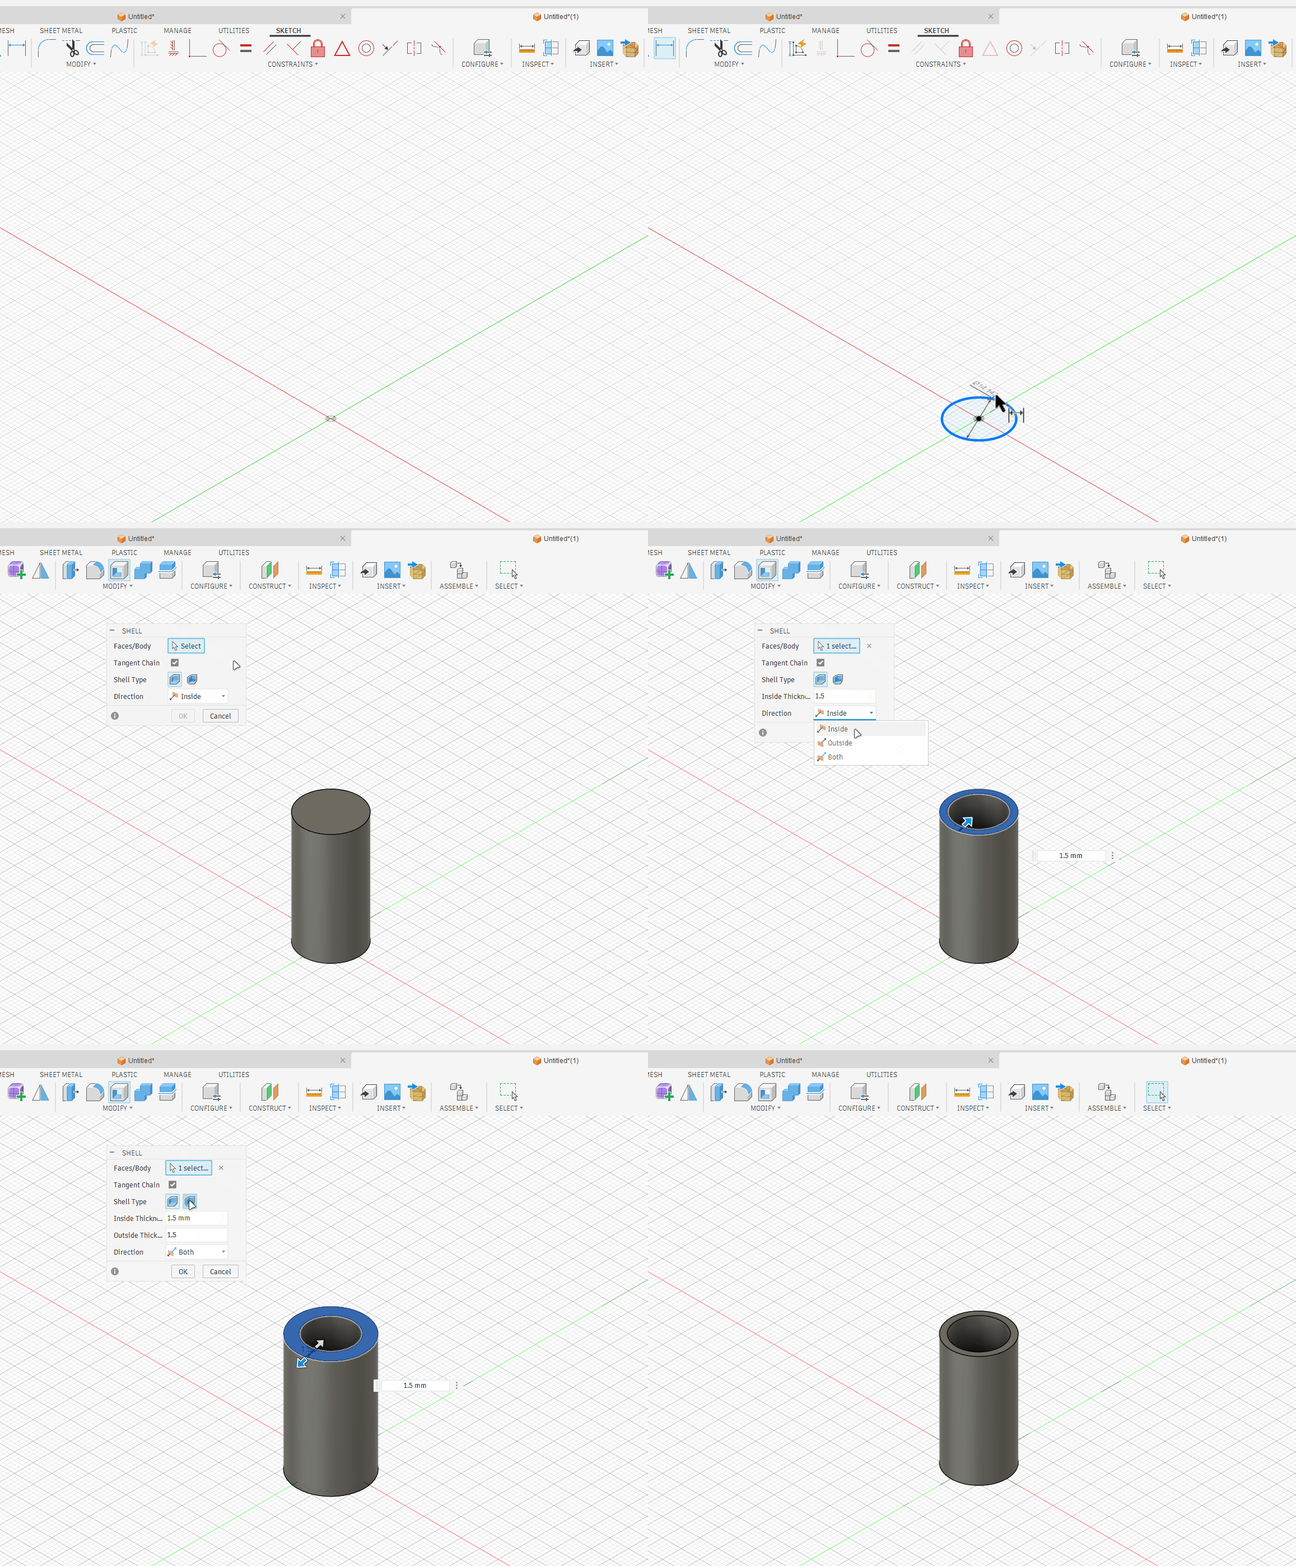
Using the Shell feature
Important Notes About Shell
•
Shell works best when the object has enough space for the wall thickness.
•
If the thickness is too large, Fusion 360 may fail because the inner walls overlap or create invalid geometry.
•
Always start with a reasonable thickness, then increase it if needed.
Common Mistakes
•
Choosing a wall thickness that is too large.
•
Forgetting to select the face that should be removed.
•
Applying Shell before the main body shape is complete.
•
Using Shell on a body with very complex or tight geometry.
•
Forgetting to check the inside of the model after applying Shell.
Practice Tasks
Create the parts shown below.
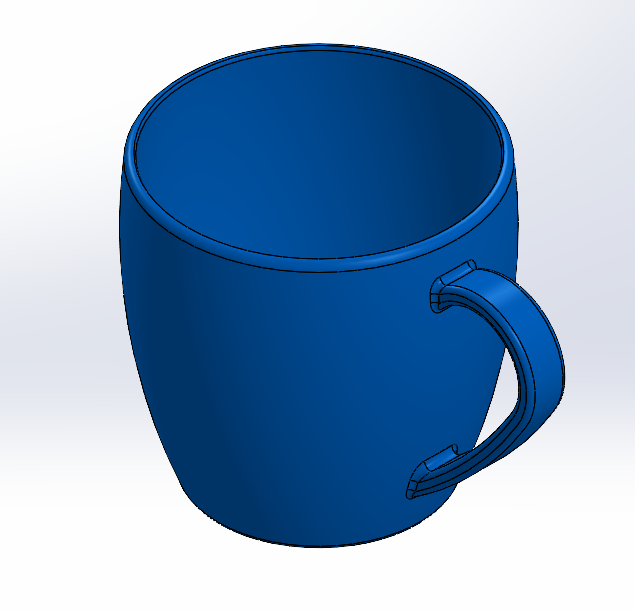
Build an Approximate Model
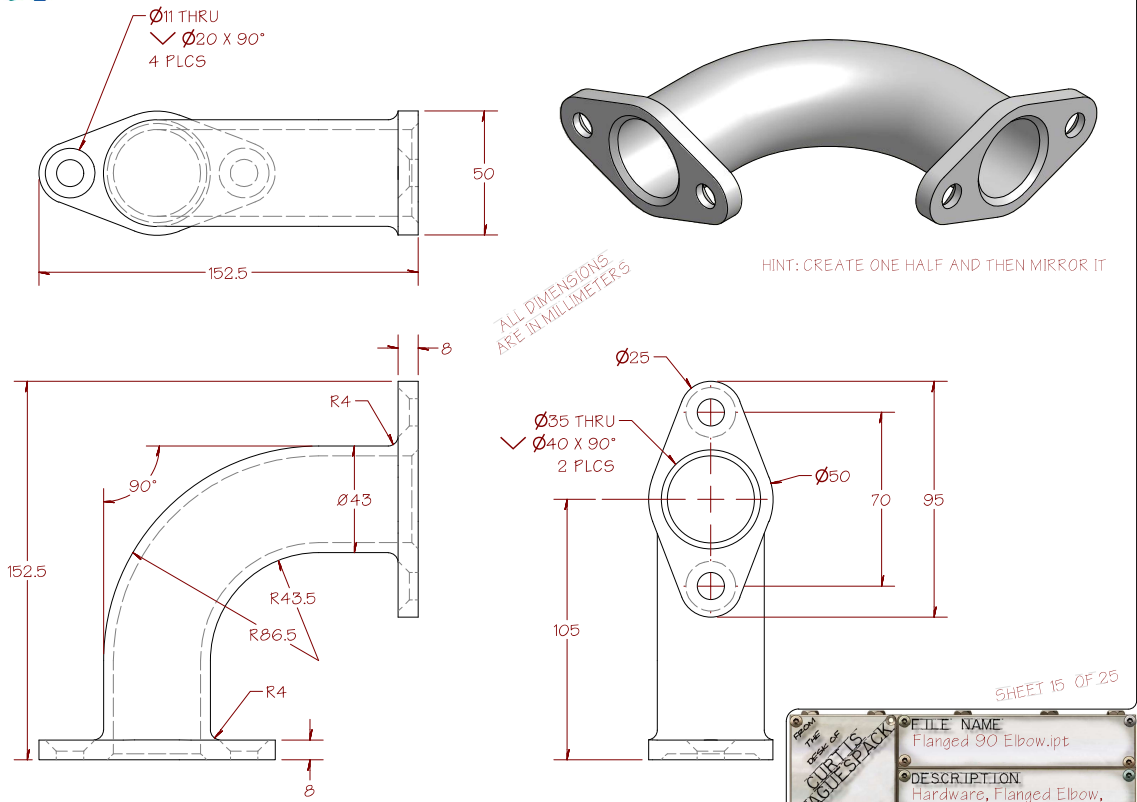
Cumulative Practice Project
Reflection Questions
1.
What is the main purpose of the Shell feature?
2.
Why do we usually select the top face when making a cup or container?
3.
What happens if the Shell thickness is too large?
4.
Why is Inside direction useful when applying Shell?
5.
How can Fillet improve the final model after using Shell?