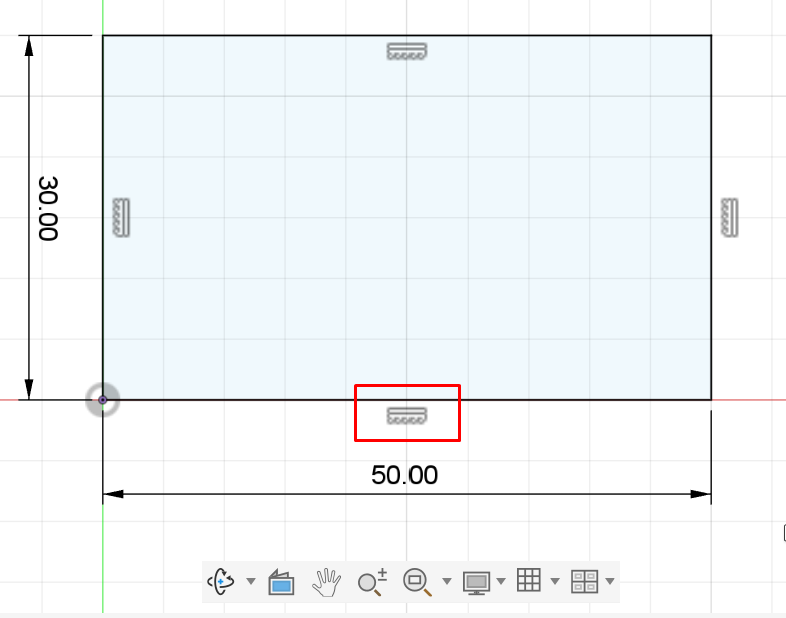
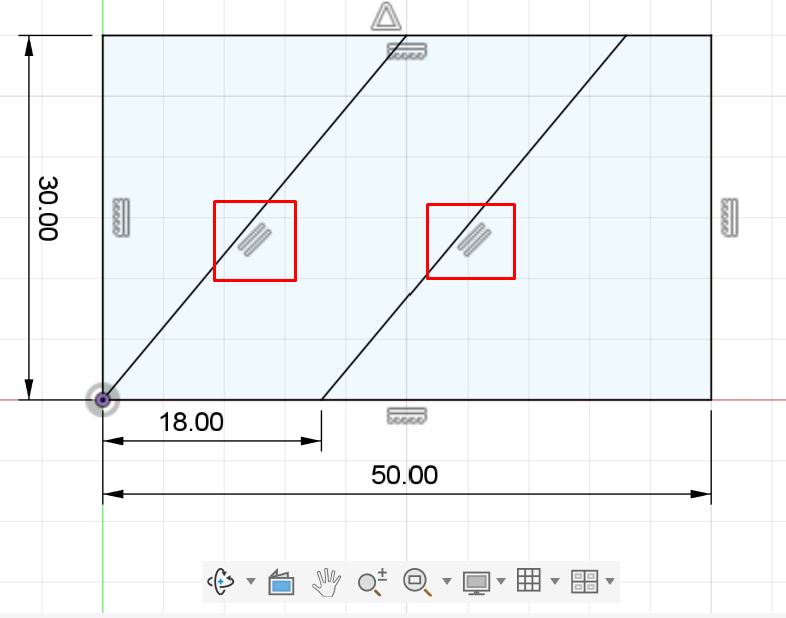
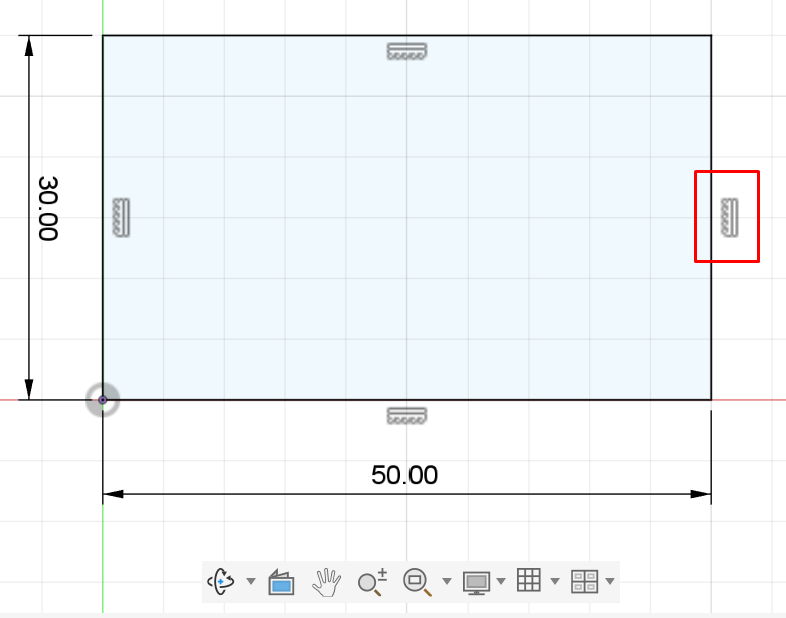
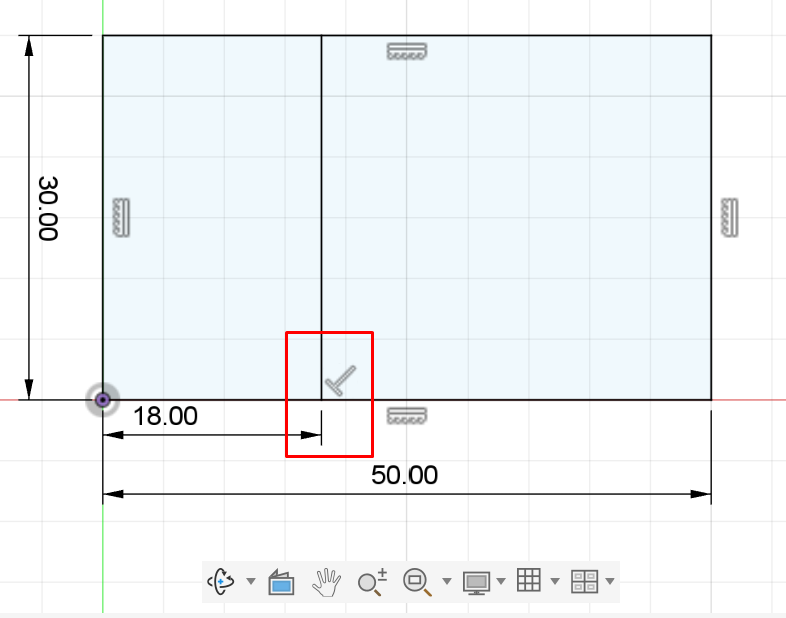
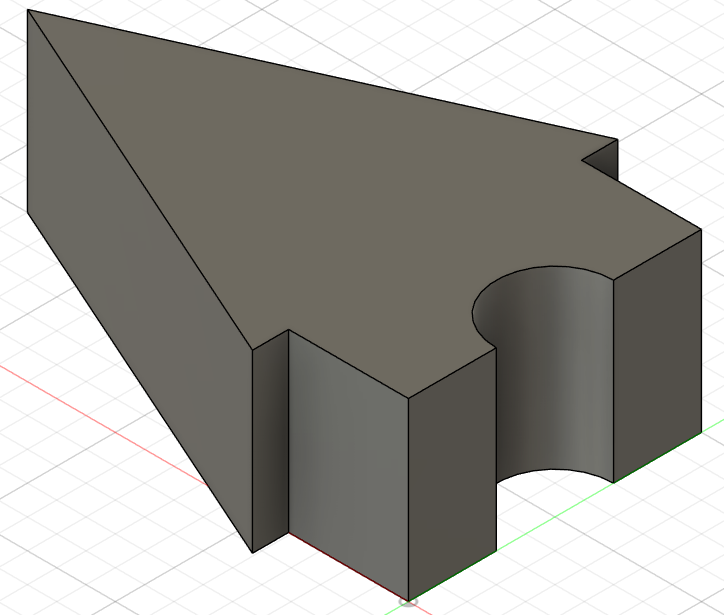
In this lesson, you will learn how to control sketches in Fusion 360 using constraints and dimensions. Constraints help you define how sketch elements relate to each other, while dimensions control exact sizes and angles. A well-defined sketch is important because it makes your 3D model accurate, stable and easy to edit later.
Objectives
By the end of this lesson, you will be able to
•
Create a basic sketch in Fusion 360.
•
Draw a closed profile using lines.
•
Understand the difference between under-defined and fully defined sketches.
•
Use dimensions to control sketch size.
•
Use constraints to control sketch relationships.
•
Extrude a sketch into a 3D body.
•
Edit a sketch and see how it affects the final model.
Blue vs Black Sketch Lines
In Fusion 360, sketch colors are very important.
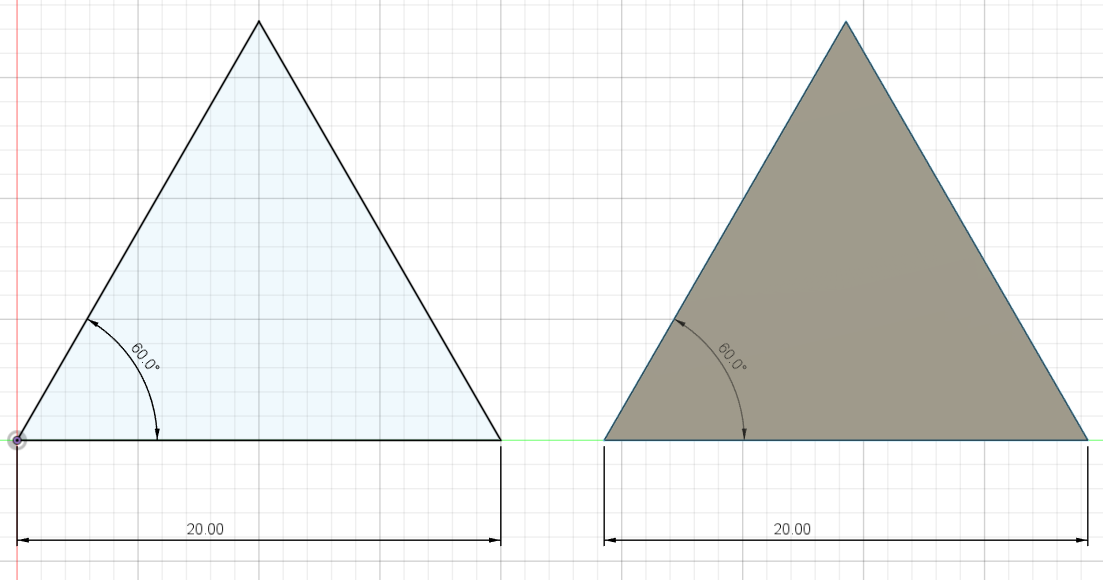
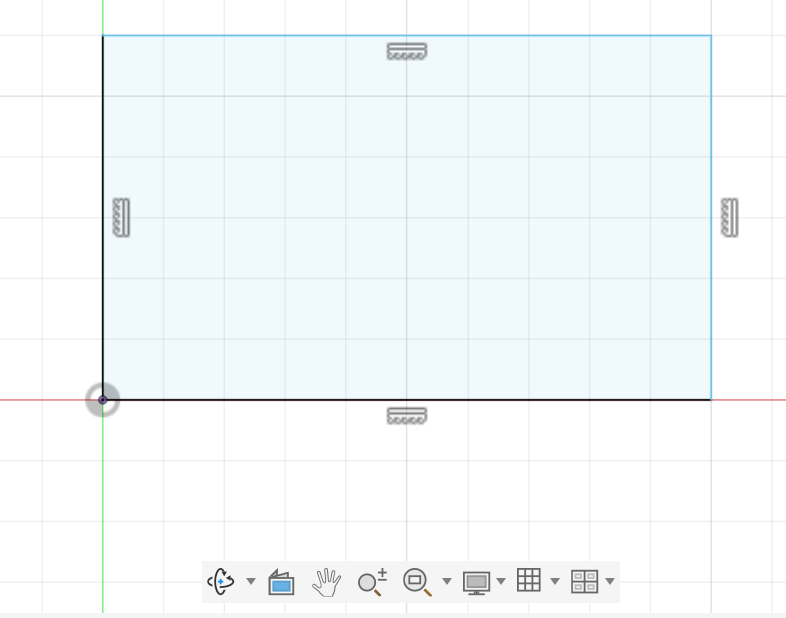
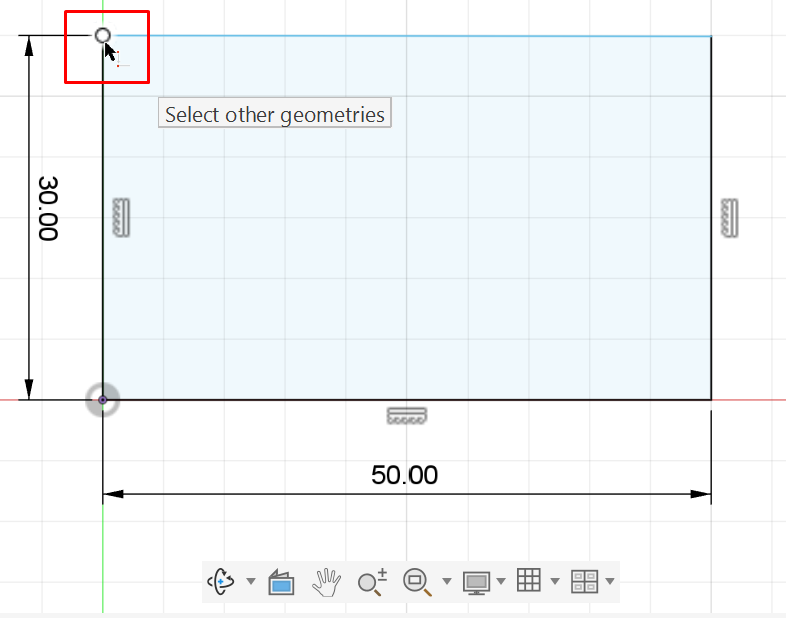
Blue lines mean the sketch is under-defined.
This means the shape can still move, rotate, resize or change.
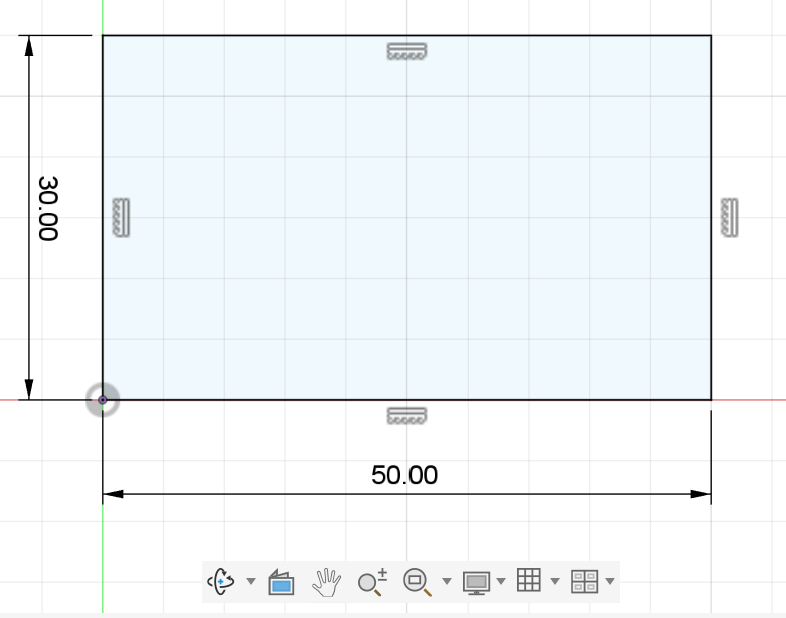
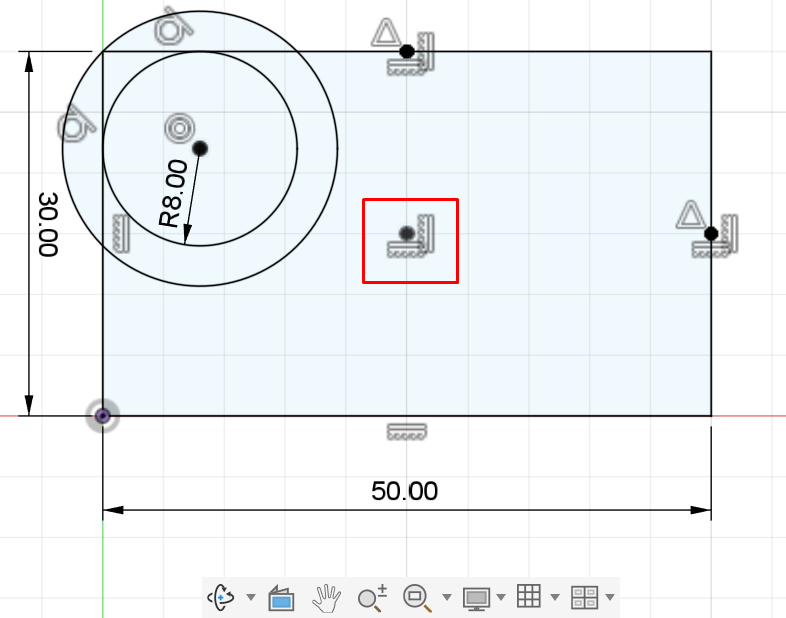
Black lines mean the sketch is fully defined.
This means Fusion 360 has enough information to lock the sketch in place.
A good design practice is to make your important sketch geometry fully defined before extruding it.
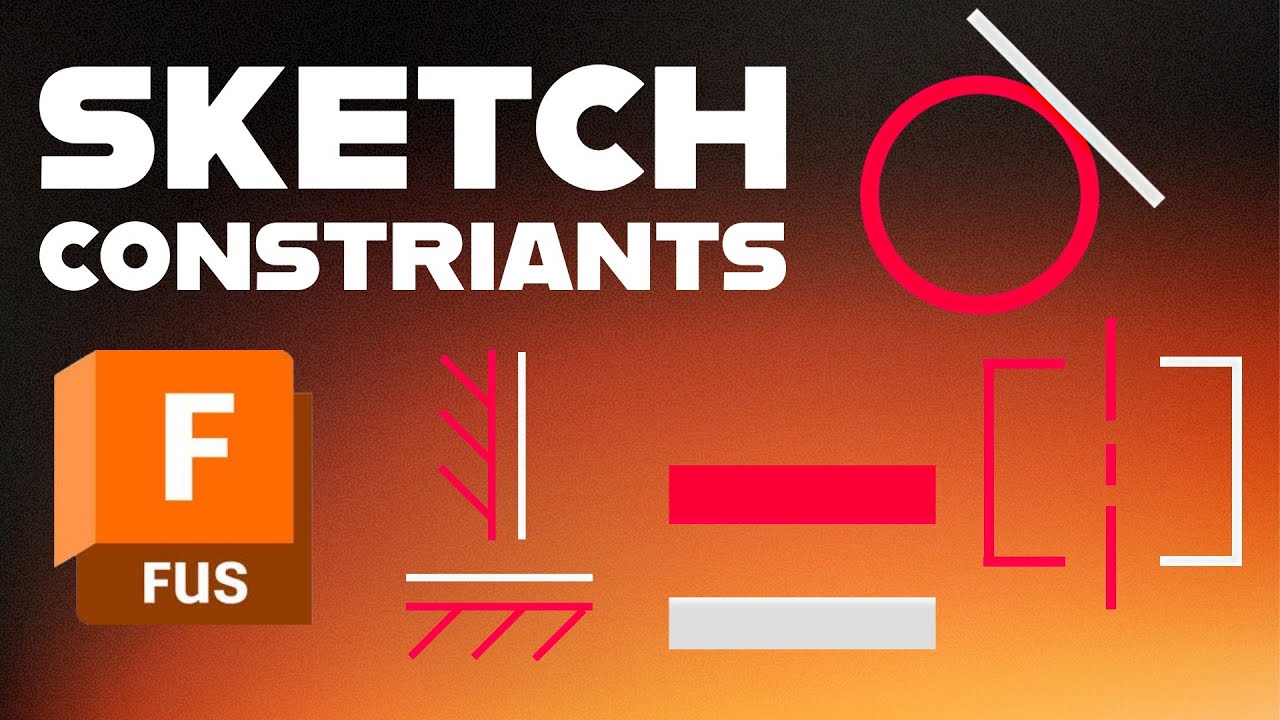
What are Constraints?
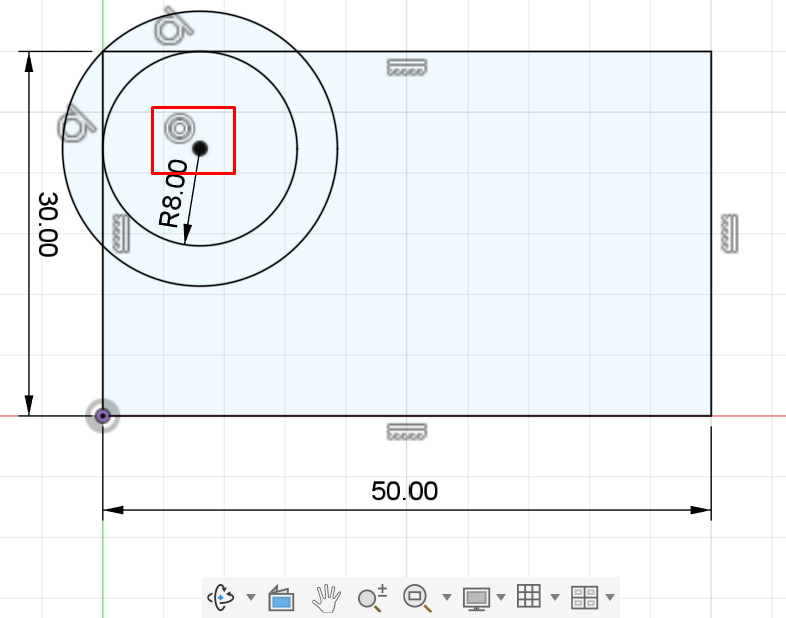
Constraints are rules that control the relationship between sketch elements.
For example, a constraint can make:
A line horizontal
Two lines parallel
A line vertical
Two lines perpendicular
A point fixed in place
Two points connected
A circle centered on another circle
Constraints help you design accurately without depending only on manual dragging.
Create a New Sketch
Start in the Design workspace.
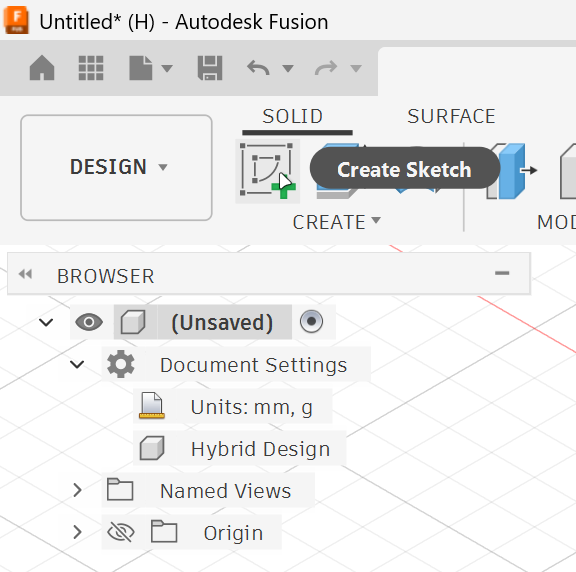
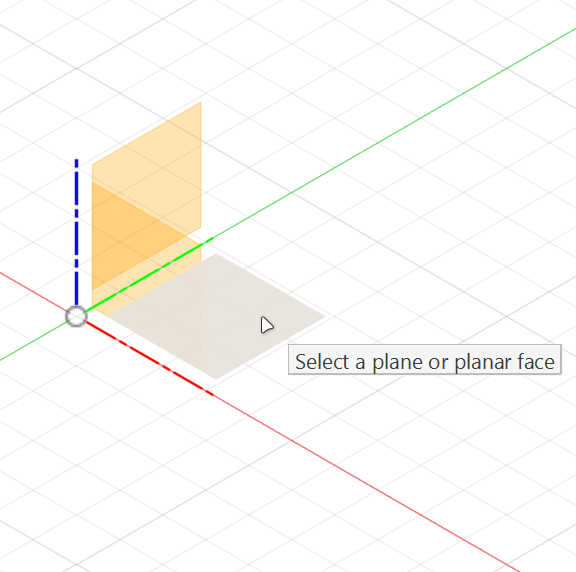
1. Click Create Sketch.
2. Select one of the main planes.
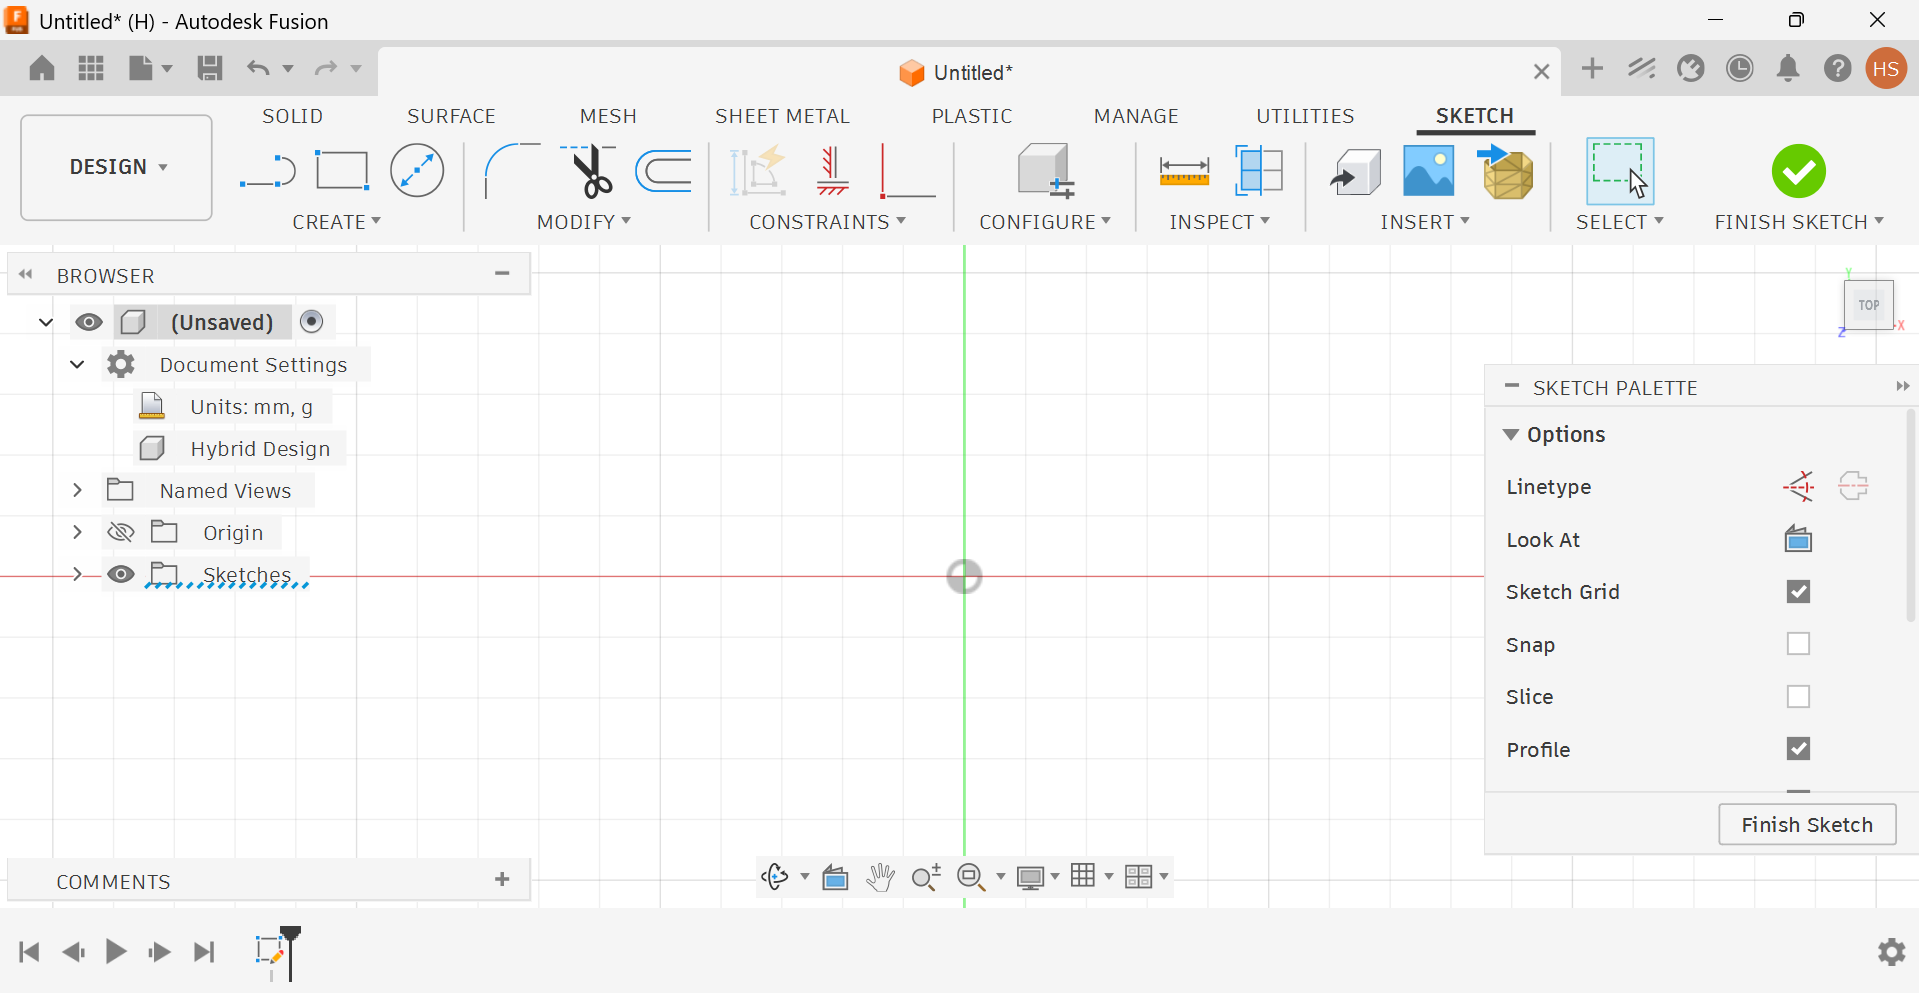
After selecting the plane, Fusion 360 enters Sketch mode. You will see the sketch grid, origin point and sketch tools.
Draw a Triangle
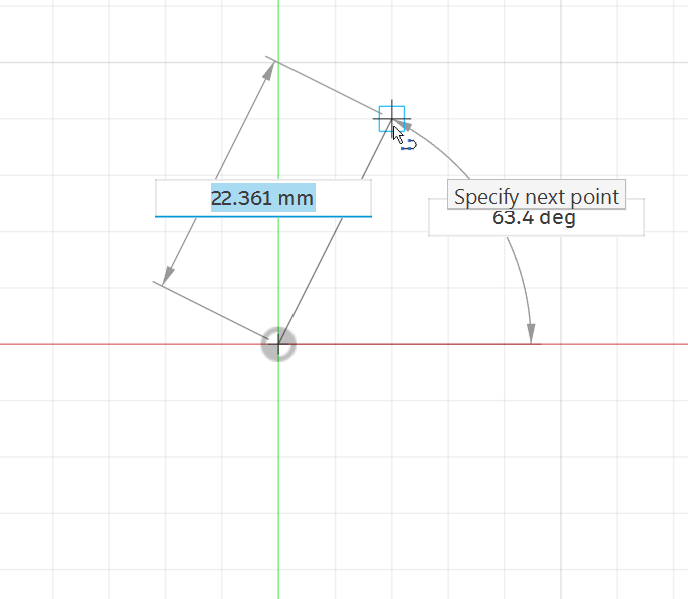
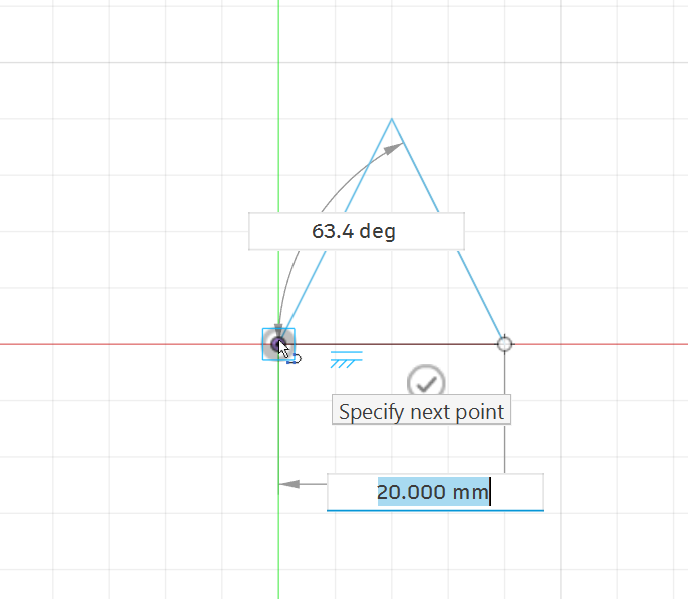
Use the Line Tool to draw a triangle from the center of the canvas.
1. Click to place the first point.
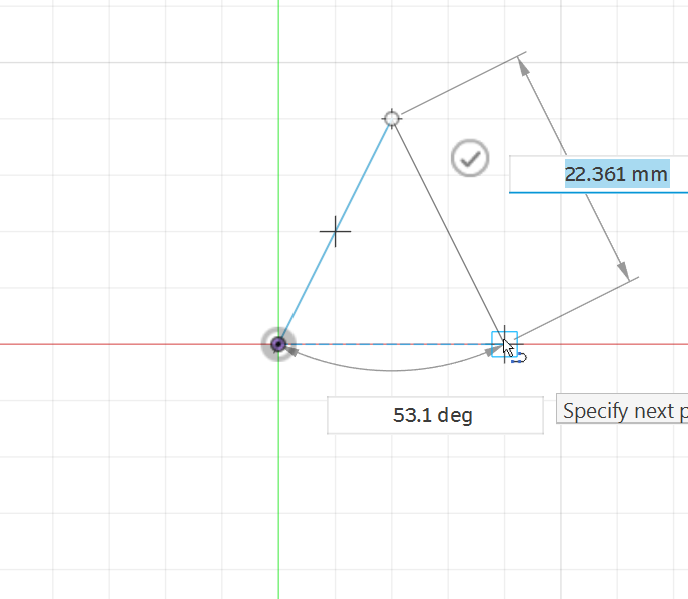
2. Continue clicking to create the second and third points.
3. Return to the first point to close the shape.
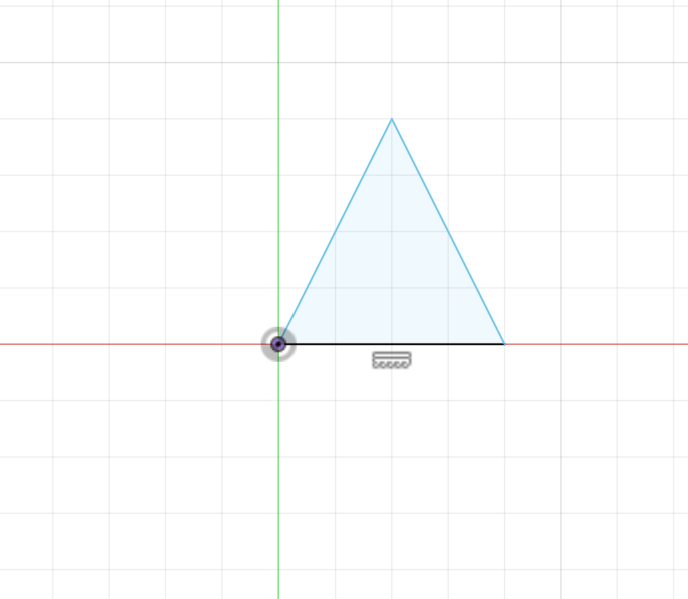
When the triangle is closed correctly, Fusion 360 shadesthe inside of the shape. This means the sketch profile is ready to be used for 3D operations such as Extrude. At this stage, the triangle will probably appear in blue. This means it is still under-defined.
Test if the Sketch is Under-Defined
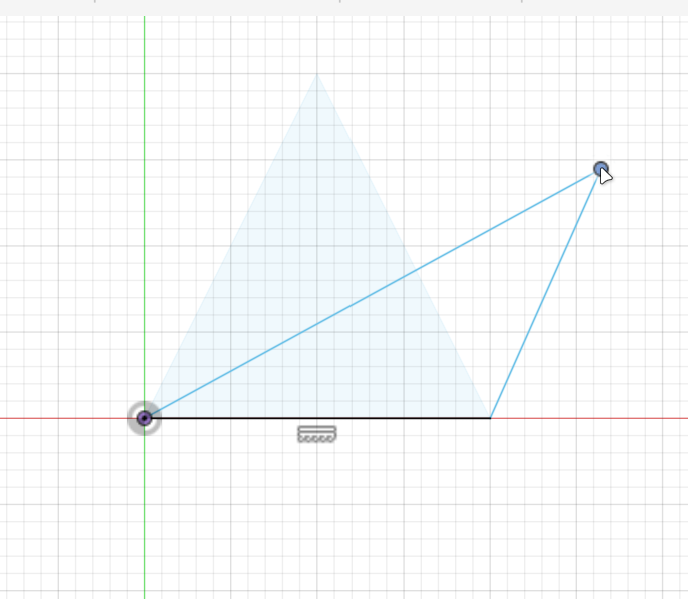
Click and drag one of the triangle points or lines.
If the shape moves or changes, it is not fully defined yet.
This is why constraints and dimensions are important. They stop the sketch from changing accidentally.
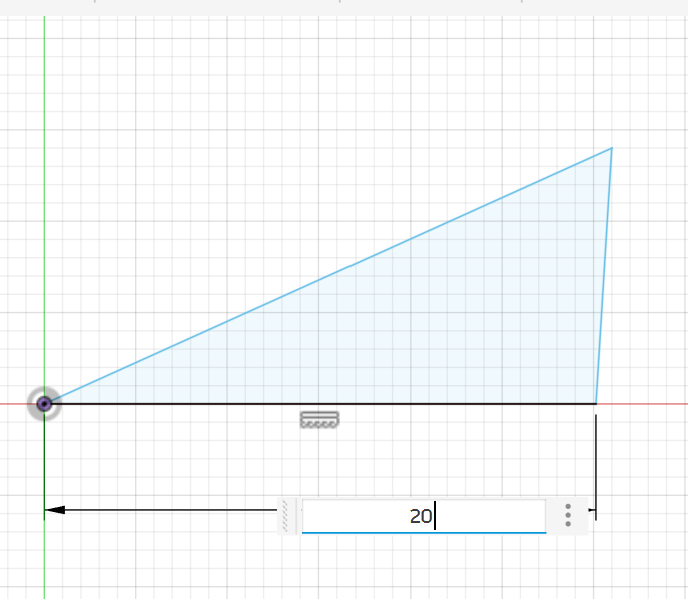
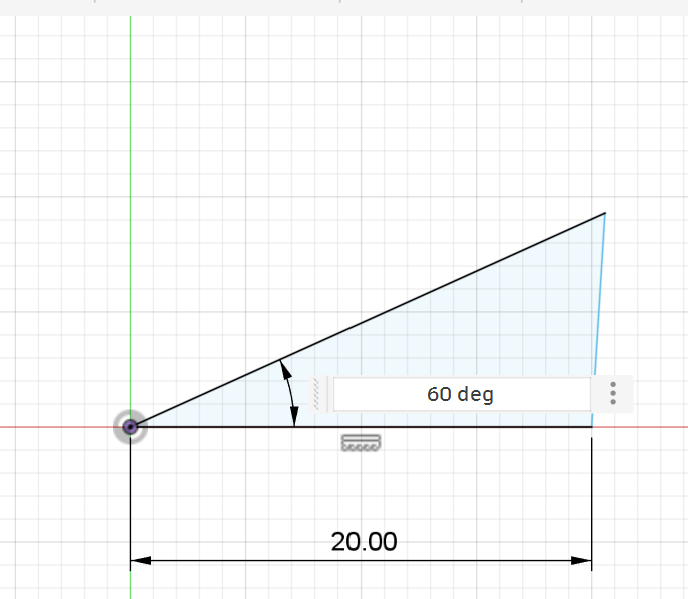
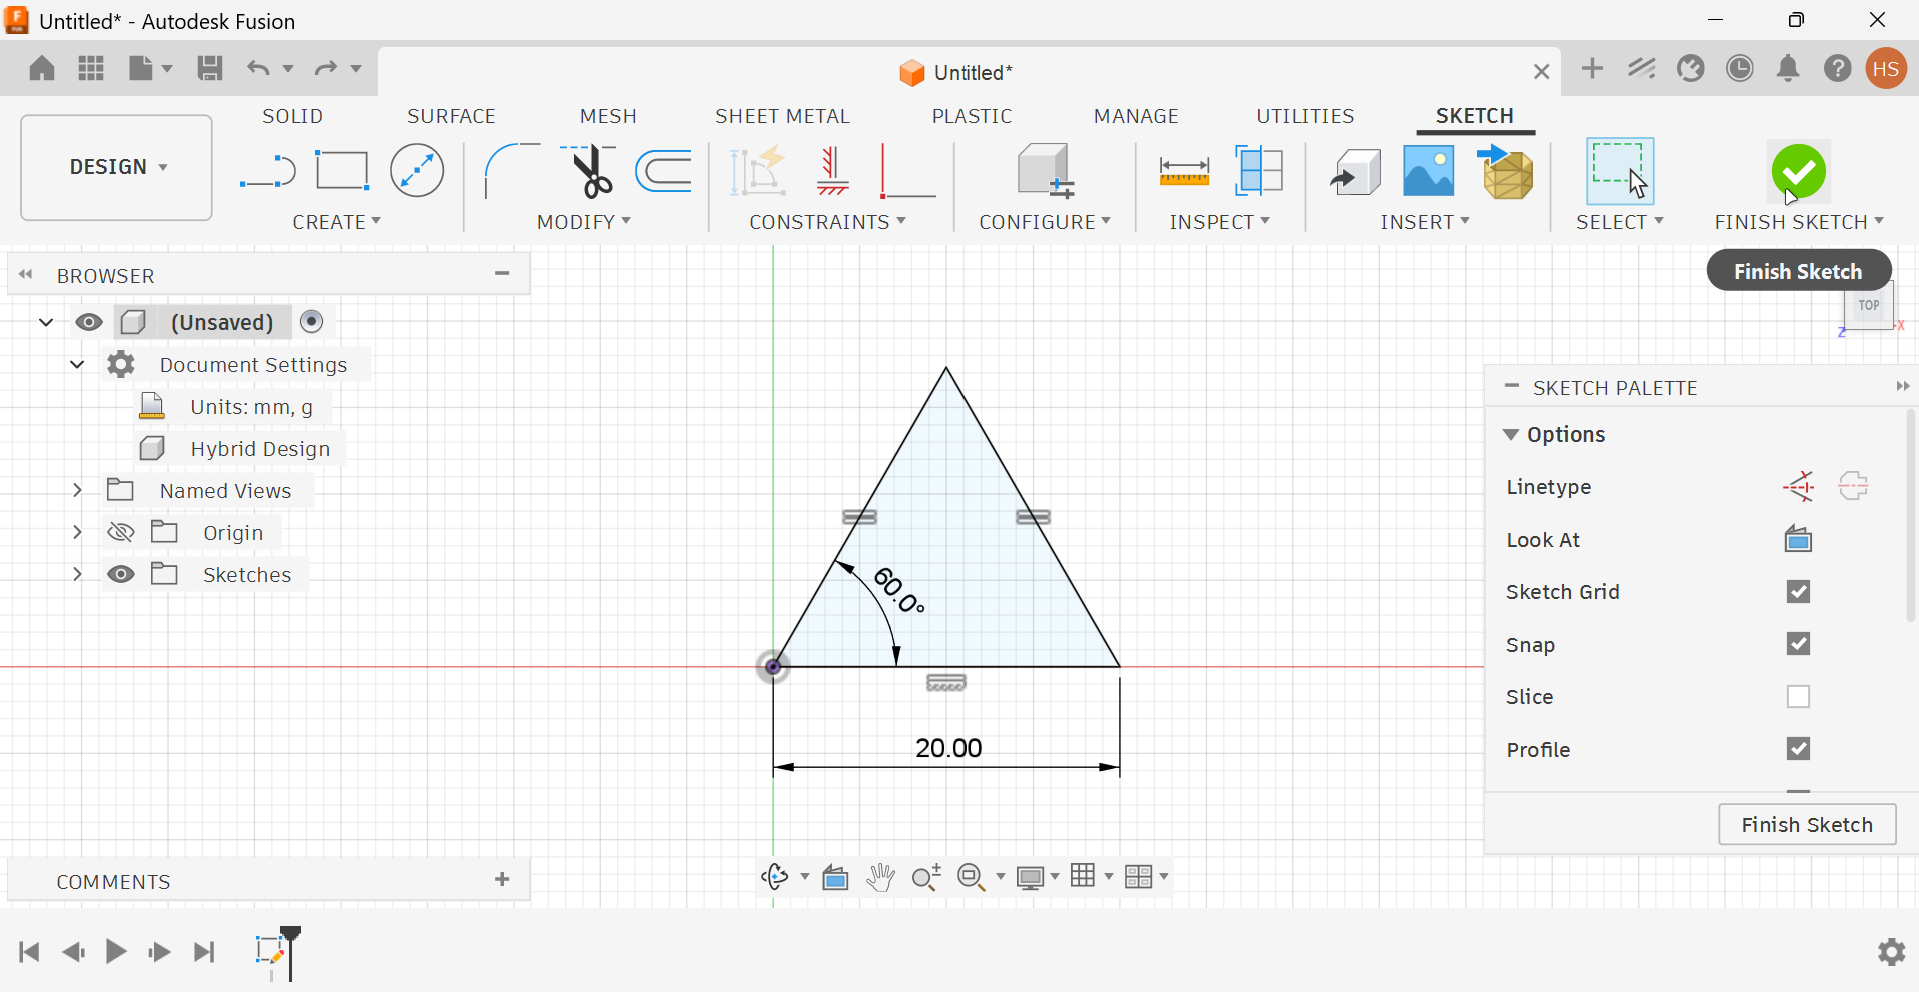
Add Dimensions
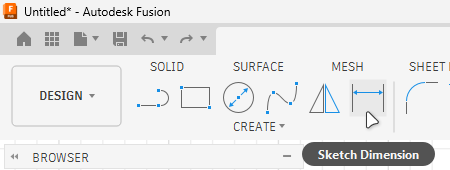
Use the Sketch Dimension tool or press D on the keyboard.
1. Sketch Dimension tool.
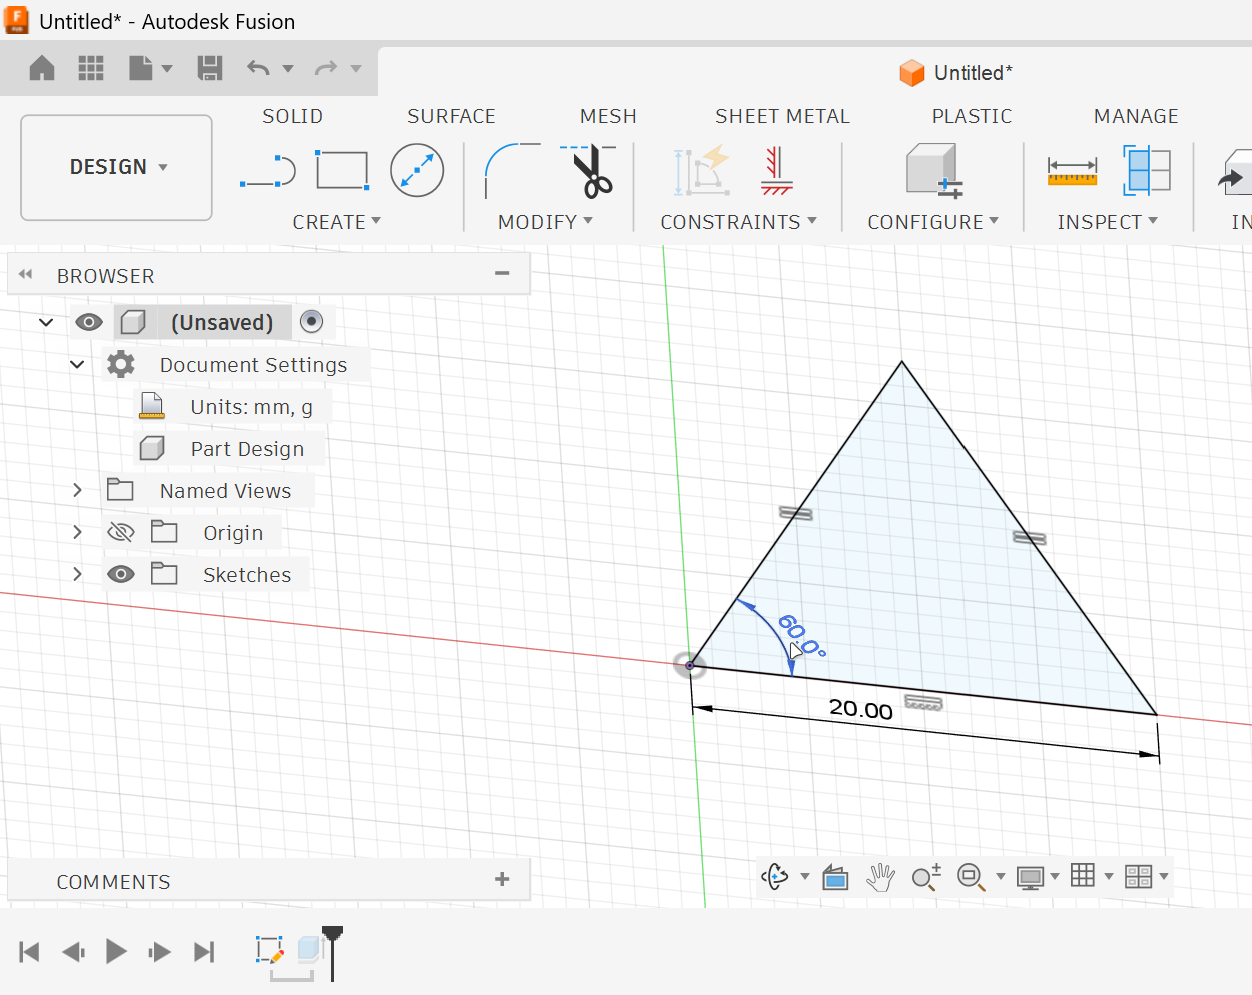
2. Bottom length: 120 mm.
3. Angle: 60 degrees.
Dimensions give the sketch exact measurements instead of approximate shapes.
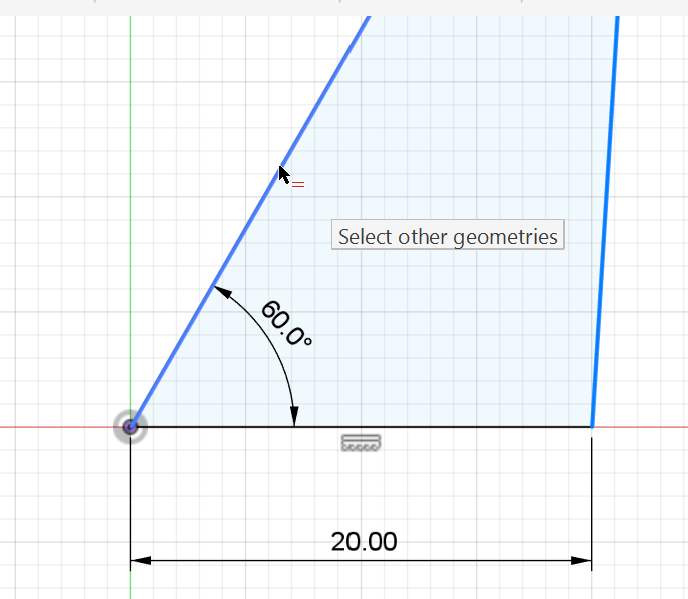
Add Geometric Constraints
Use constraints to control the behavior of the sketch.
Apply equal constraint to the sides.
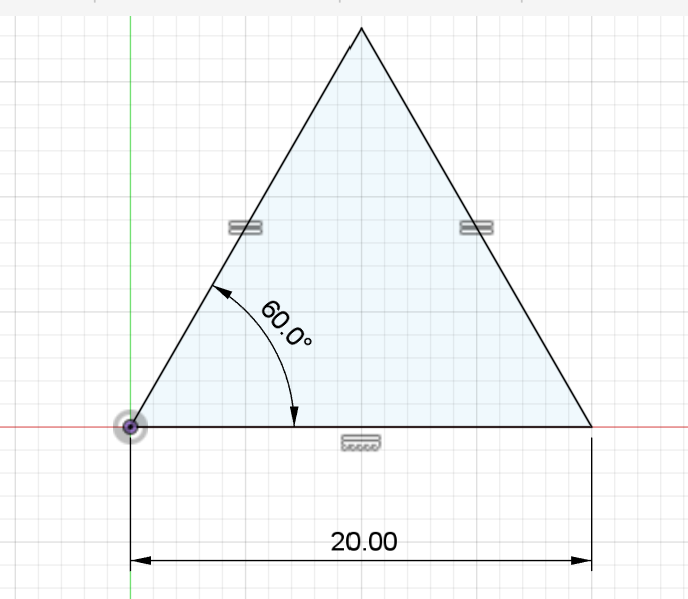
Fully defined.
After adding enough dimensions and constraints, the sketch lines should turn black. This means the sketch is fully defined.
Understand Fully Defined Sketches
A fully defined sketch has no unnecessary movement.
When the sketch turns black, it means Fusion 360 understands:
•
The size of the sketch.
•
The position of the sketch.
•
The angle of the sketch.
•
The relationship between the lines and points.
This makes the design more professional and easier to modify later.
Before finishing the sketch, try drawing the same triangle again, but do not start from the center/origin point.
Use the same dimensions and constraints, then check the sketch color.
Is the triangle fully defined?
The triangle may have the correct size and shape, but it is not fully defined if it can still move. To fully define it, the sketch also needs a fixed position, such as a constraint or dimension connected to the origin.
Finish the Sketch
After the sketch is fully defined, click Finish Sketch.
The sketch is now ready to be used as the base for a 3D model.
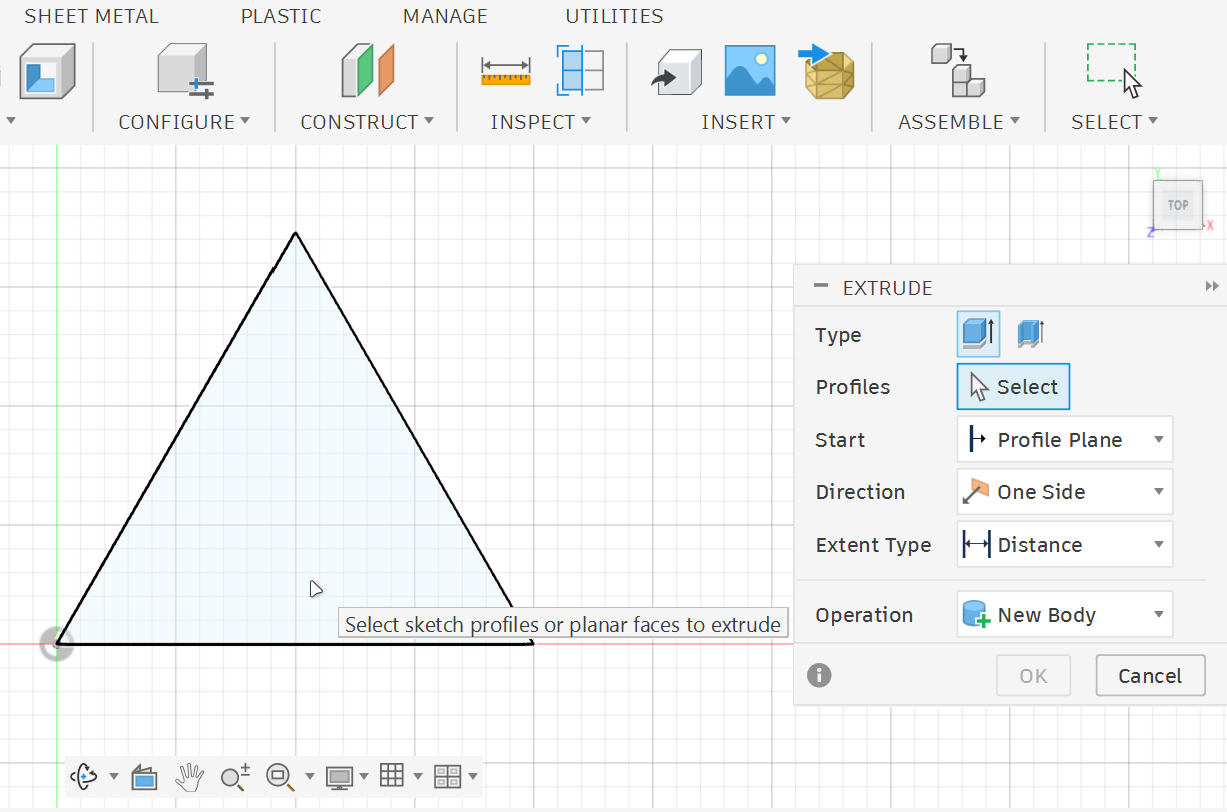
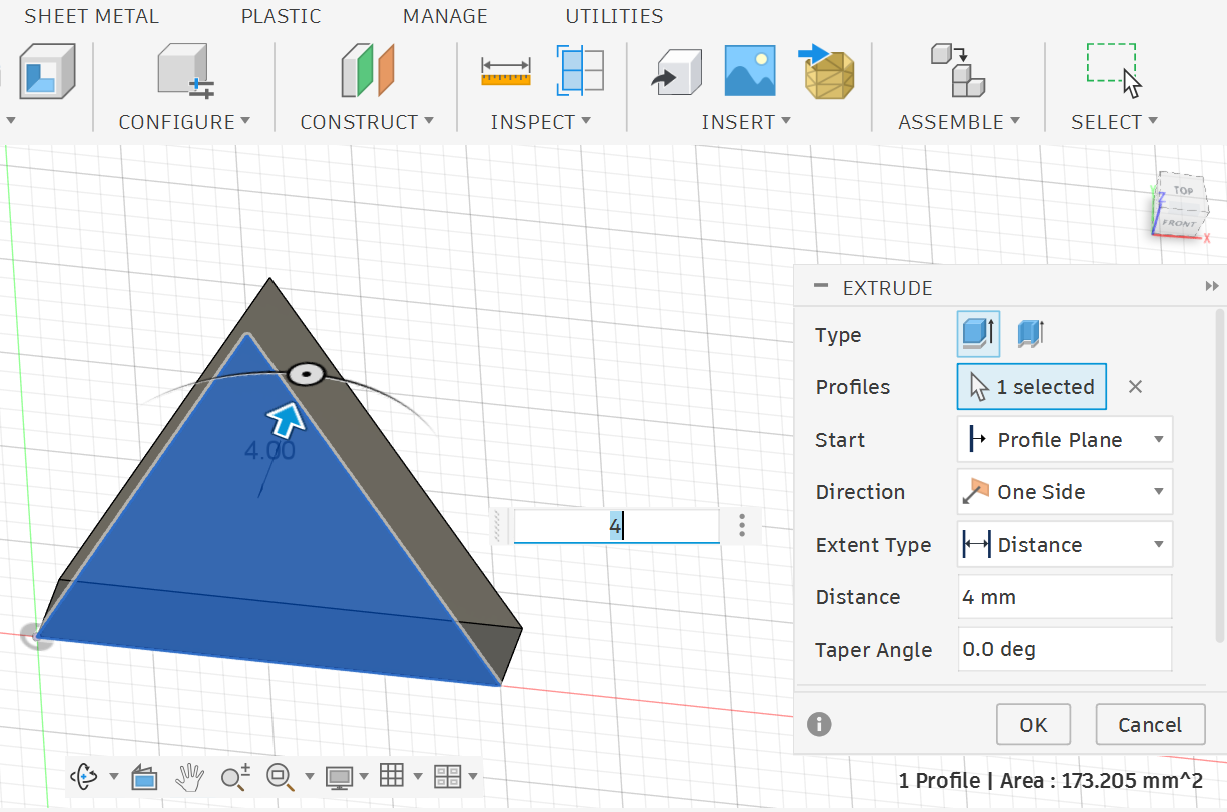
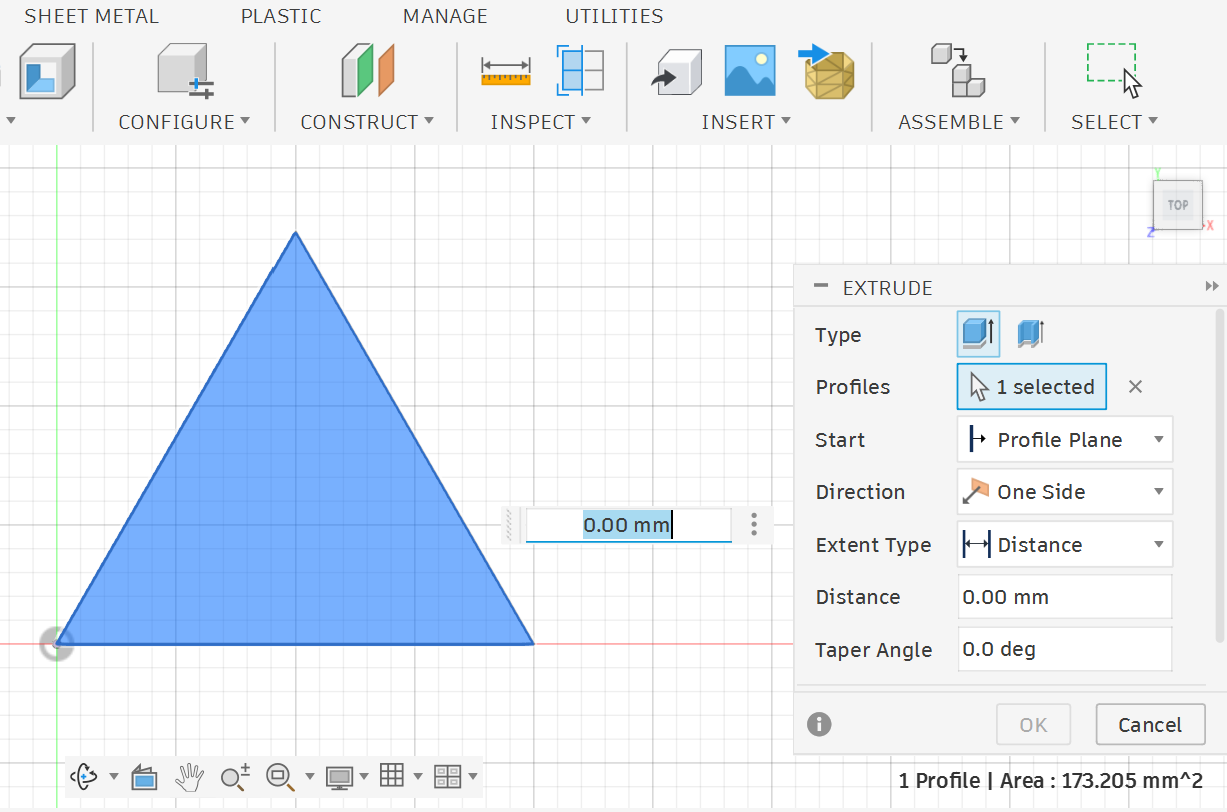
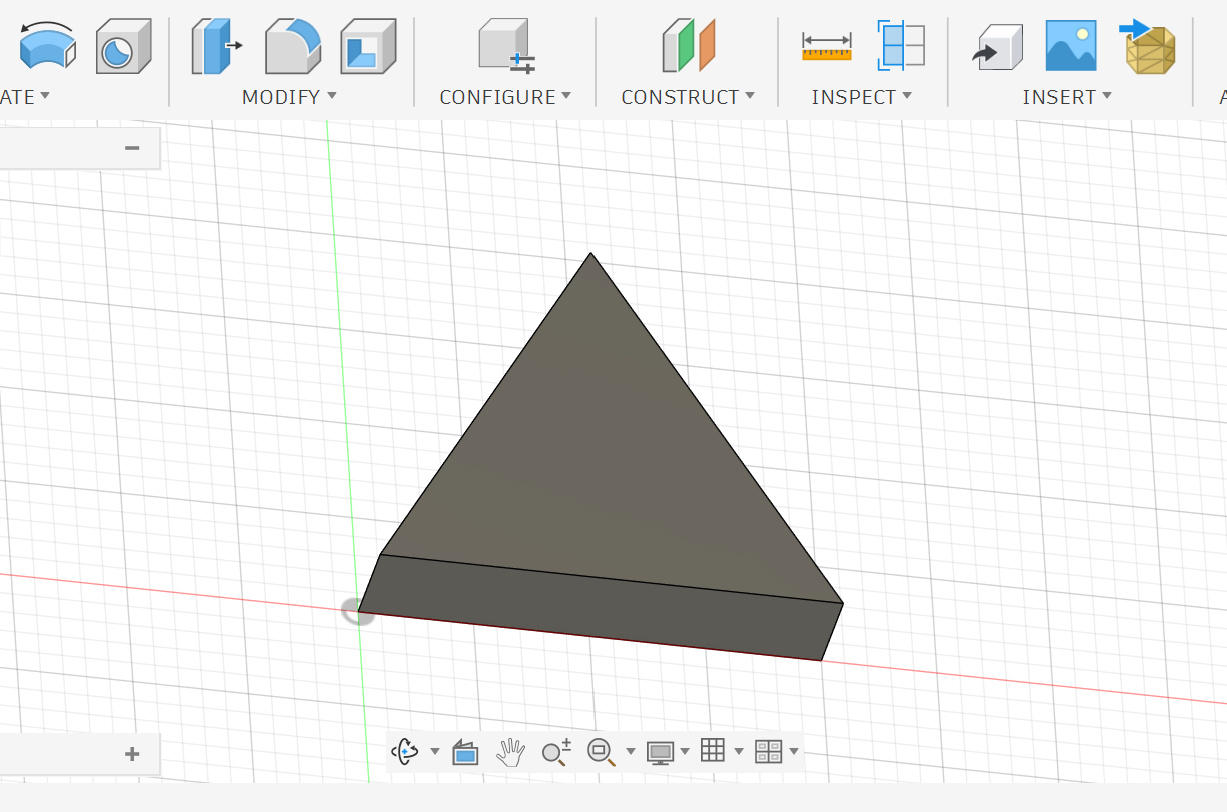
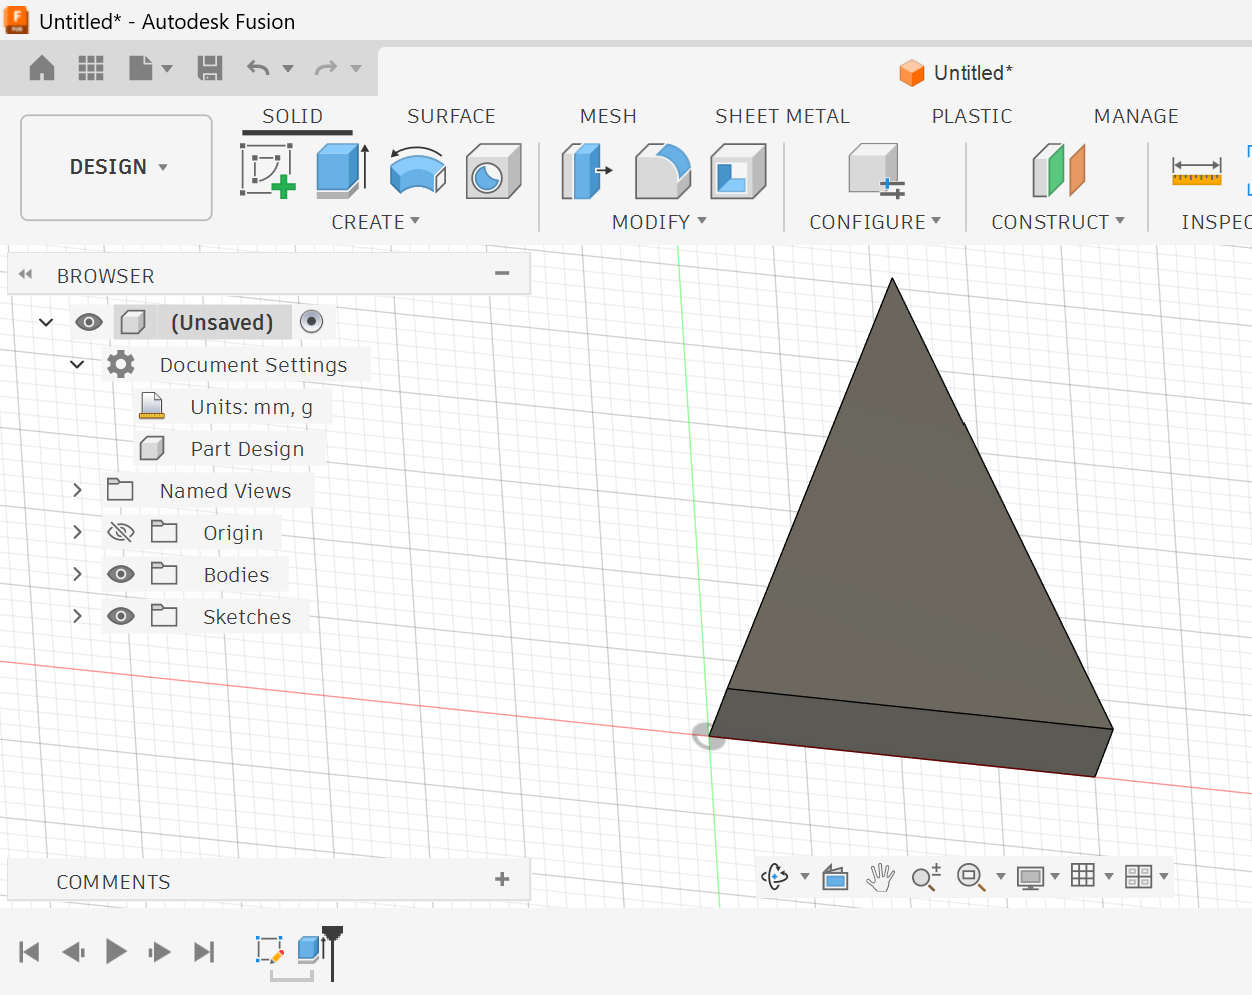
Extrude the Sketch
Click Extrude or press E on the keyboard.
1. Select the closed triangle profile if not selected.
3. Make sure the operation is set correctly, such as New Body when creating a separate solid.
2. Enter an extrusion distance of 4 mm.
4. Click OK to complete the extrusion.
Edit the Sketch
One of the most powerful features in Fusion 360 is that sketches control the 3D body.
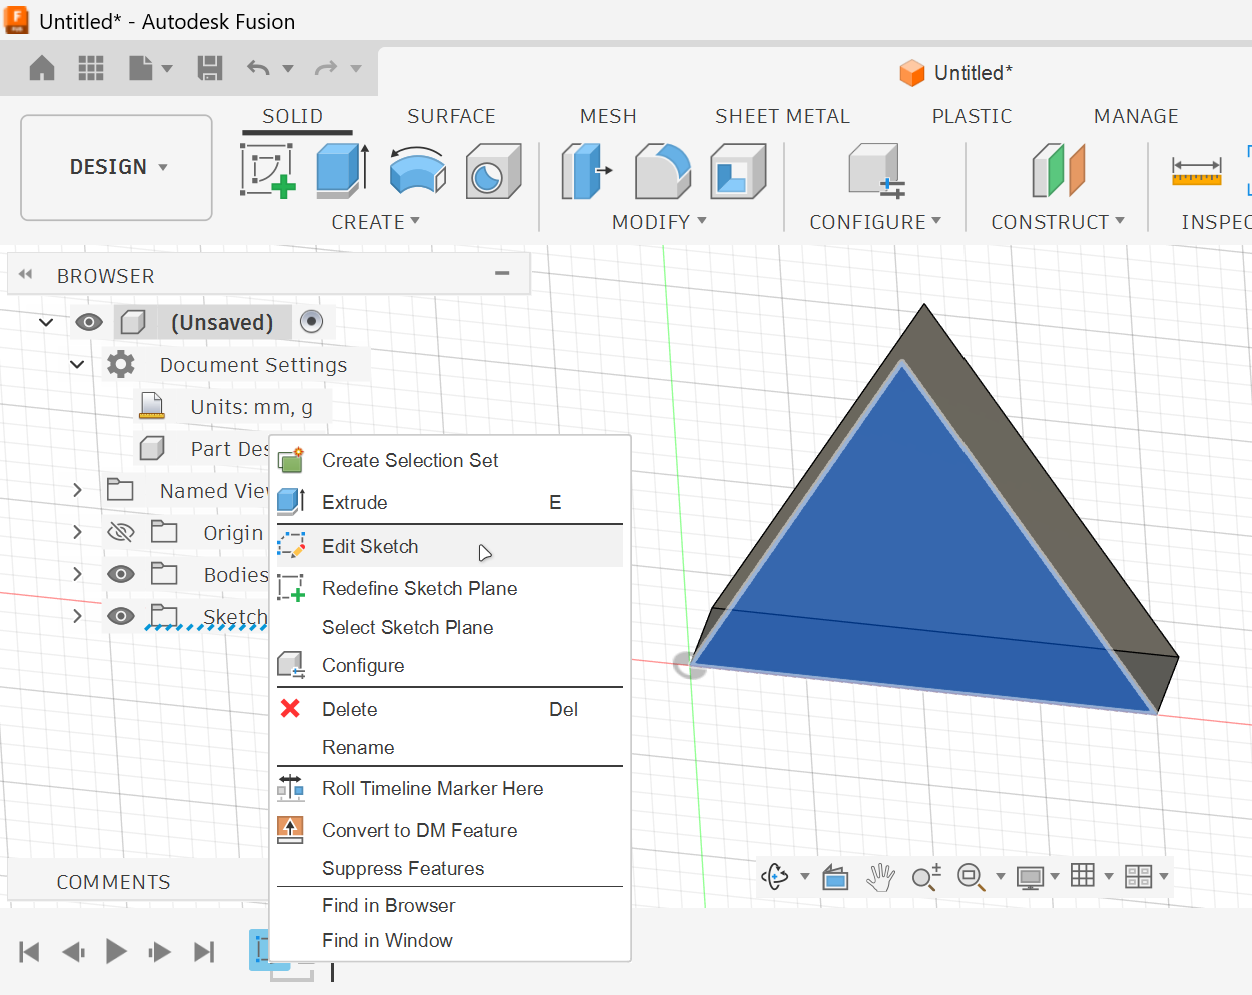
You can go back to the sketch, change a dimension, and the 3D model will update automatically.
1. Right-click the sketch in the timeline and choose Edit Sketch. You can also double-click the sketch to open it directly.
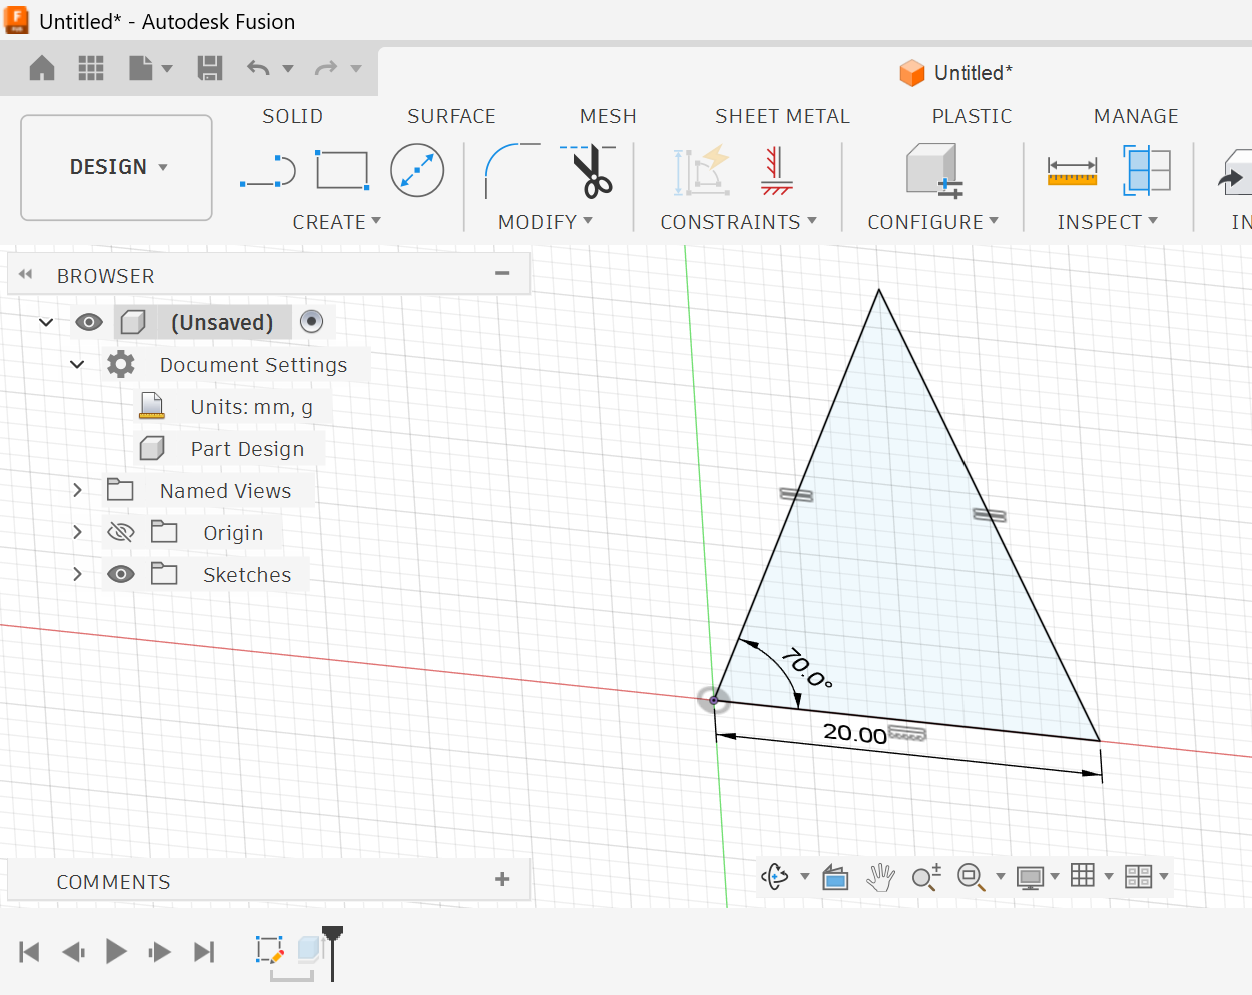
3. Set the angle value to 70°.
2. To change the angle value, double-click the angle dimension and enter the new value.
4. This is called parametric design.
Add More Features
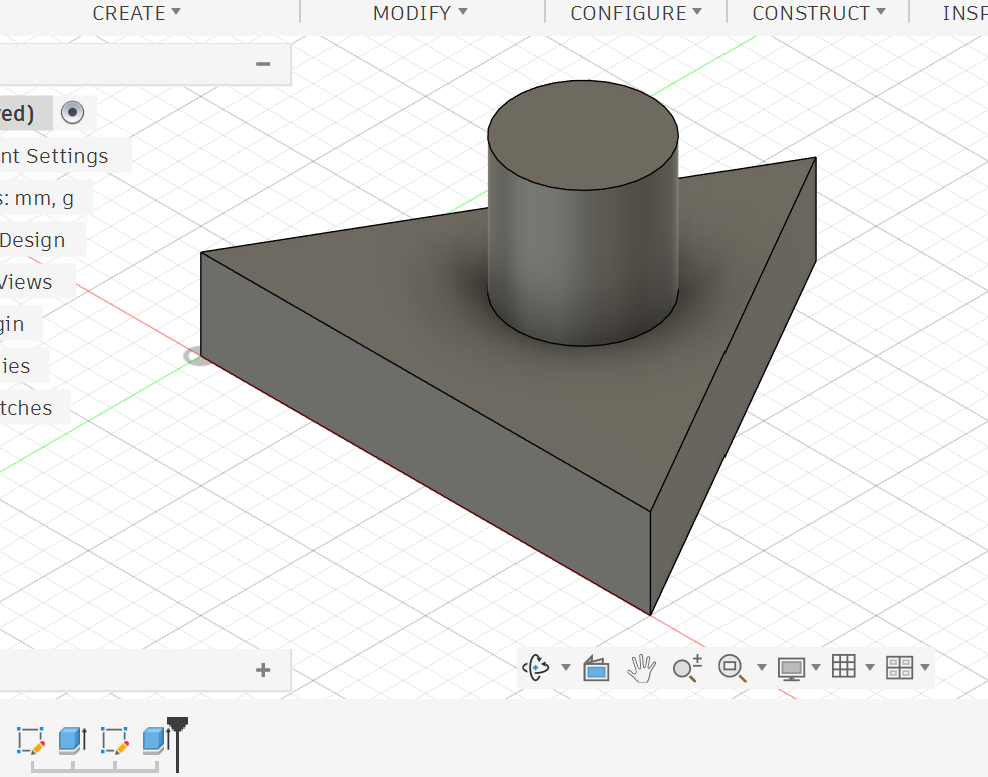
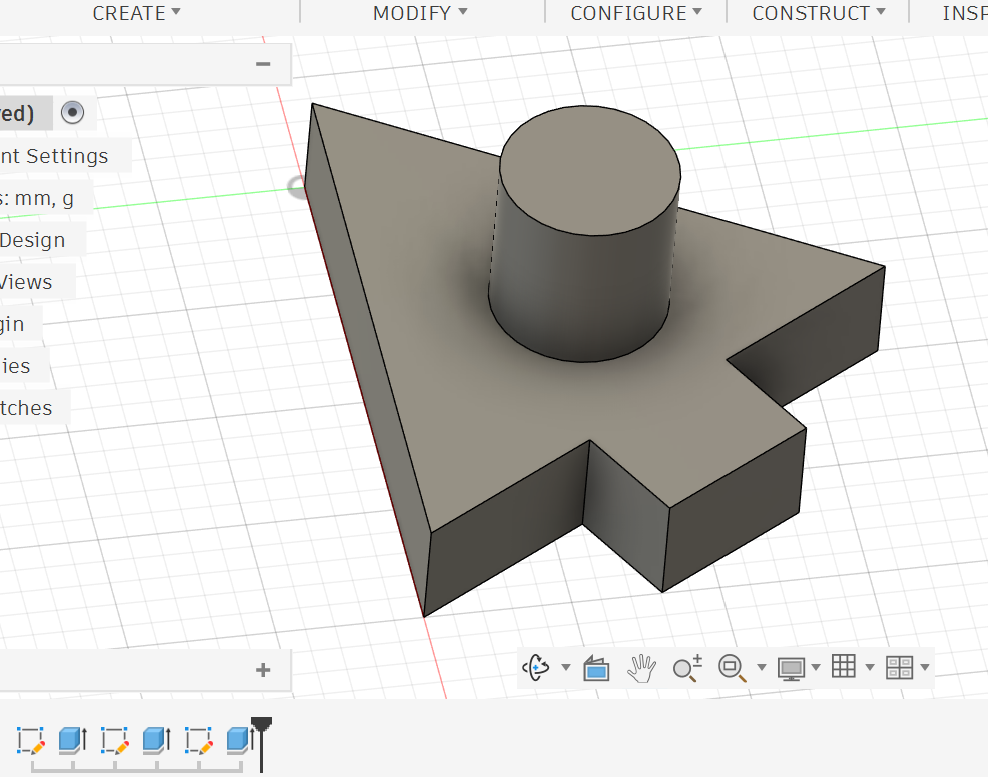
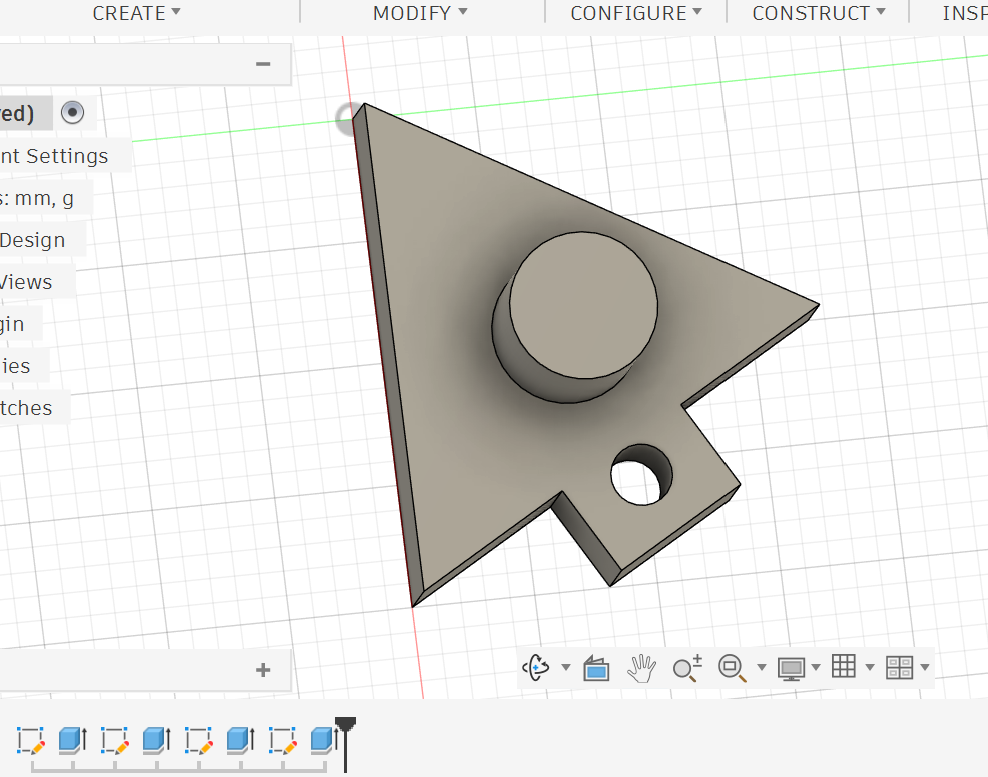
You can create new sketches on existing faces of the 3D body. For example
1. Draw a circle on the top face and extrude it upward to create a cylinder.
2. Draw a rectangle on a side face and extrude it outward to add a block.
3. Draw a circle and extrude it inward using Cut to create a hole.
This shows how sketches, constraints, dimensions and extrusions work together to build a complete 3D model.
Important Shortcuts
Shortcut
Function
D
Sketch Dimension
E
Extrude
Esc
Cancel or exit the current tool
Common Mistakes
•
Avoid leaving sketches under-defined unless you have a reason.
•
Do not depend only on dragging shapes manually.
•
Make sure closed profiles are properly connected. If the profile is not shaded, it may not be closed.
•
Use dimensions for exact sizes instead of estimating by eye.
•
Use constraints before extruding to make the model easier to edit later.
Practice Task
Create a fully defined triangle sketch in Fusion 360.
Your sketch should include:
•
A closed triangle profile.
•
At least two side dimensions.
•
One angle dimension.
•
One constraint connected to the origin.
•
Black sketch lines showing that the sketch is fully defined.
Then extrude the triangle into a 3D body. After that, create one extra feature:
•
A cylinder on the top face, or
•
A rectangular block on one side, or
•
A circular cut through one face.
Reflection Questions
•
Why is it important to fully define a sketch before extruding it?
•
What is the difference between blue sketch lines and black sketch lines in Fusion 360?
•
How are constraints different from dimensions?
•
What is one mistake you made while creating the sketch, and how did you fix it?