Overview
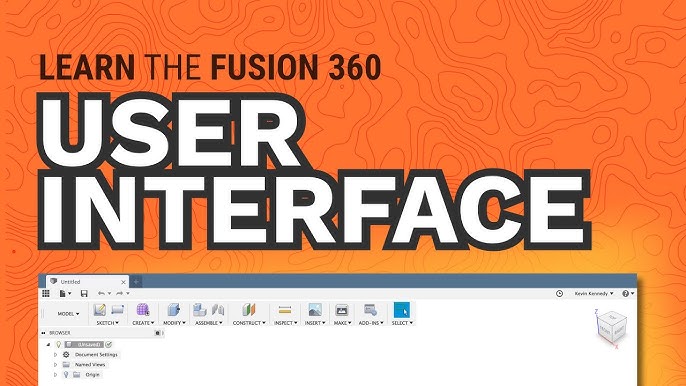
In this lesson, you will get your first practical introduction to the Fusion 360 environment. You will learn how the workspace is organized, where to find important tools and how to comfortably view a design from different angles. This lesson will help you build confidence before you start creating or editing your own models.
Objectives
By the end of this lesson, you will be able to
•
Recognize the purpose of the main Fusion 360 workspace areas.
•
Use the Data Panel to locate and open designs.
•
Explain how the Browser, Toolbar, Canvas, ViewCube, Navigation Bar and Timeline support the design process.
•
Control the model view using orbit, pan and zoom.
•
Adjust display settings to improve how the model appears on screen.
•
Create an editable copy of a sample design by saving it properly.
Data Panel
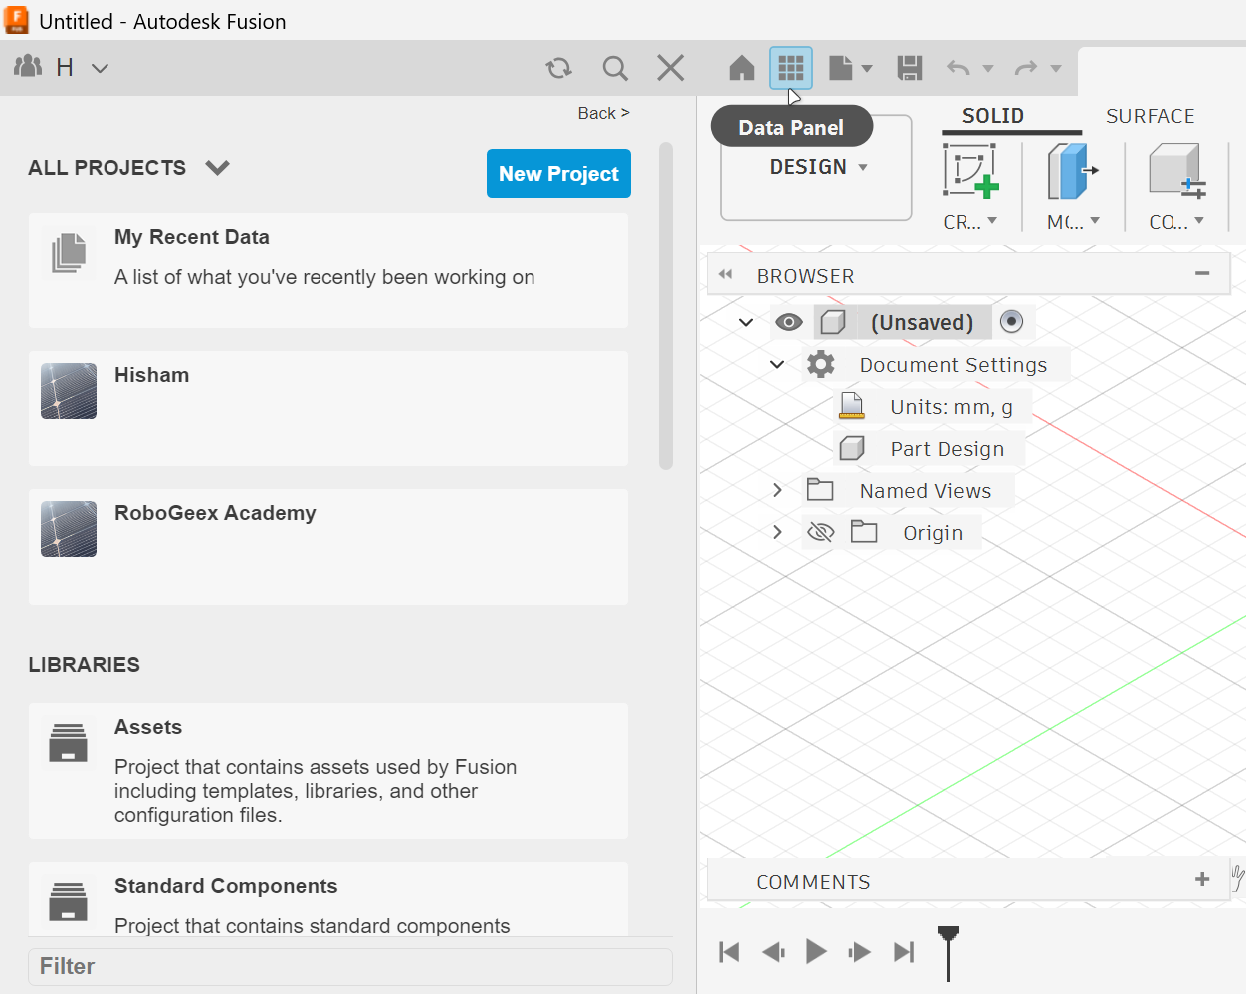
The Data Panel is found on the left side of Fusion 360. It is used to manage projects, folders and design files.
Inside the Data Panel, you can find:
•
Recent files.
•
Editable documents.
•
Projects.
•
Libraries.
•
Sample files.
Data Panel
You can open or close the Data Panel using the Data Panel button at the top-left side of the interface.
Creating or Opening a Project
Projects help organize your Fusion 360 files.
To create a new project:
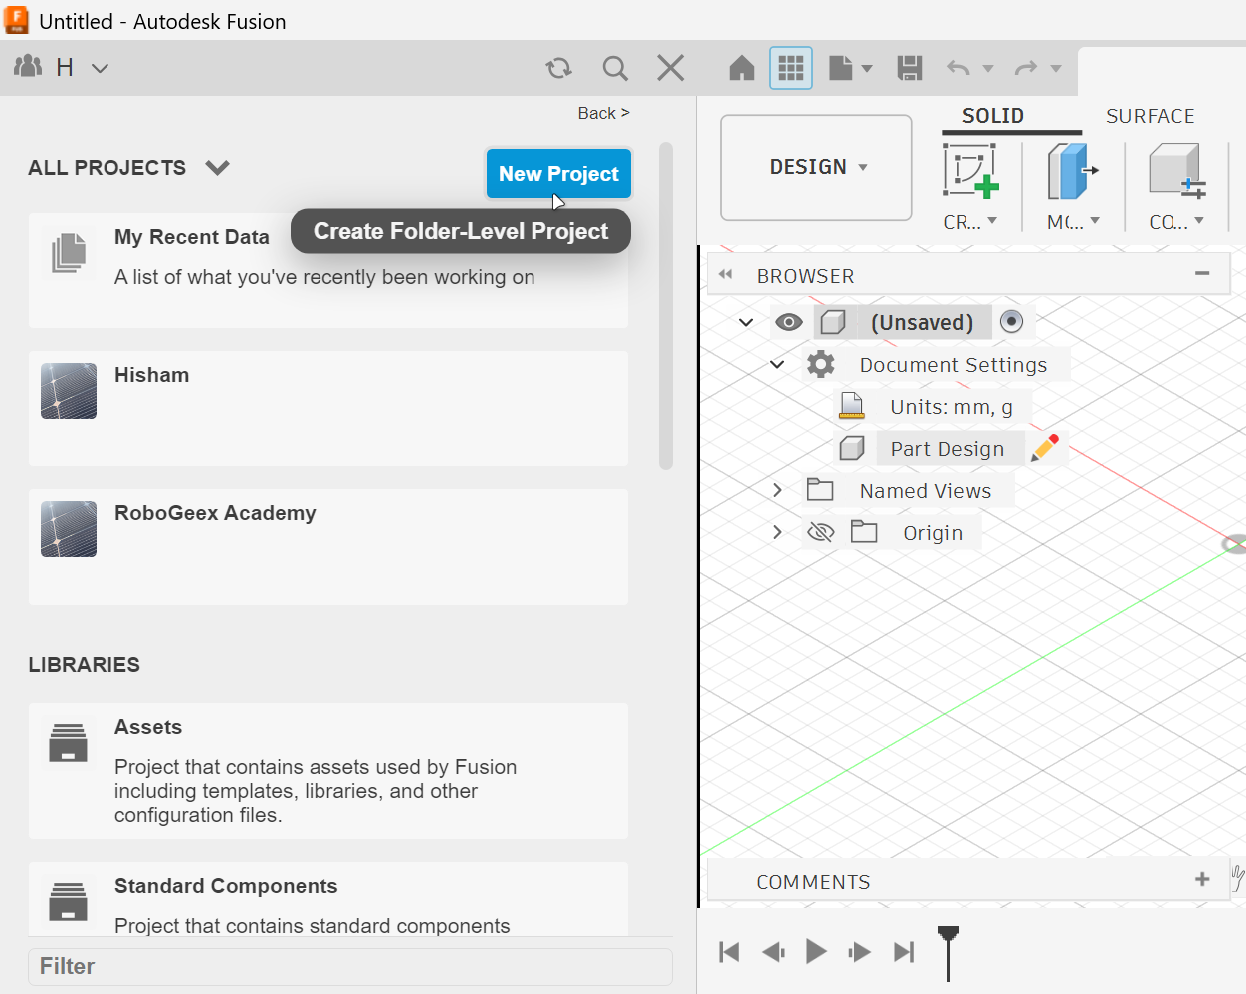
1. Click New Project
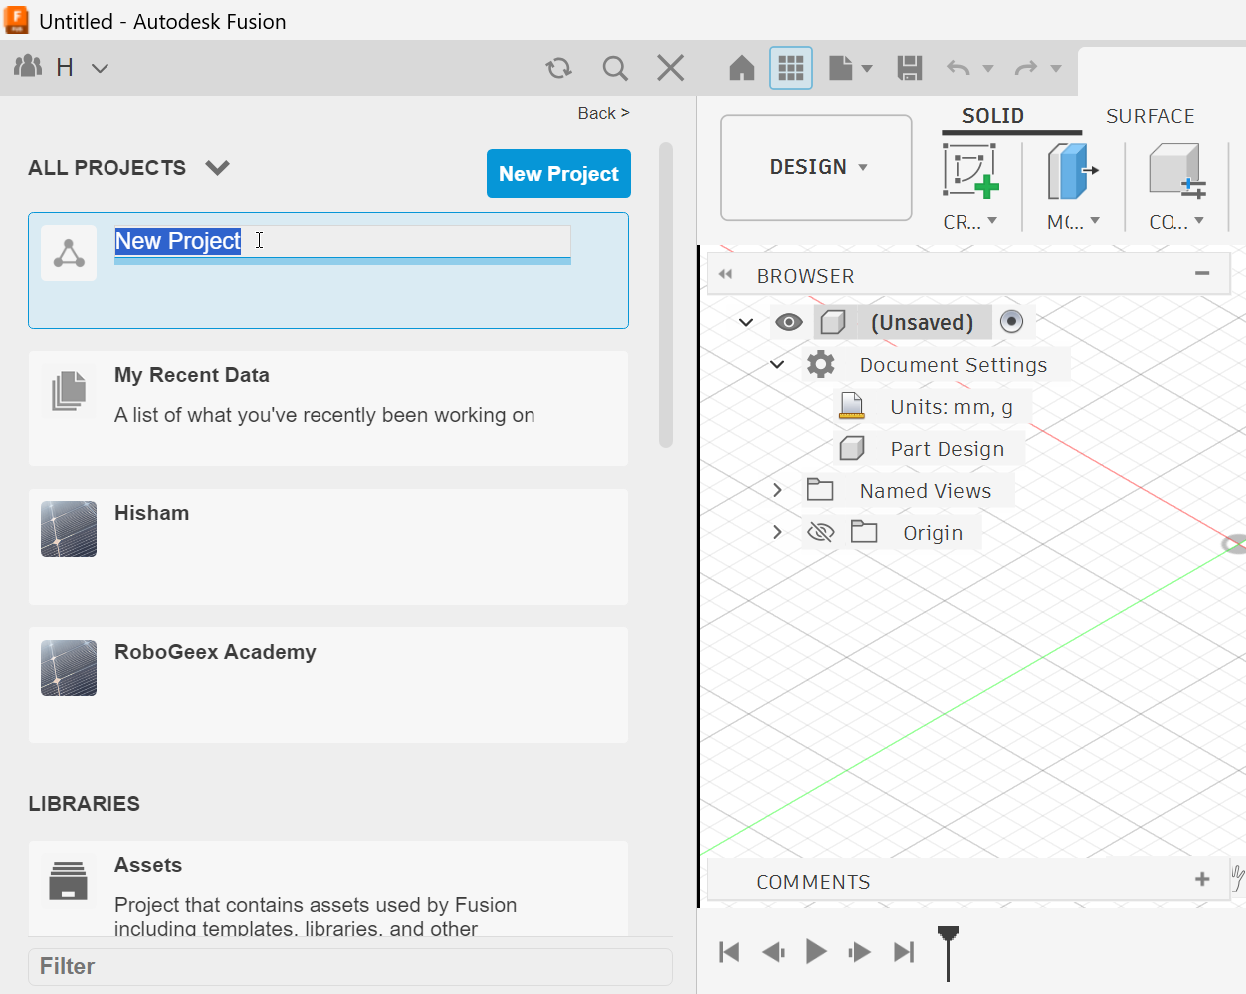
2. Give the project a clear name
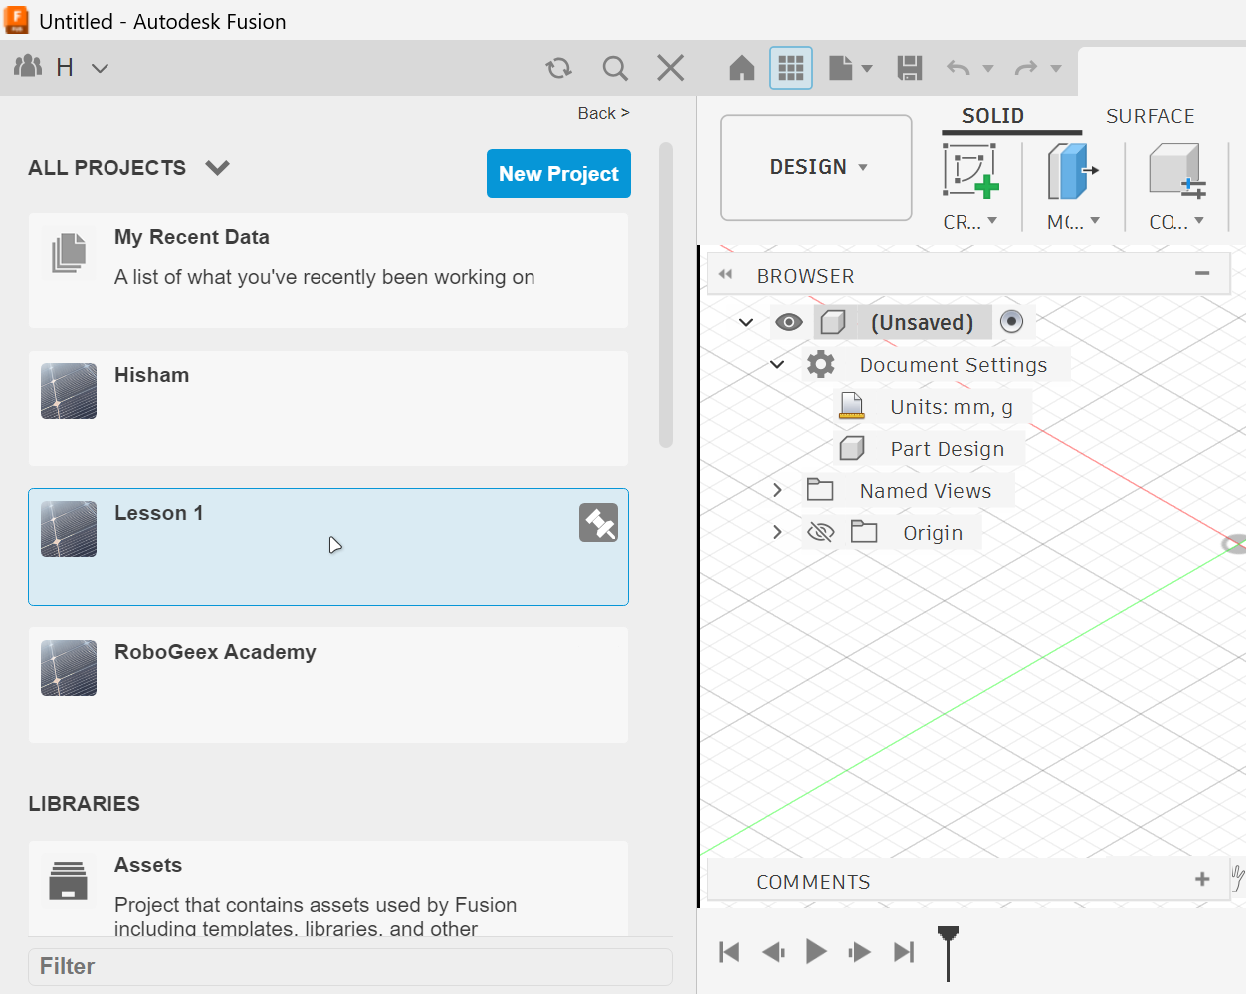
3. Lesson 1
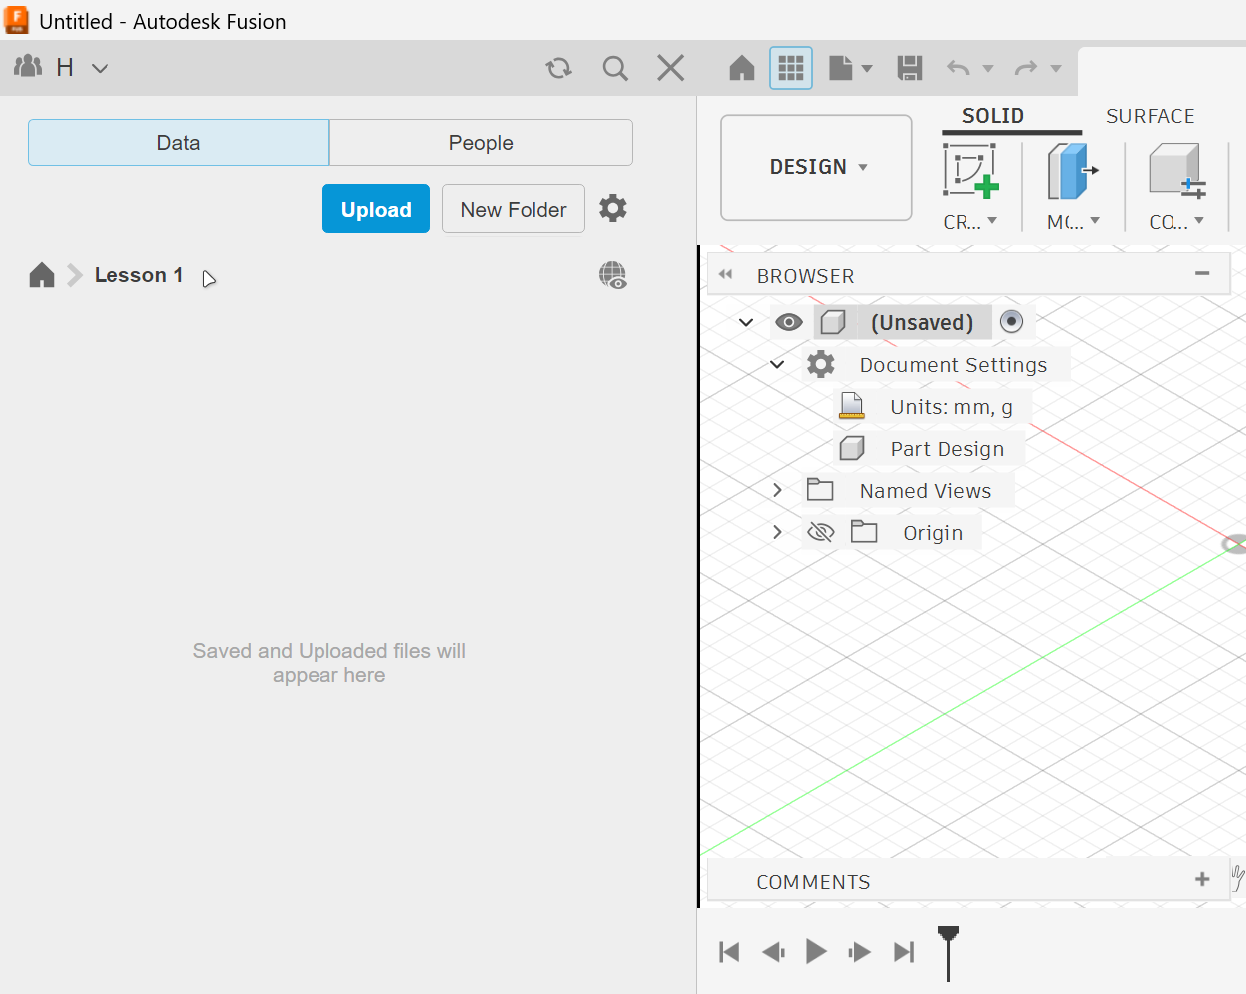
4. Open the project to start adding or saving files inside it
Opening a Sample File
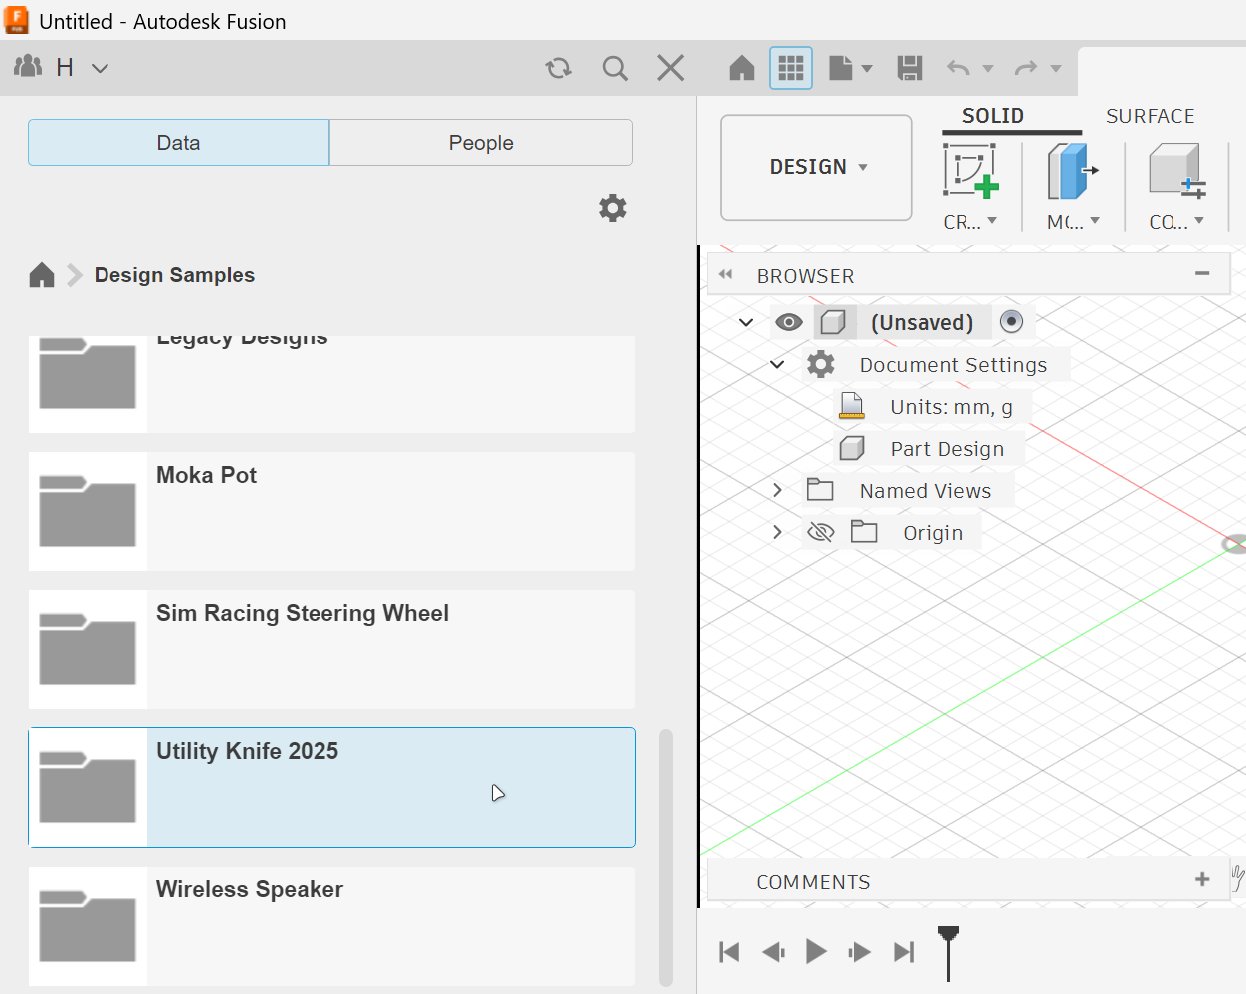
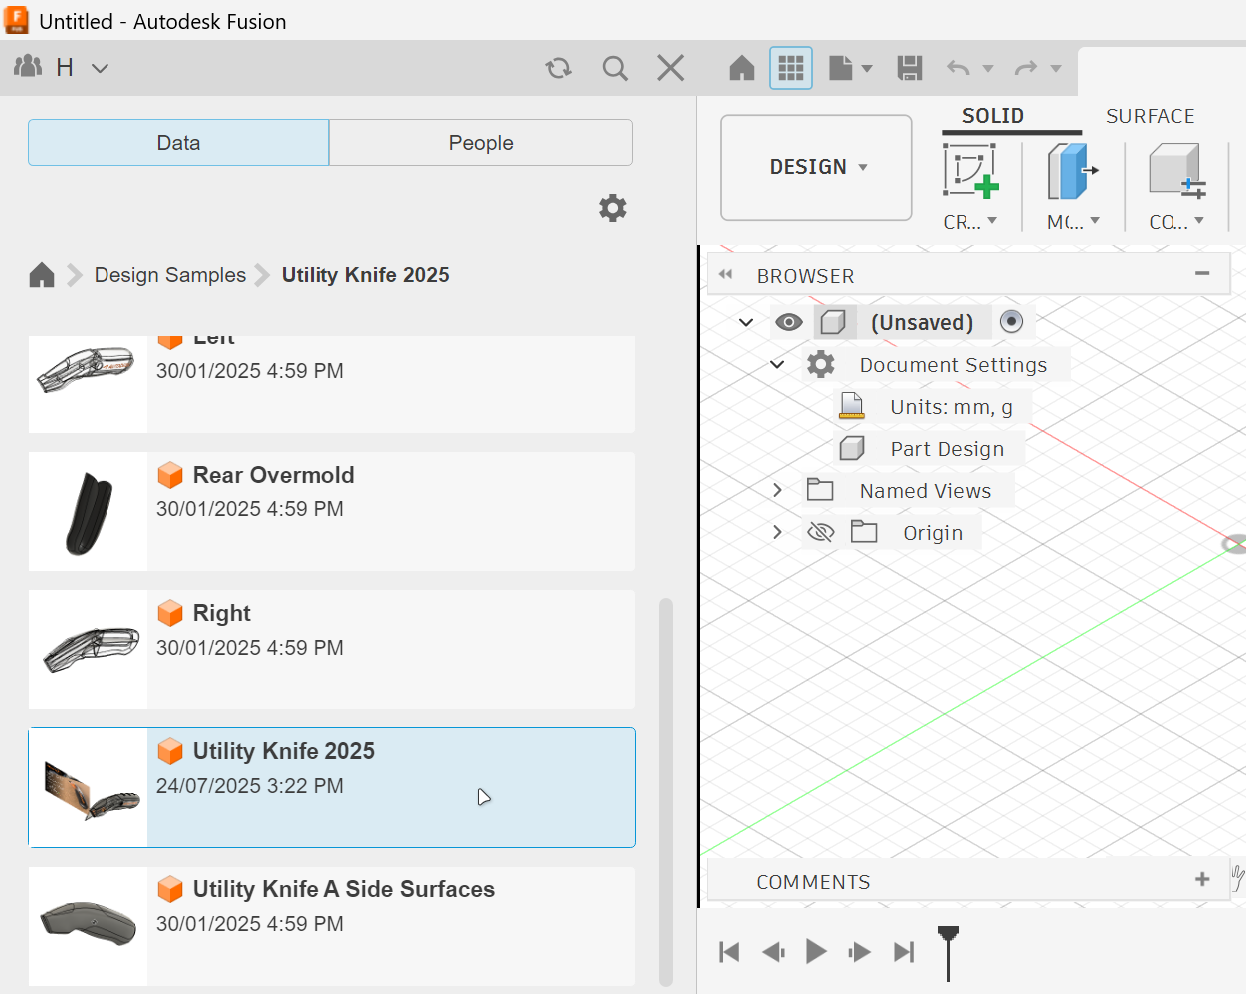
Fusion 360 includes sample designs that you can use for practice.
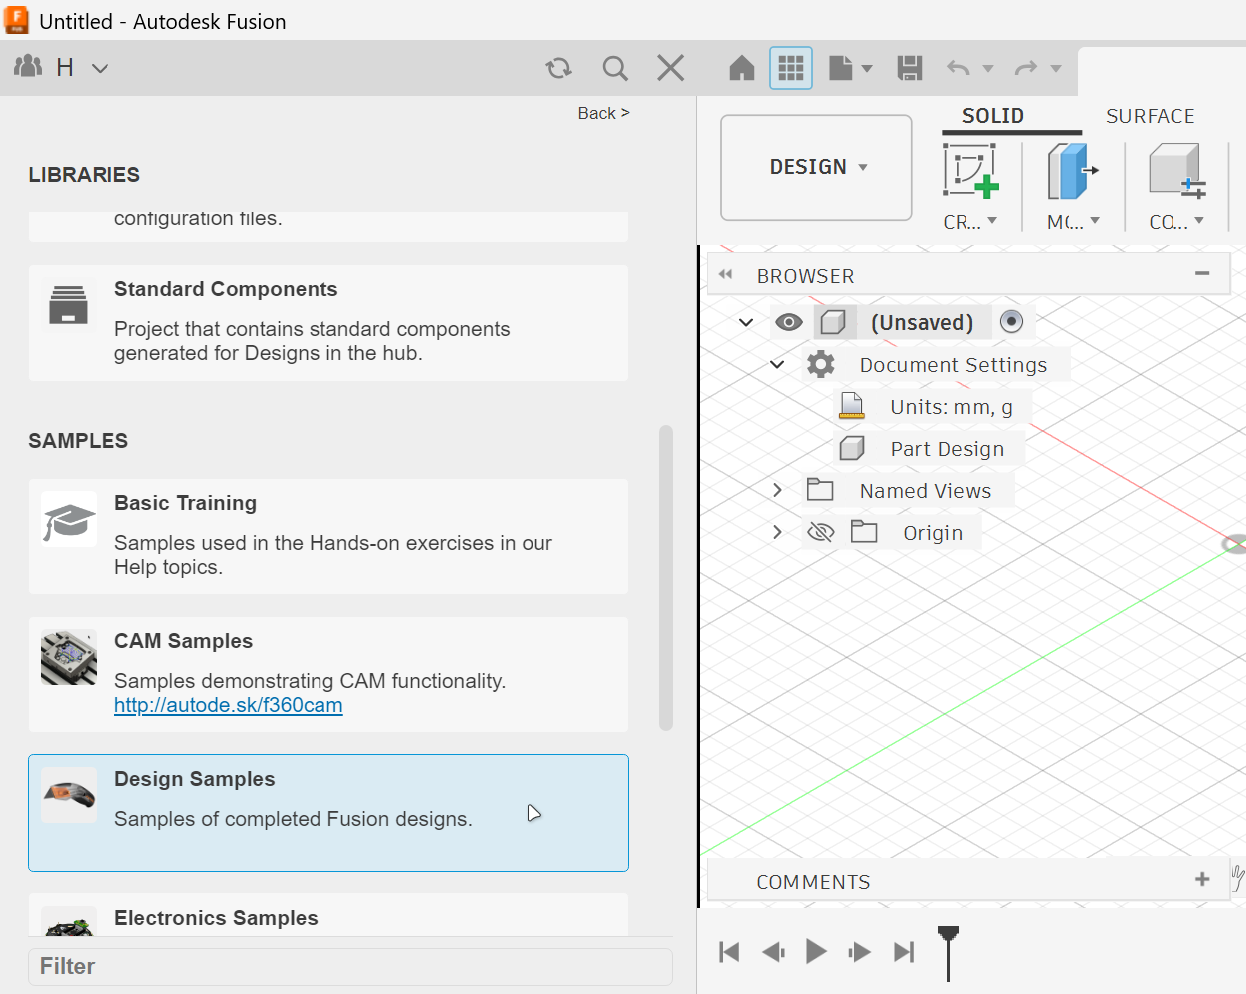
1. Double click
2. Utility Knife 2025
3. Wait for the design to load
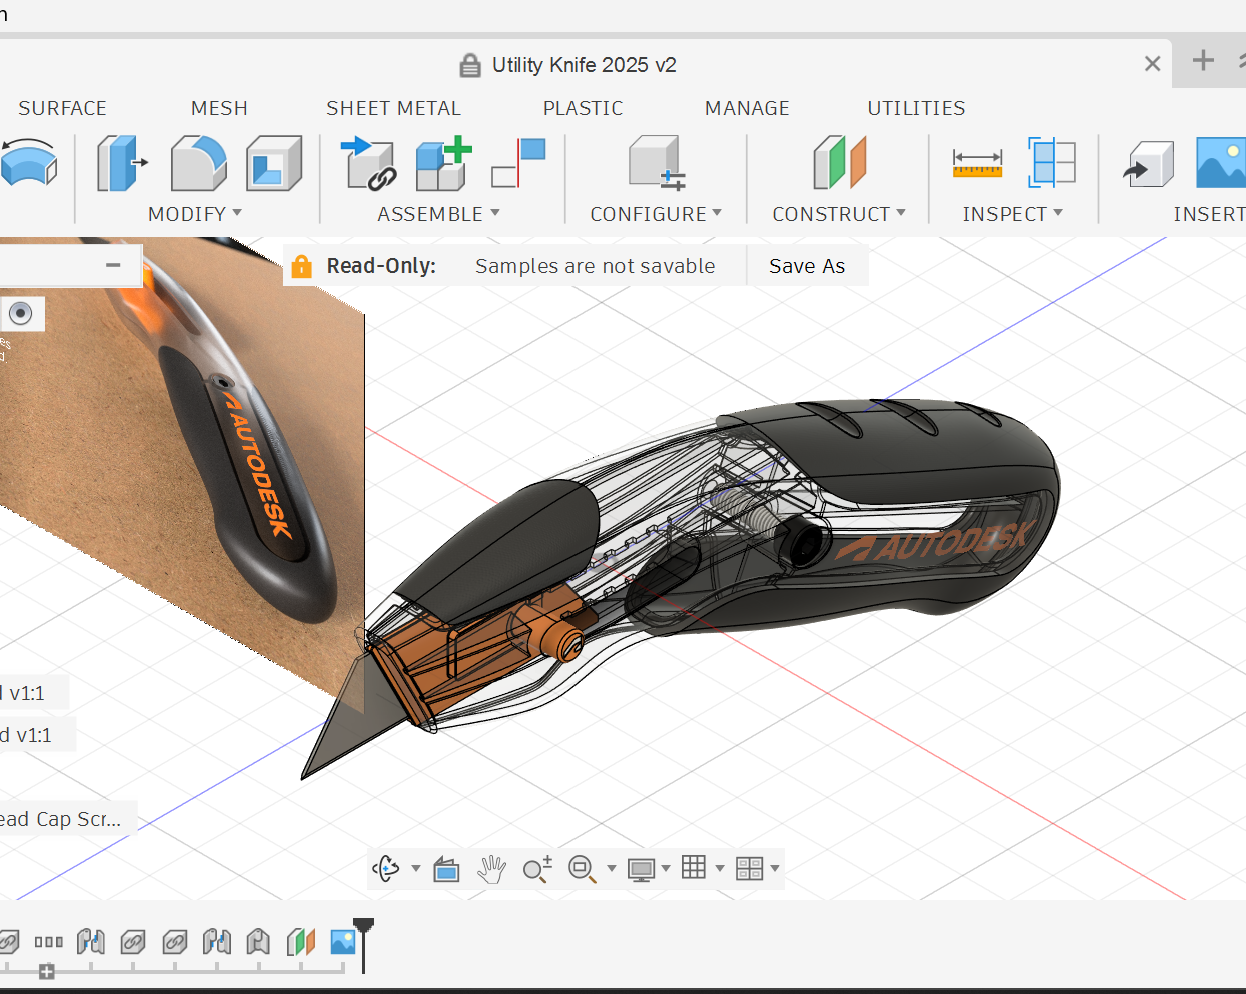
4. Design ready
Sample files are useful because they allow you to explore a complete 3D model without creating one from scratch.
Main Areas of the Interface
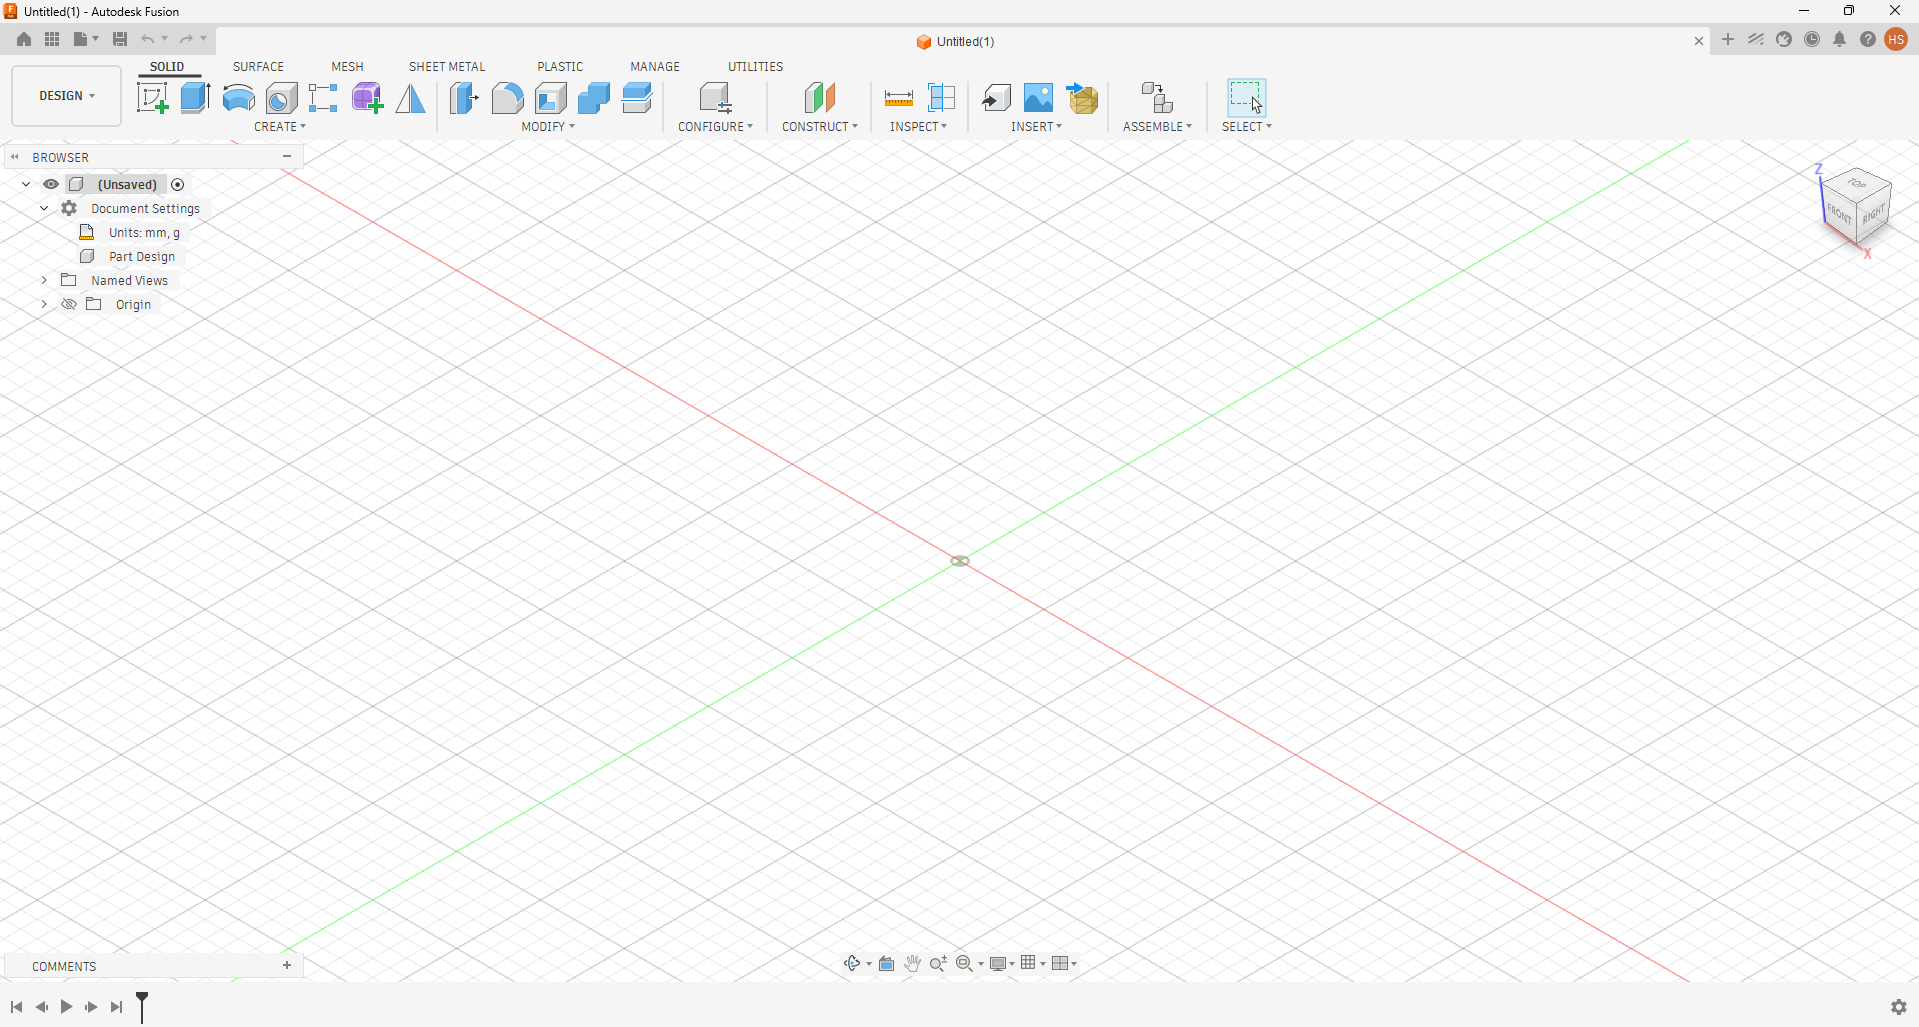
Fusion 360 has a clean workspace designed to help users create, edit and manage 3D designs. The main areas of the interface include the Application Bar, Toolbar, Workspaces, Browser, Canvas, ViewCube, Navigation Controls and Timeline. Each area has a specific purpose and helps make the design process easier and more organized.
Application Bar
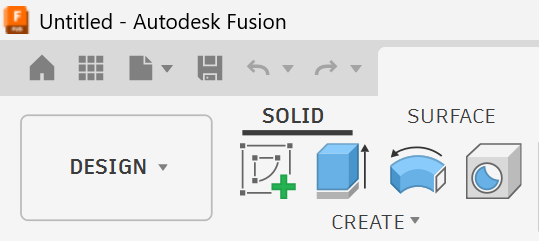
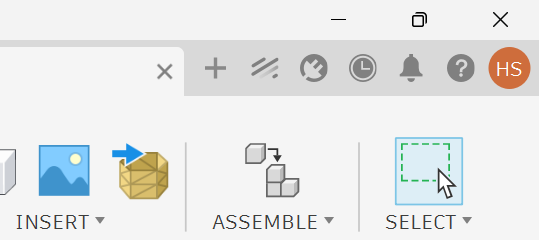
The top area contains common commands, such as
•
Save.
•
Undo.
•
Redo.
•
New Design.
•
File options.
•
Account settings.
•
Help and preferences.
Toolbar
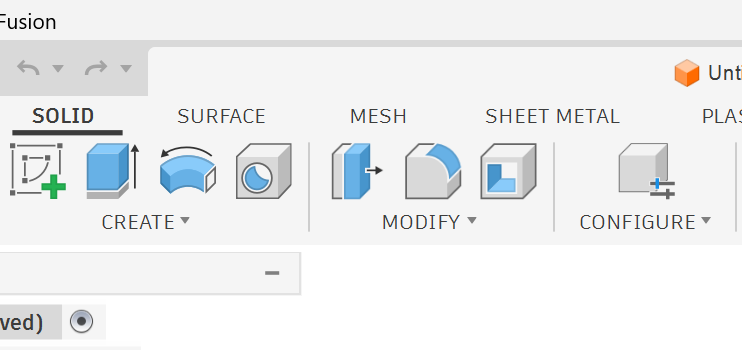
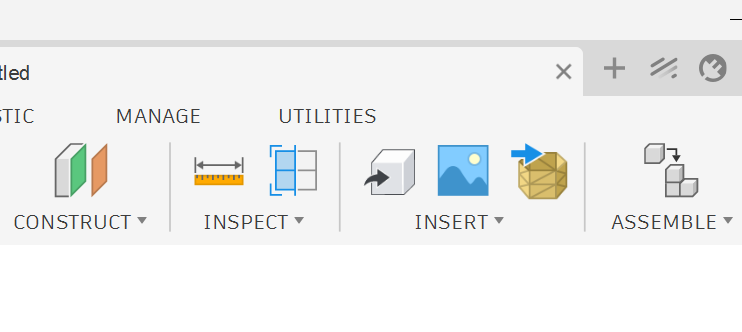
The toolbar contains the main design tools. It changes depending on the selected workspace.
In the Design workspace, you can see tools such as:
•
Create.
•
Modify.
•
Assemble.
•
Construct.
•
Inspect.
•
Insert.
•
Select.
Workspaces
Fusion 360 includes different workspaces for different tasks, such as
•
Design.
•
Render.
•
Animation.
•
Simulation.
•
Manufacture.
•
Drawing.
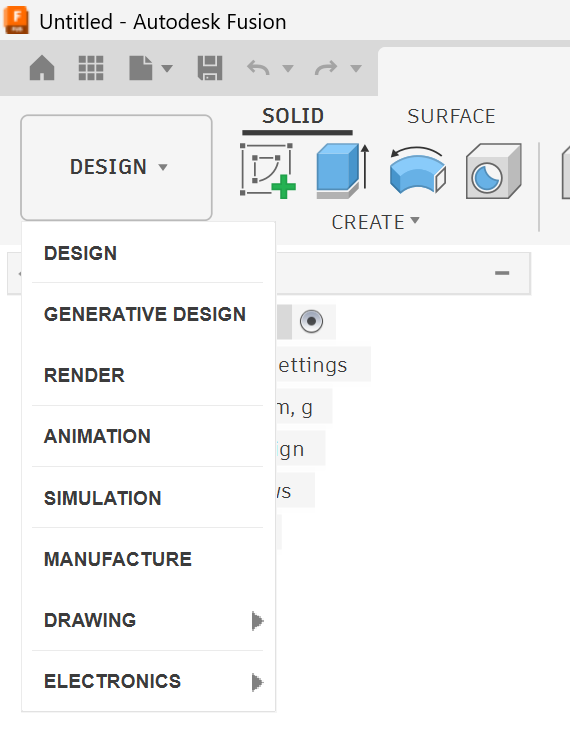
Each workspace provides tools related to a specific type of work.
Browser
The Browser is found on the left side of the workspace. It shows the structure of the design, including
•
Document settings.
•
Named views.
•
Origin.
•
Joints.
•
Sketches.
•
Construction elements.
•
Bodies and components.
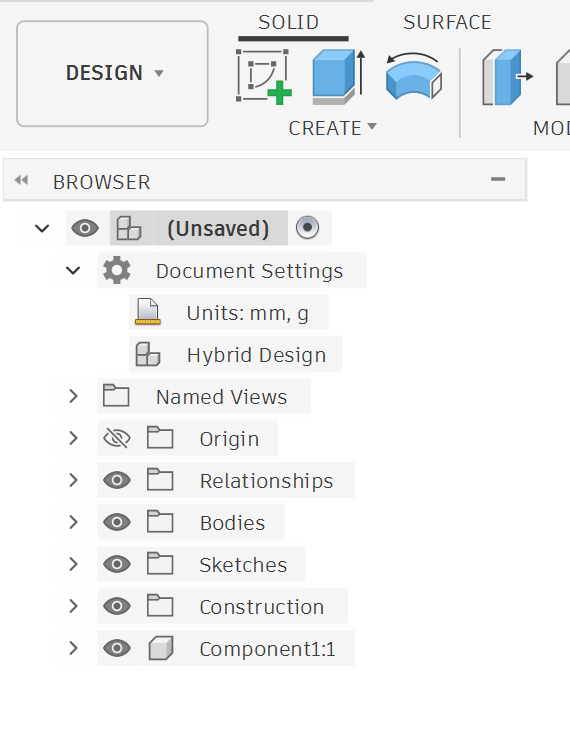
You can use the Browser to show, hide, expand or select parts of the model.
Canvas
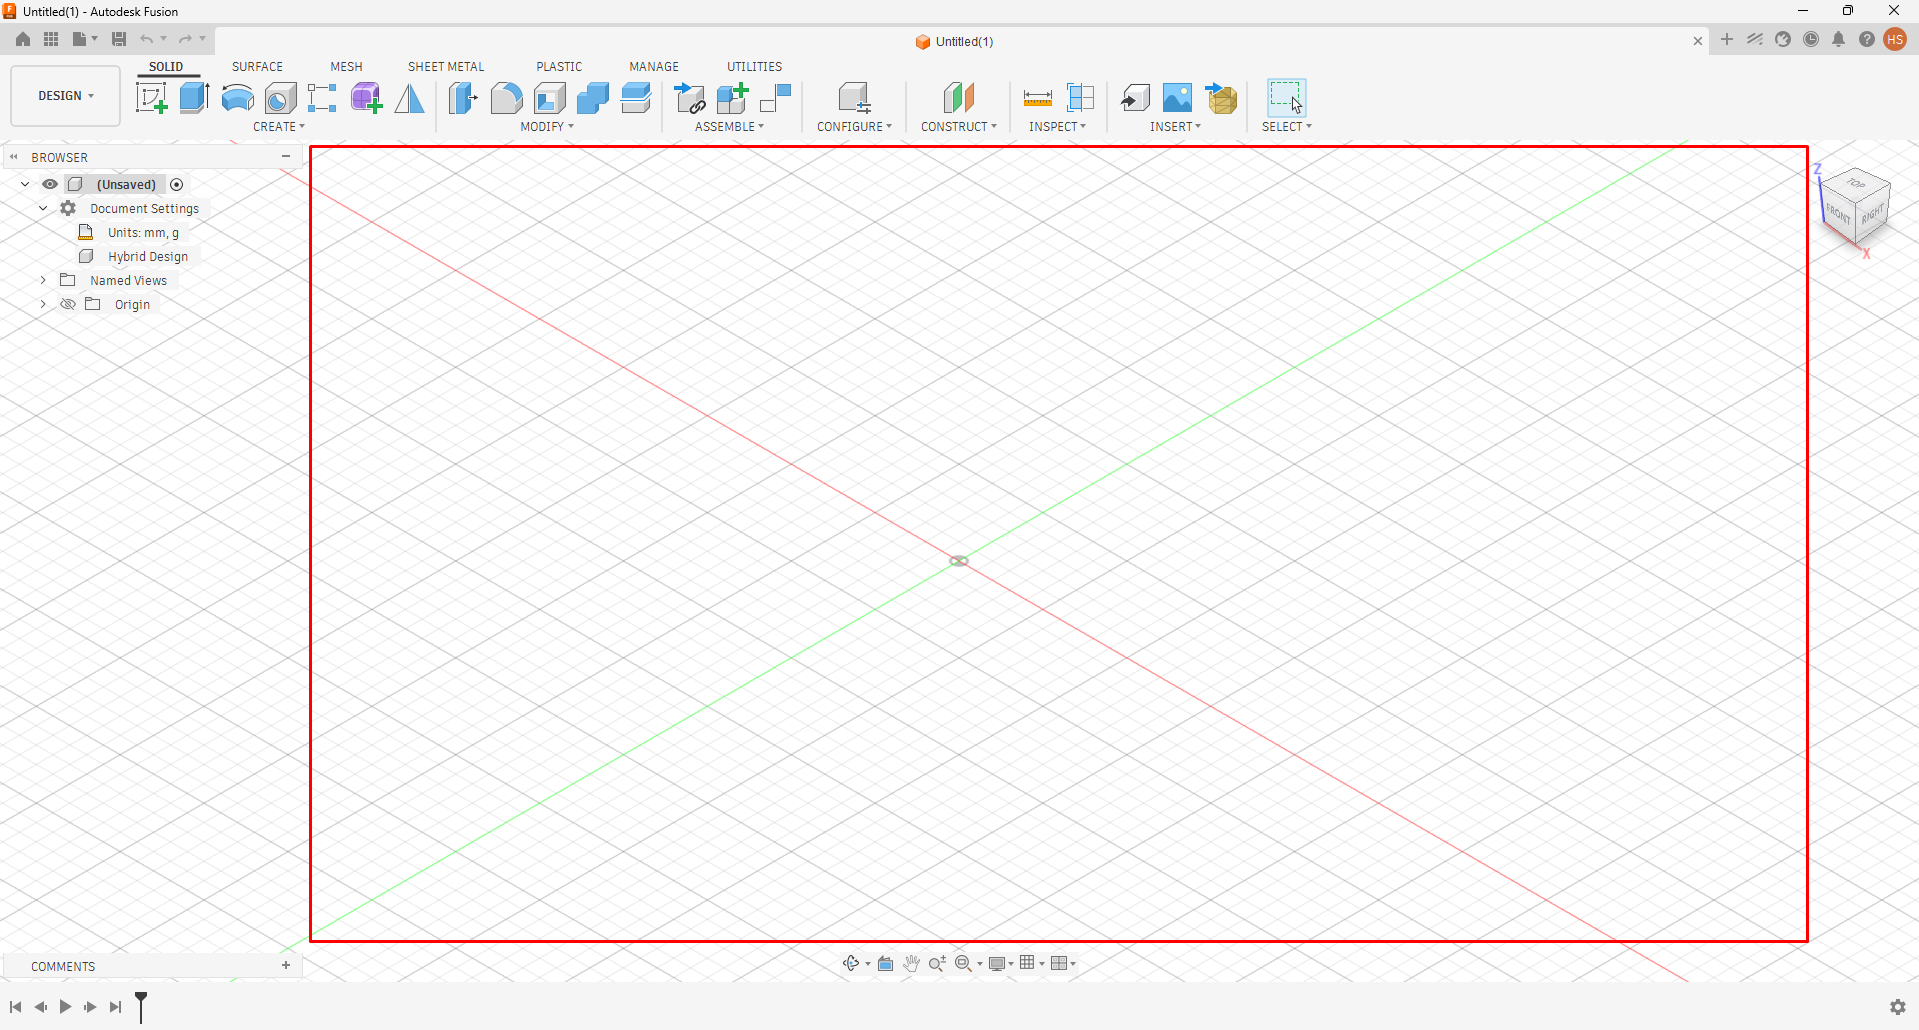
The Canvas is the main 3D workspace where the model appears. This is where you view, select and edit their designs.
ViewCube
The ViewCube is found in the top-right corner. It helps students quickly switch between views, such as
•
Front.
•
Top.
•
Right.
•
Left.
•
Isometric view.
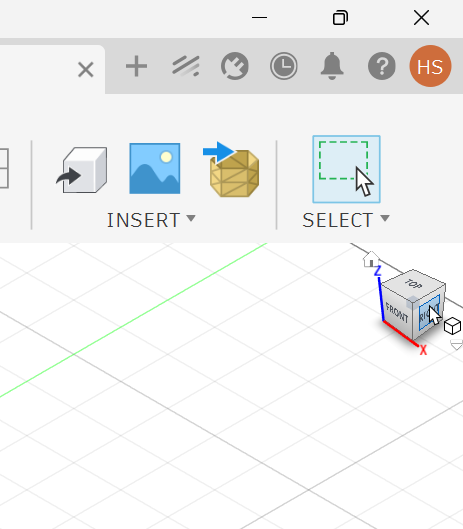
Clicking or dragging the ViewCube changes the camera angle.
Navigation Controls
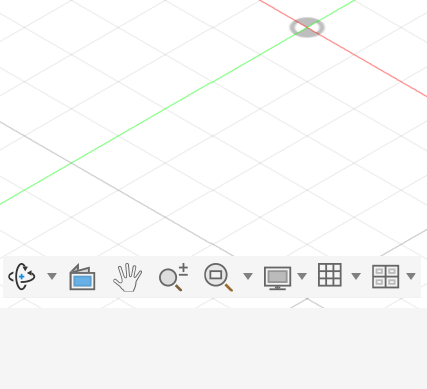
The Navigation Bar is found near the bottom of the Canvas. It includes tools for
•
Orbit.
•
Pan.
•
Zoom.
•
Fit to view.
•
Display settings.
•
Grid and snap settings.
Timeline
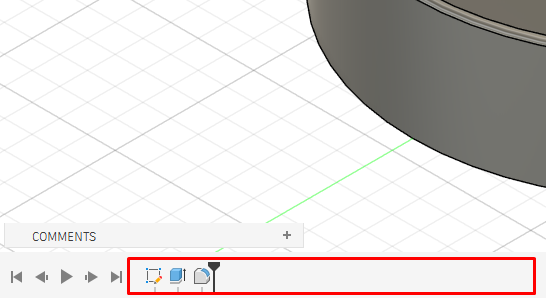
The Timeline is found at the bottom of the screen. It shows the history of actions used to build the model. You can use it later to review or edit previous design steps.
Navigating the 3D Model
Navigation is important because 3D models need to be viewed from different angles. You can navigate using
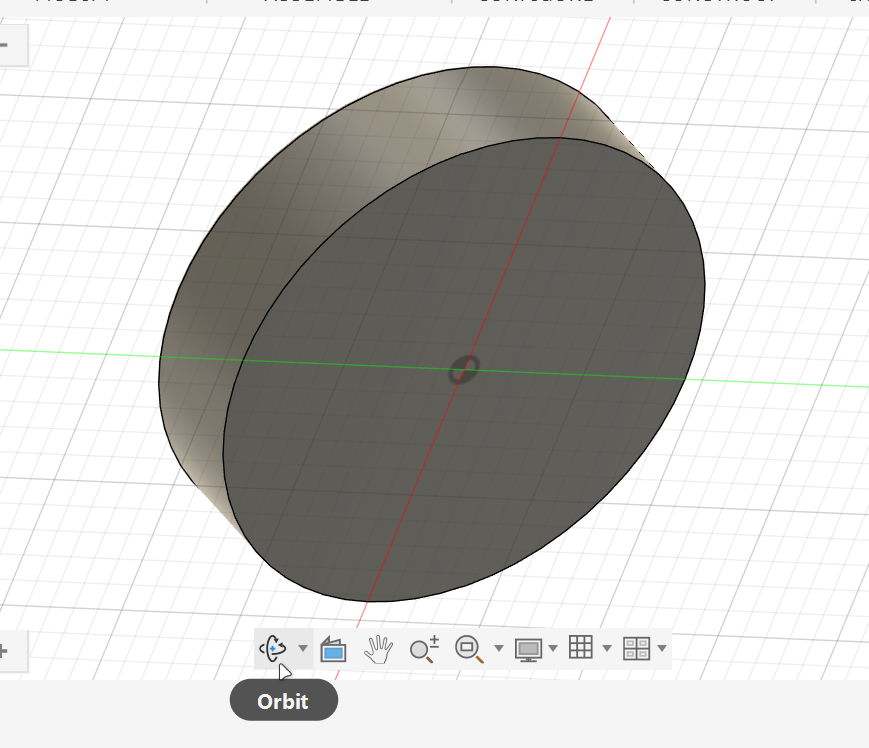
Orbit: Rotate around the model.
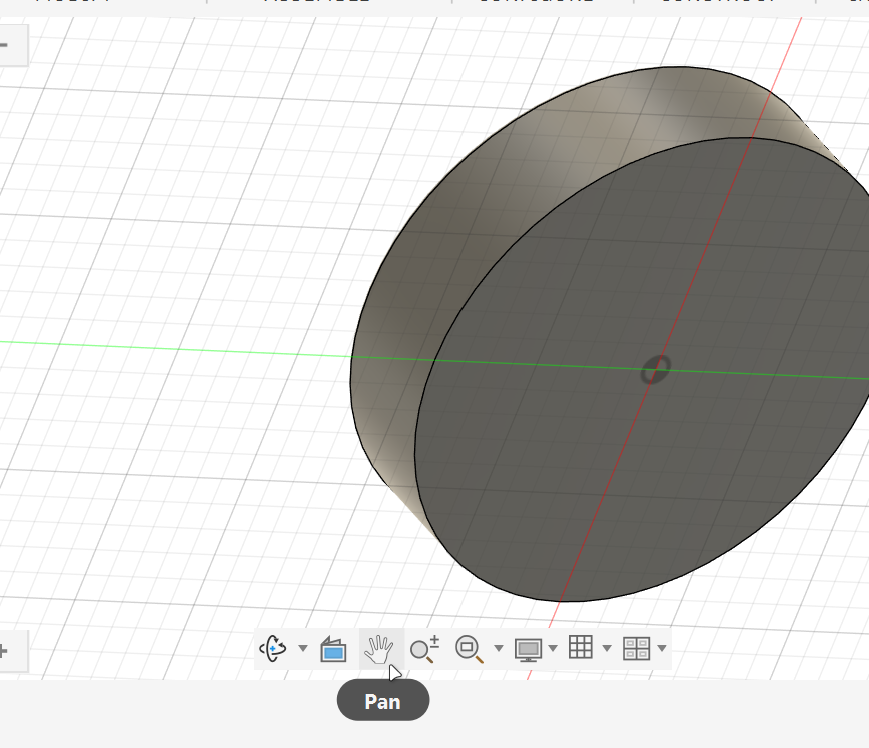
Pan: Move the view left, right, up or down.
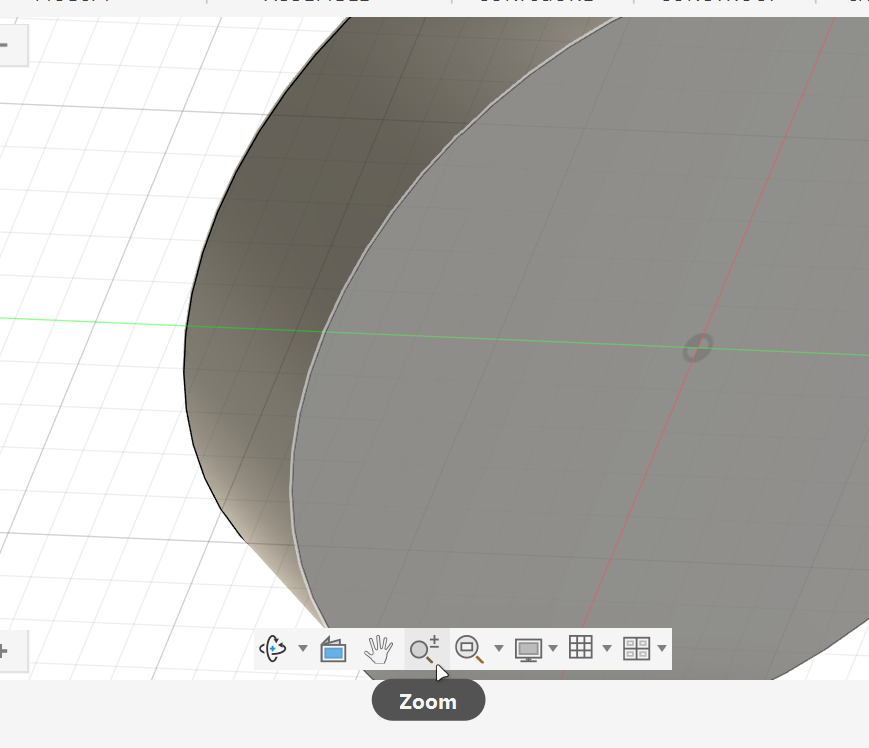
Zoom: Move closer to or farther from the model.
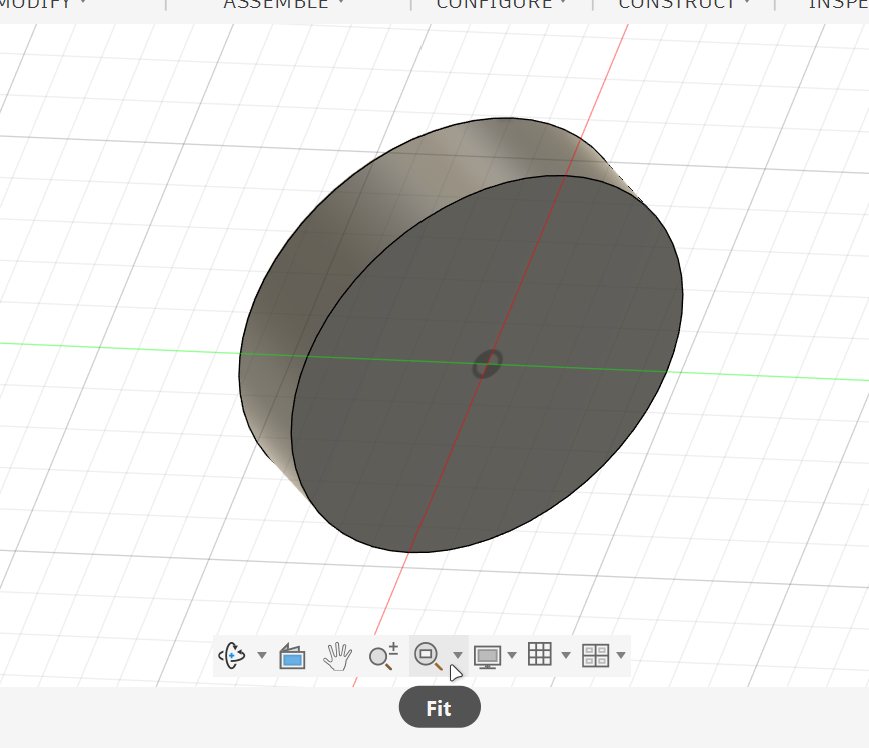
Fit: Return the model to a comfortable view on the screen.
Common Mouse Controls
•
Scroll the mouse wheel to zoom in and out.
•
Hold the middle mouse button to pan.
•
Hold Shift + middle mouse button to orbit.
You can also use the ViewCube to quickly change the viewing direction.
The Visual Style
Fusion 360 allows you to change how the model looks on screen.
From the Display Settings menu, you can change visual styles, such as:
Shaded.
Shaded with hidden edges.
Wireframe.
Visible edges only.
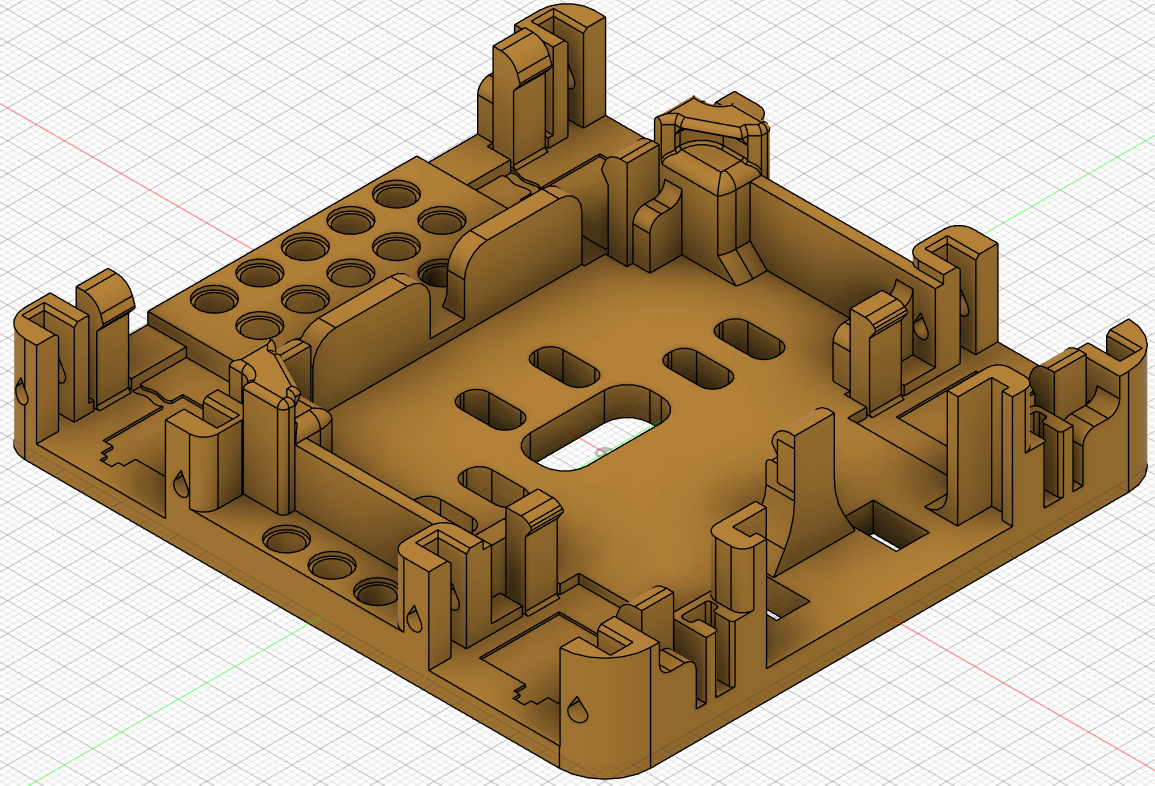
Shaded with visible edges only
These options help you better understand the model’s surfaces, edges and internal structure.
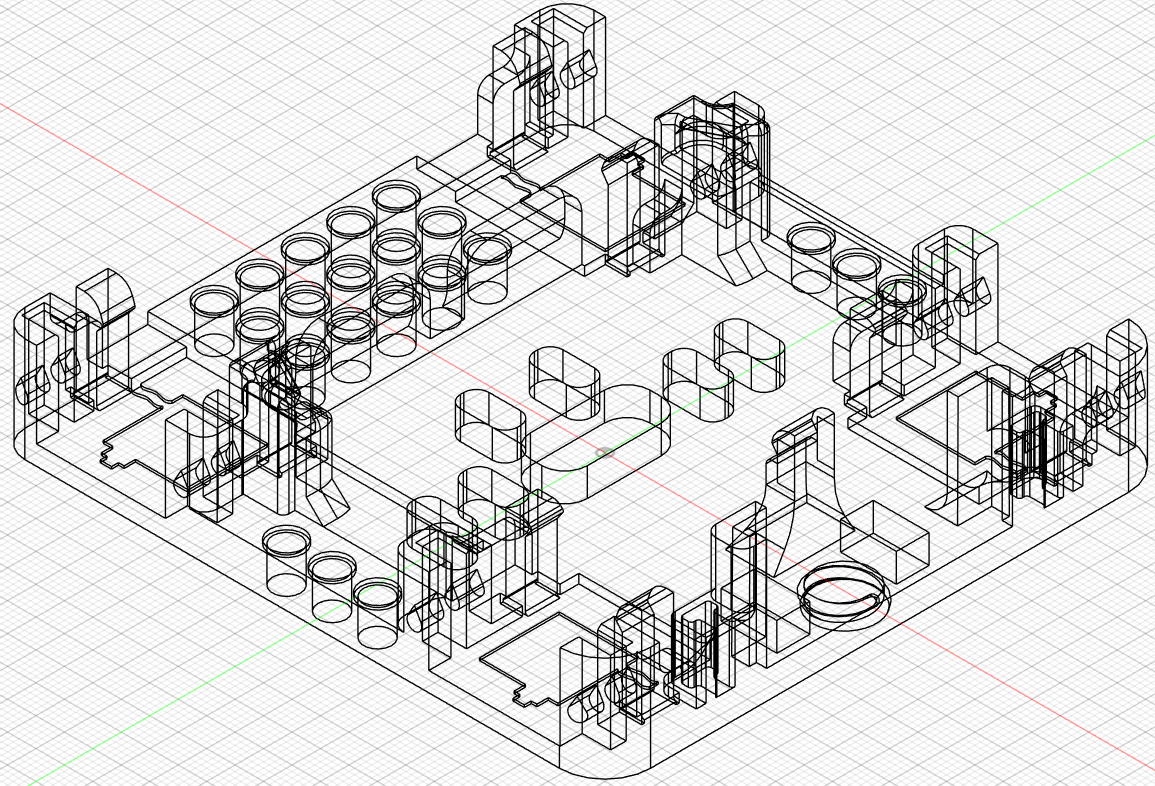
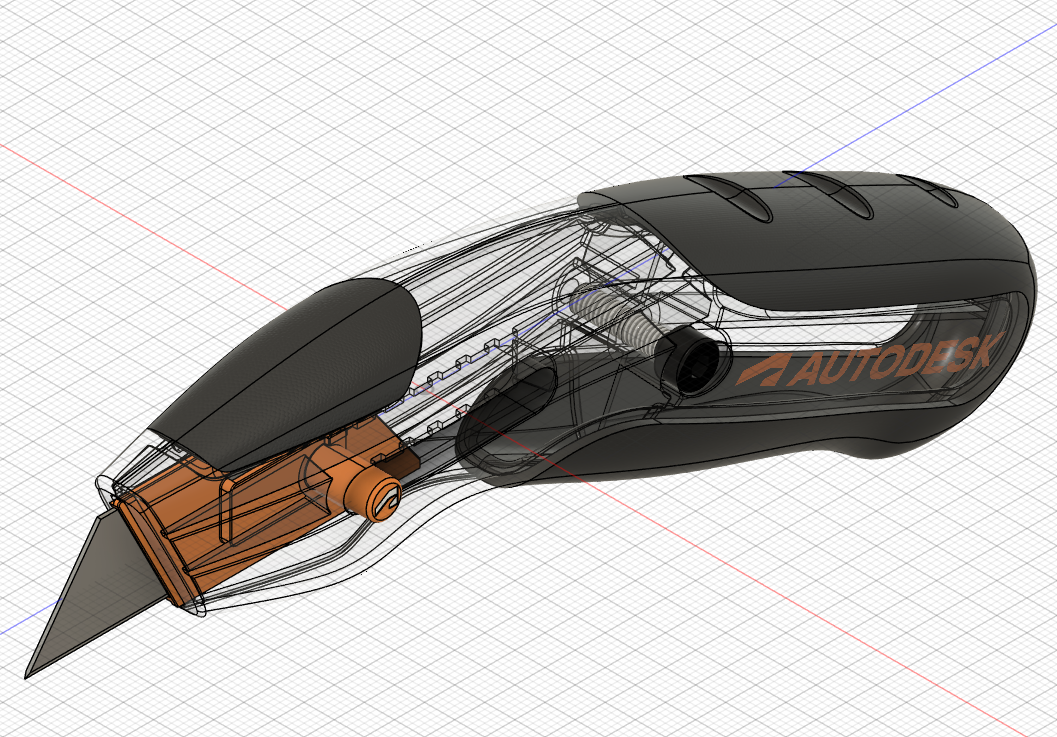
Wireframe
Grid and Snap Settings
The grid helps you understand direction, scale and alignment inside the workspace.
From the Grid and Snap settings, you can turn on or off options, such as:
•
Layout grid.
•
Snap to grid.
•
Grid settings.
•
Incremental movement.
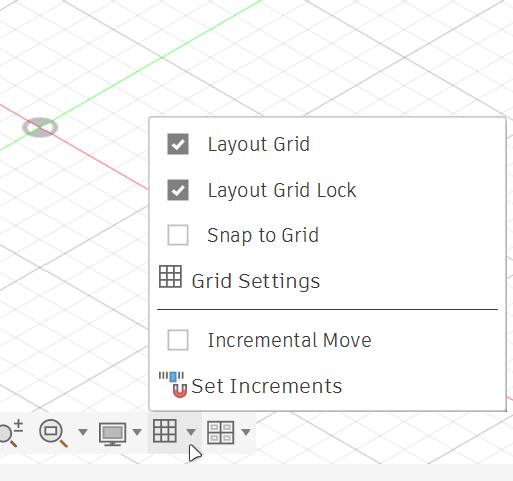
These tools are helpful when creating accurate sketches and models.
Saving a Sample File as a Copy
Some sample files open as Read-Only. This means you can view the file but cannot edit it directly.
To make the file editable:
1.
Click Save as Copy.
2.
Rename the file if needed.
3.
Choose the correct project or folder.
4.
Click Save.
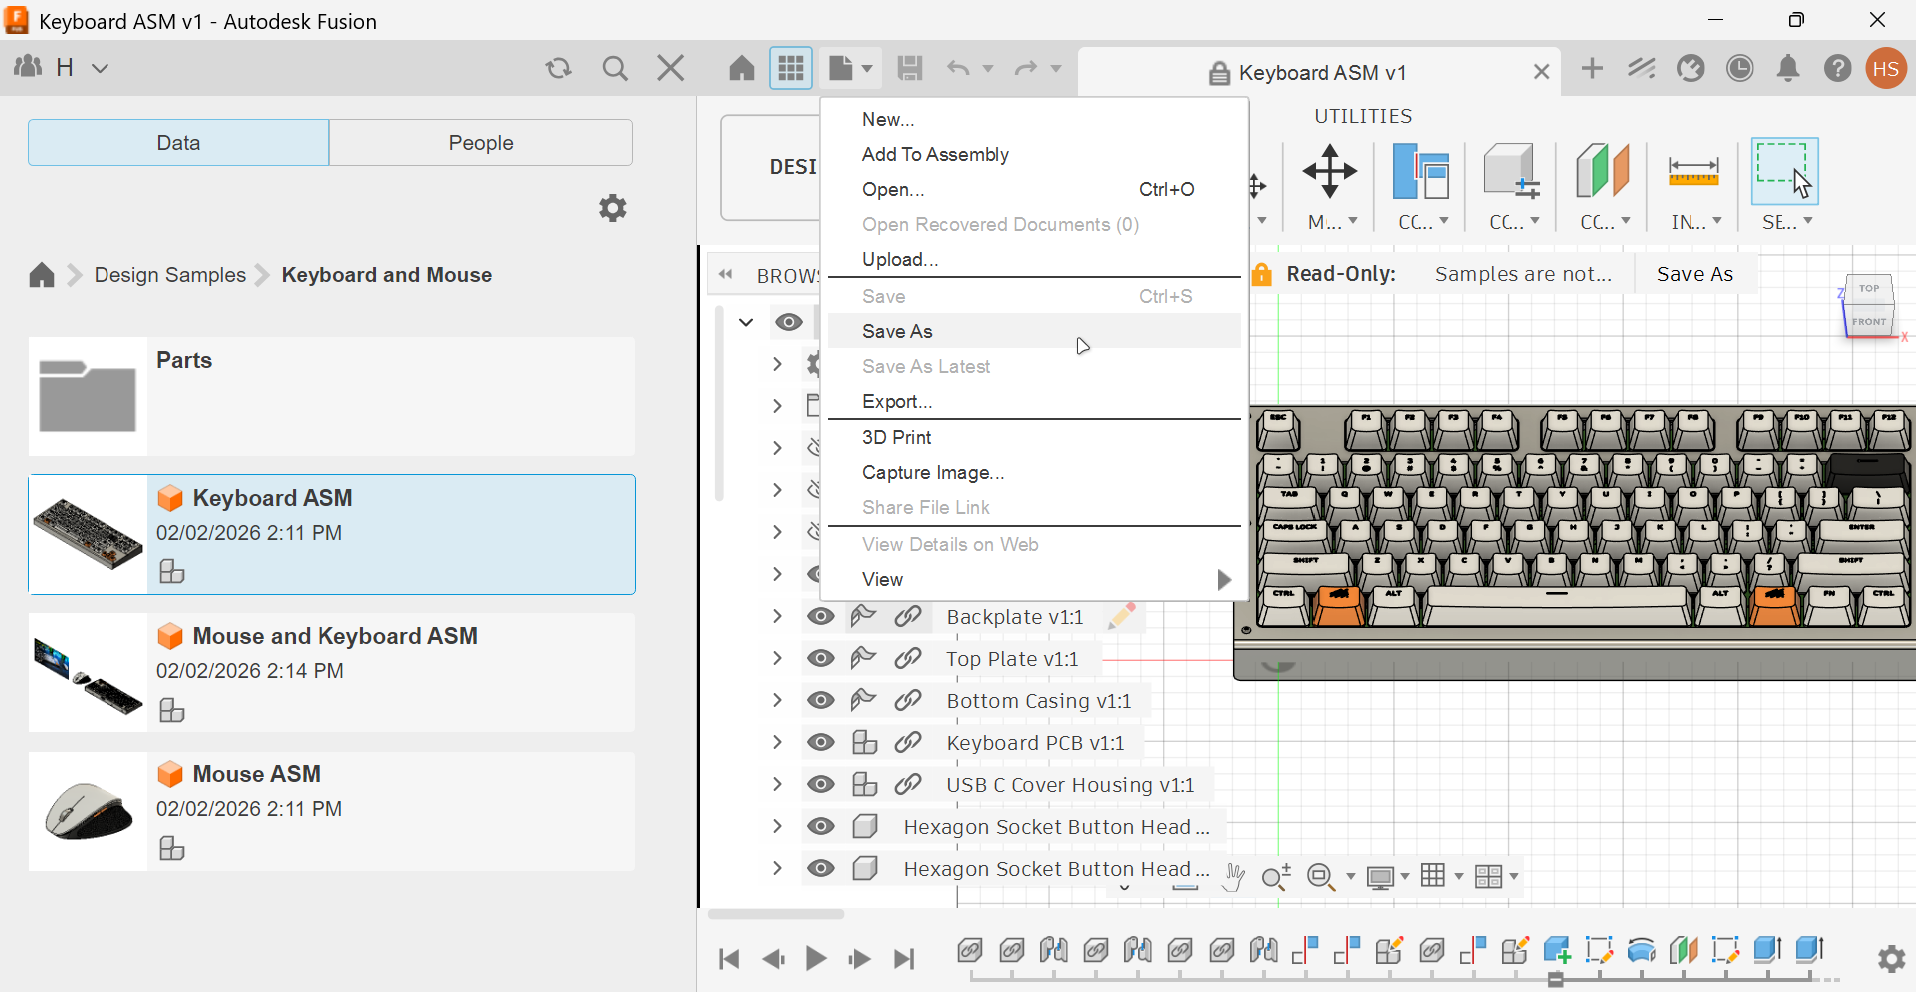
After saving the file as a copy, it becomes editable and can be used for practice.
Practice Task
Open Fusion 360 and complete the following
1.
Open the Data Panel.
2.
Create or open a project.
3.
Open the Utility Knife sample file.
4.
Identify the Toolbar, Browser, Canvas, ViewCube, Navigation Bar and Timeline.
5.
Practice orbiting, panning and zooming around the model.
6.
Change the visual style from Display Settings.
7.
Save the sample file as a copy inside your project.
Reflection Questions
•
Why is the Browser important when working with complex models?
•
How does the ViewCube help you navigate faster?
•
Why should you save a read-only sample file as a copy before editing?
•
Which navigation tool do you think you will use the most: orbit, pan or zoom?