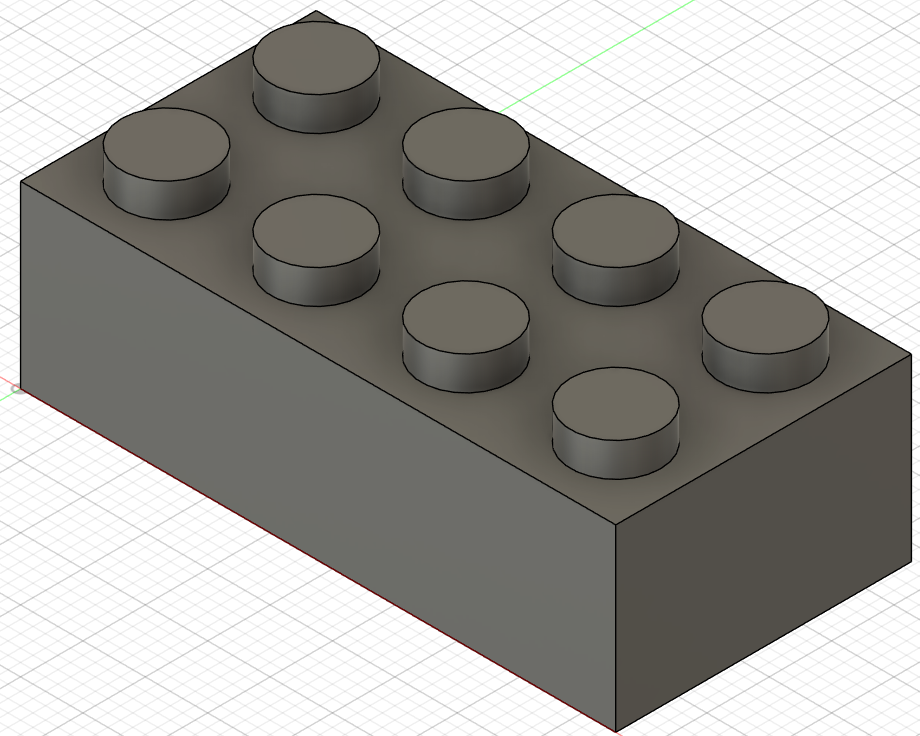
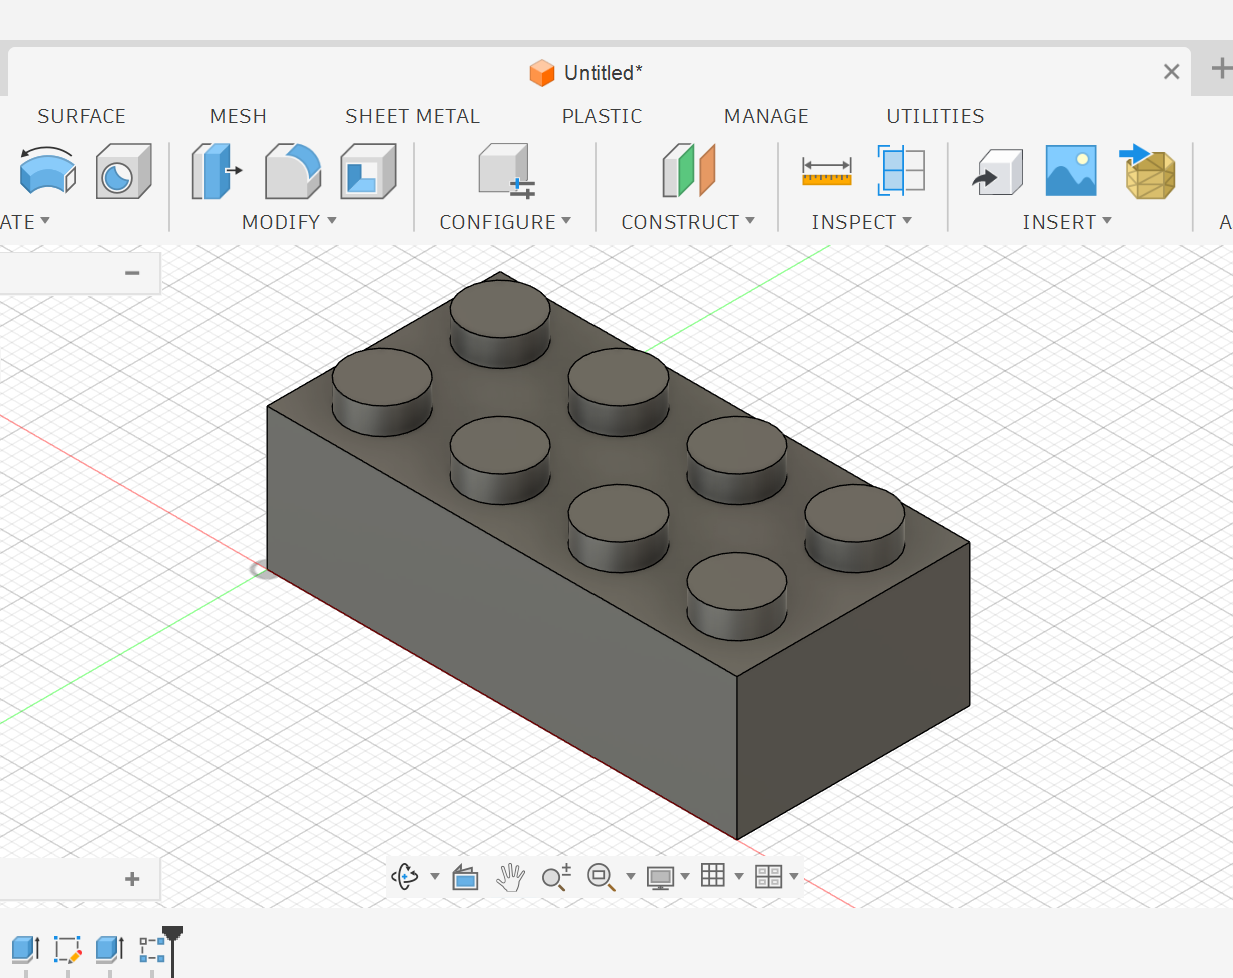
In this lesson, you will learn how to create a LEGO-style play brick in Autodesk Fusion 360 using accurate dimensions and repeated features. You will start by creating the main rectangular body, then hollow the inside, add one circular stud and use the Rectangular Pattern tool to repeat the stud across the top of the brick.
Objectives
By the end of this lesson, you will be able to
•
Create a rectangular 3D body using sketch dimensions.
•
Use Extrude to add and remove material.
•
Use Offset to create wall thickness.
•
Create circular features on a face.
•
Use Rectangular Pattern to repeat a feature in rows and columns.
•
Build a simple LEGO-style brick with top studs and internal supports.
Key Concept
What Is a Rectangular Pattern?
A Rectangular Pattern is a tool that repeats a selected object, sketch, body or feature in straight rows and columns.
Instead of drawing the same shape many times, you create one correct feature first, then duplicate it using a pattern.
For example, in this lesson, you will create one circular stud on top of the brick, then repeat it to create the full set of studs.
This makes the design:
•
Faster to create.
•
More accurate.
•
Easier to modify.
•
Better organized.
Create the Main Brick Shape
Start by creating the basic rectangular body of the play brick.
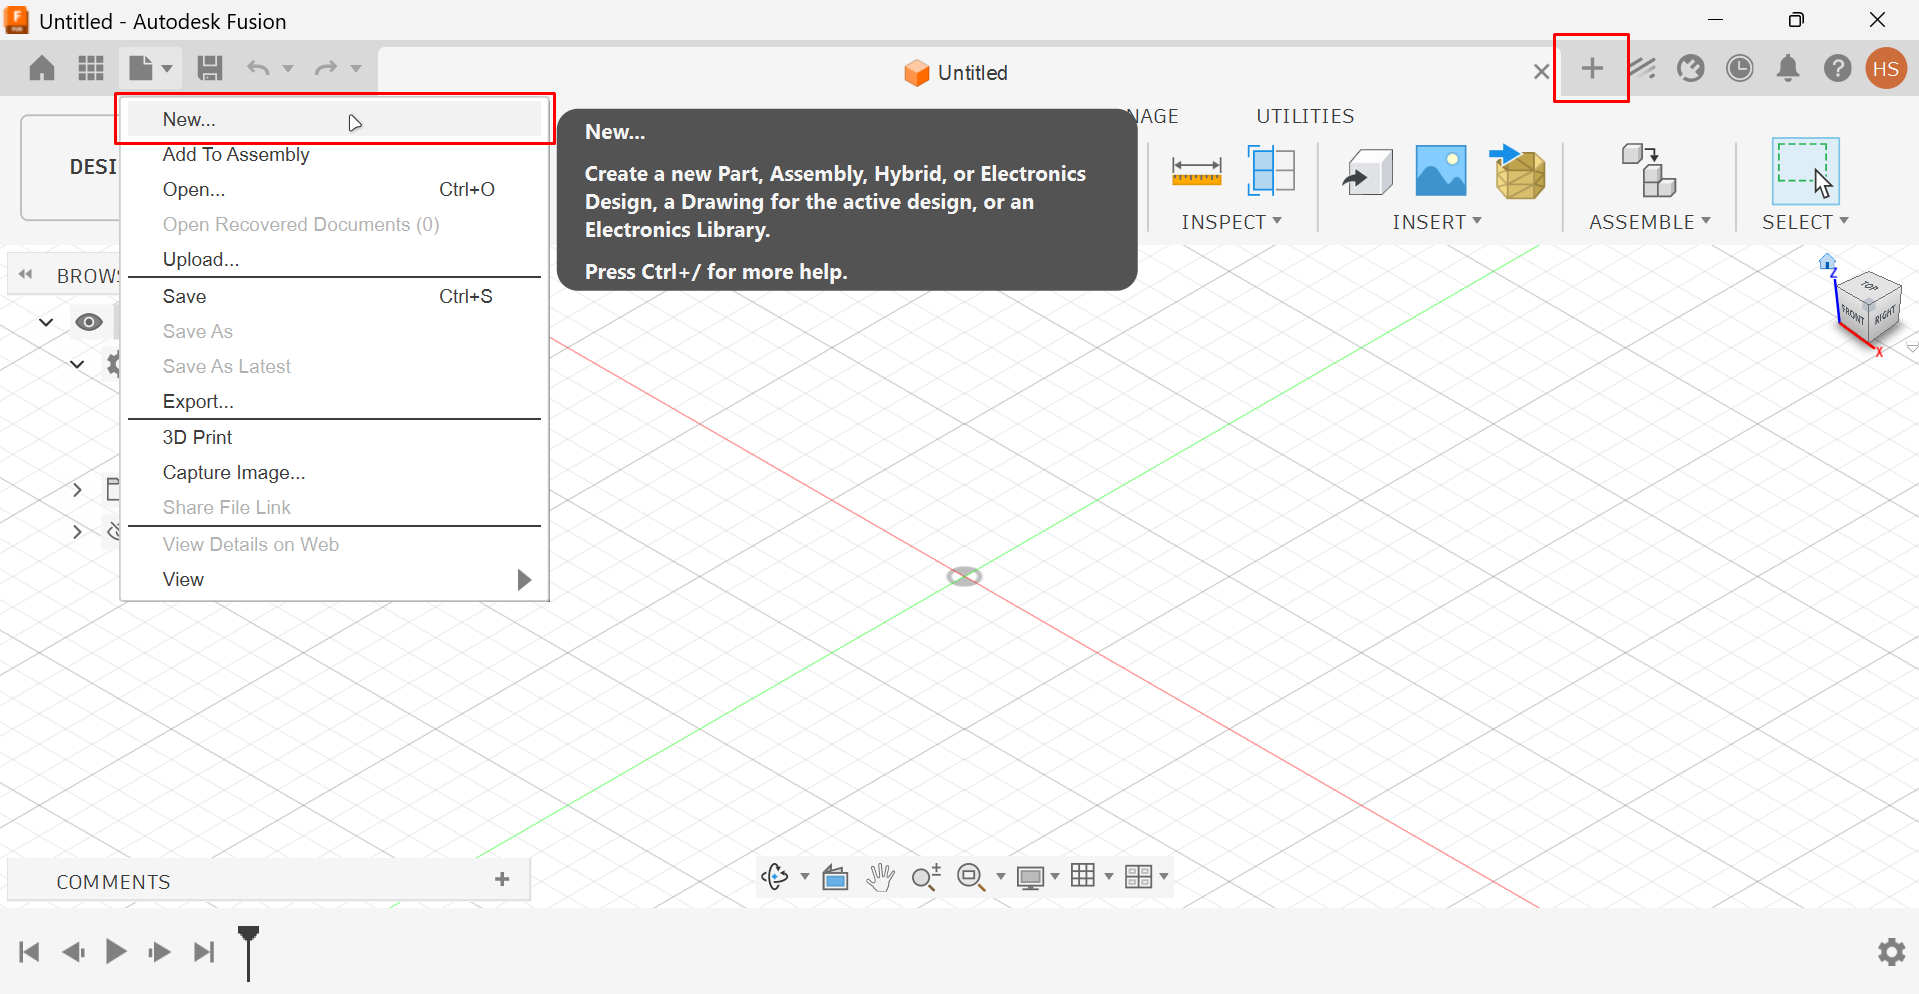
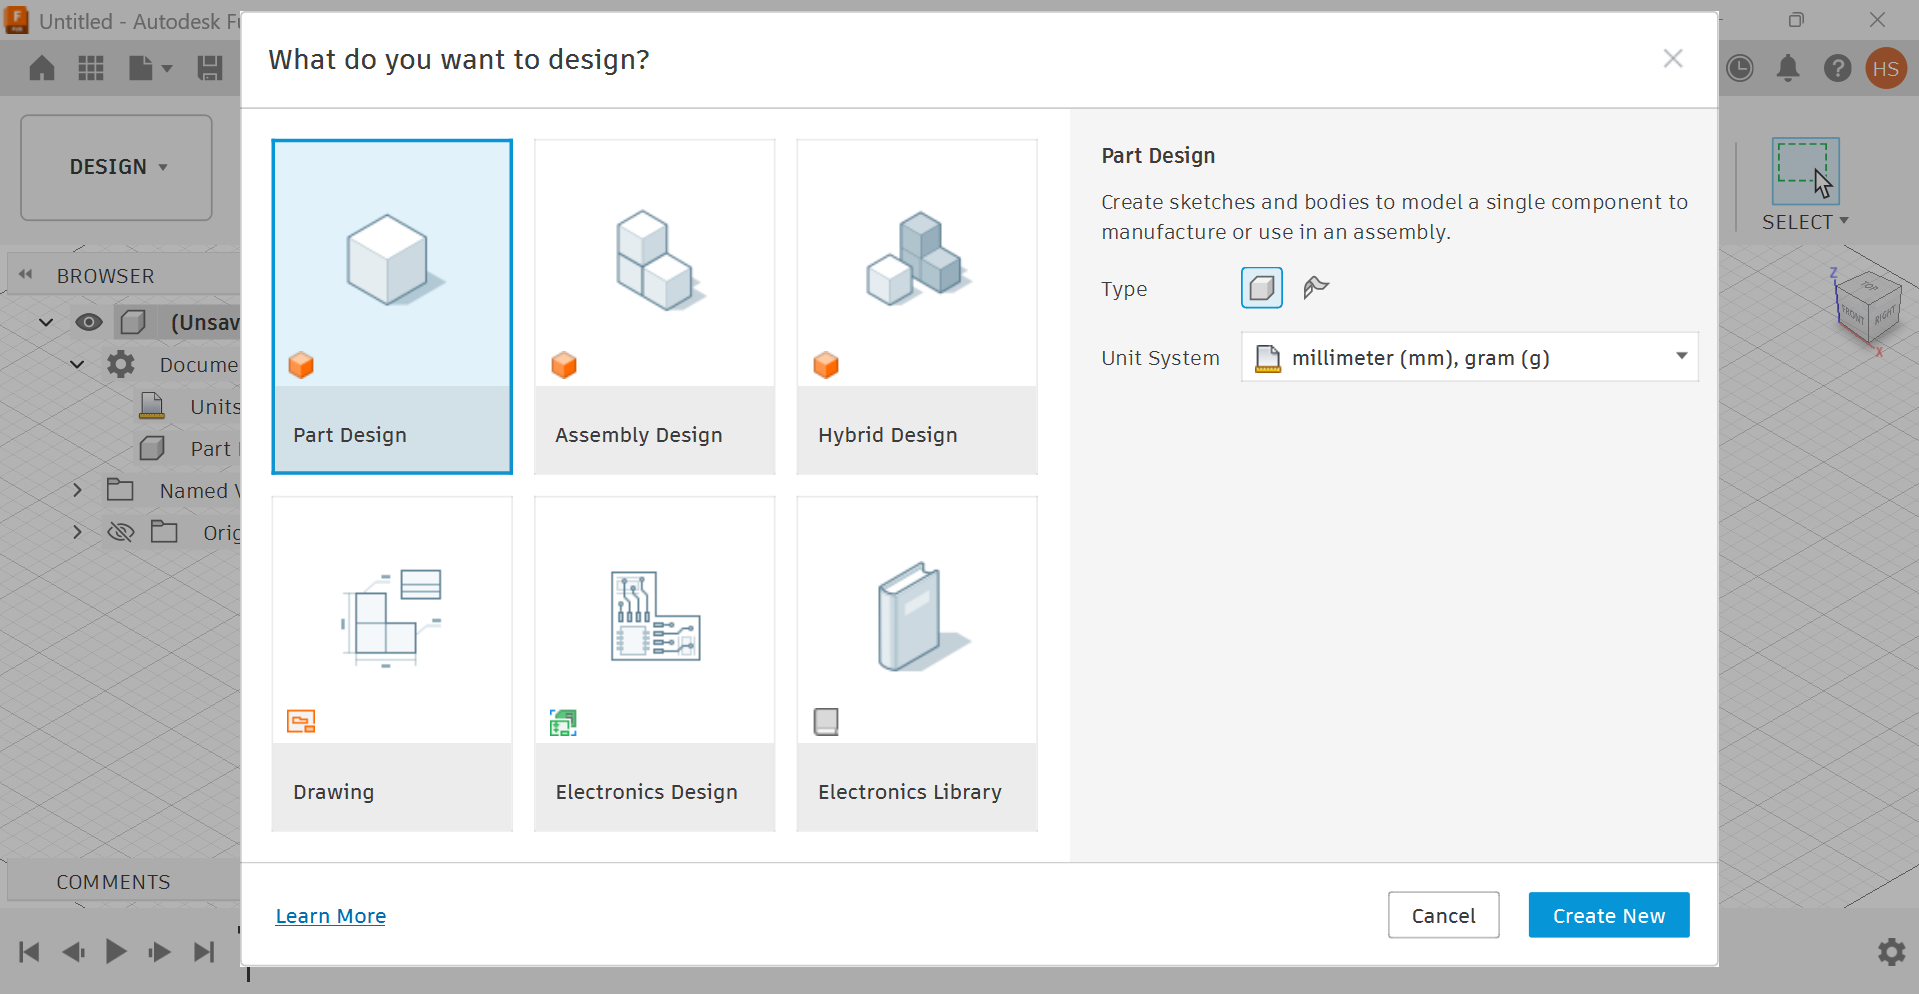
1. Create a new design by clicking New or the Plus (+) icon.
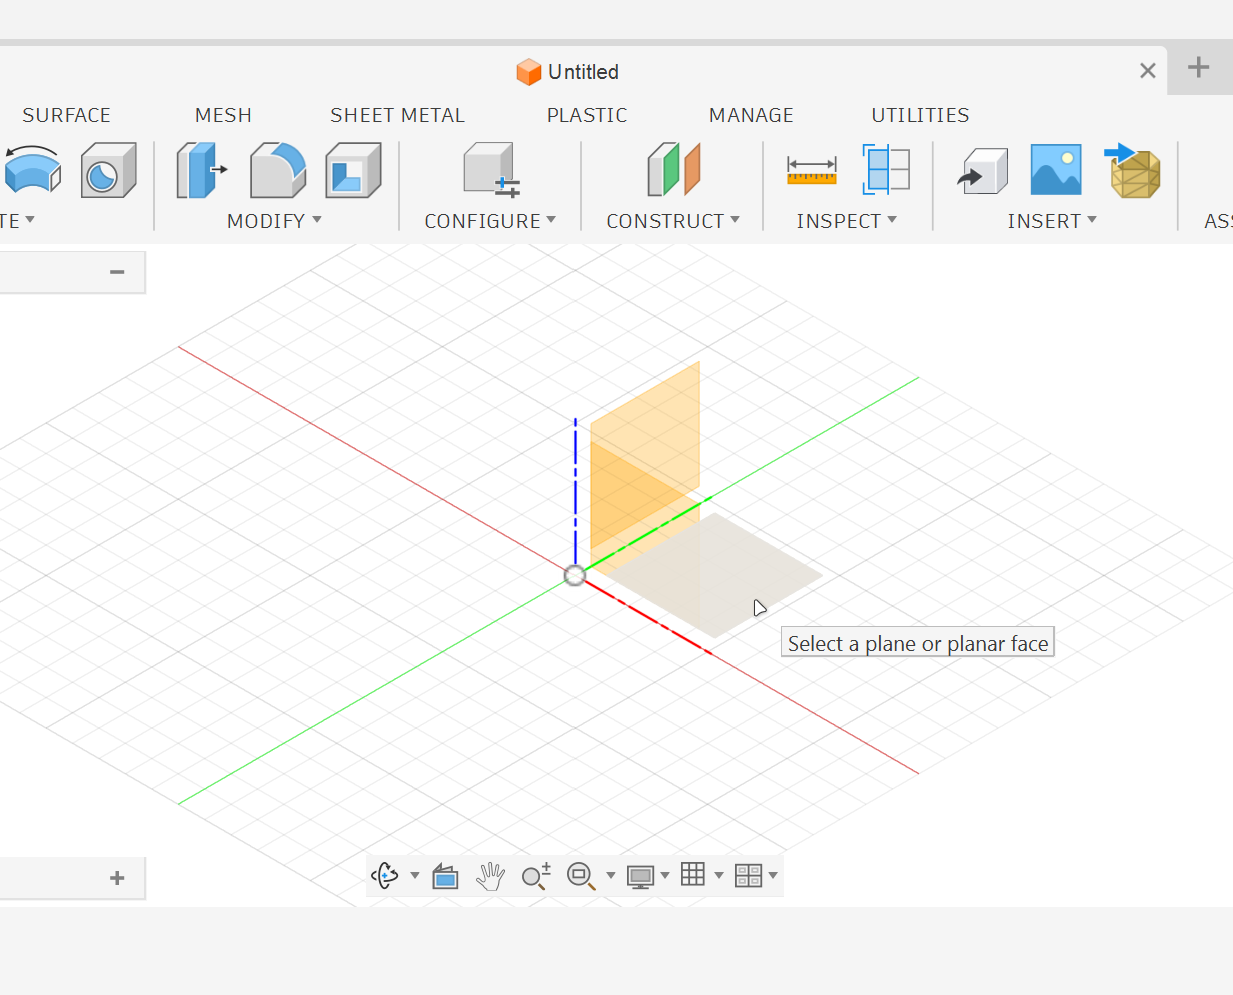
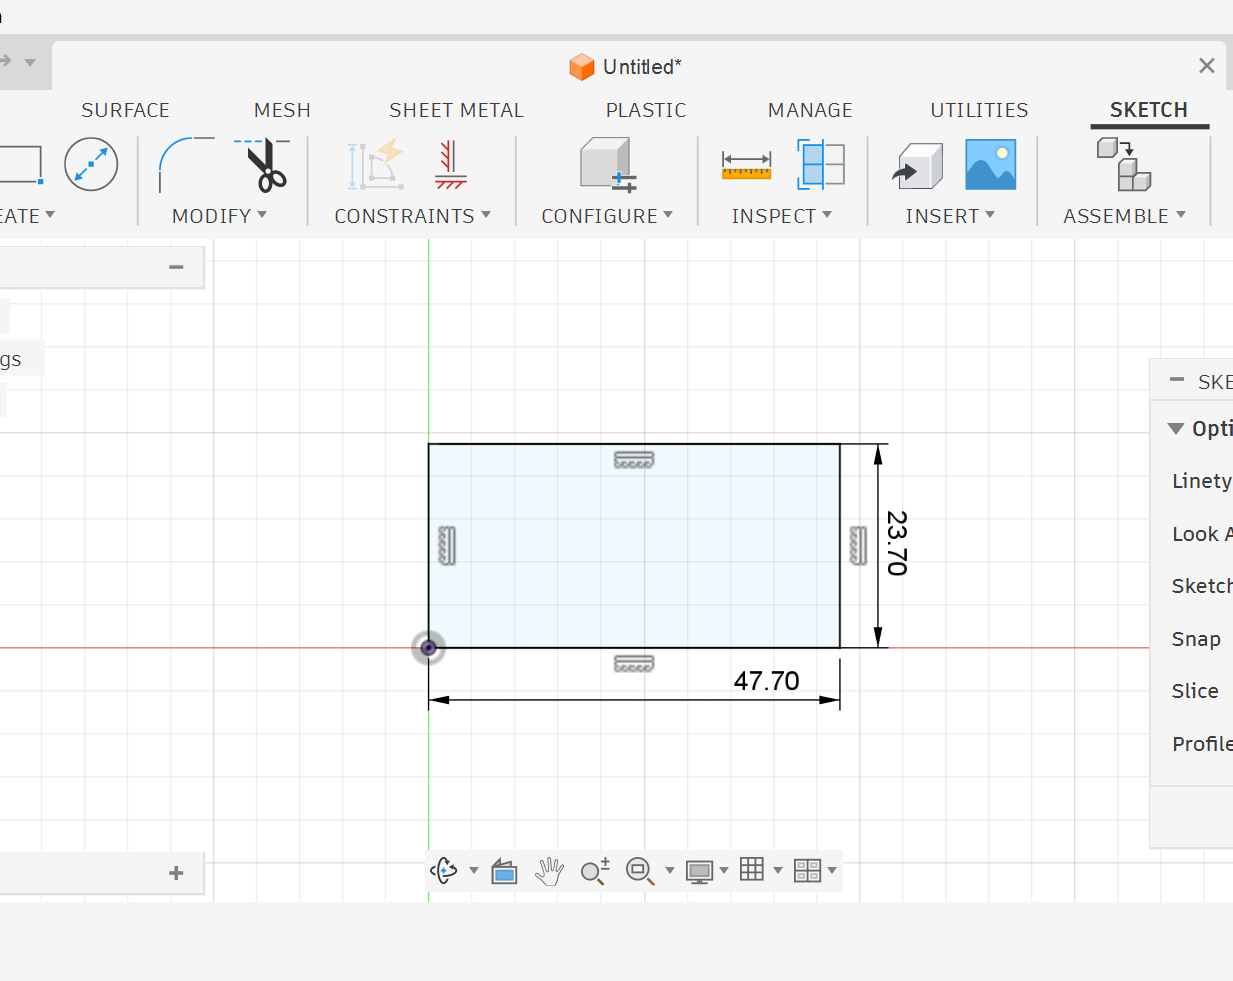
3. Start a new sketch on the top plane.
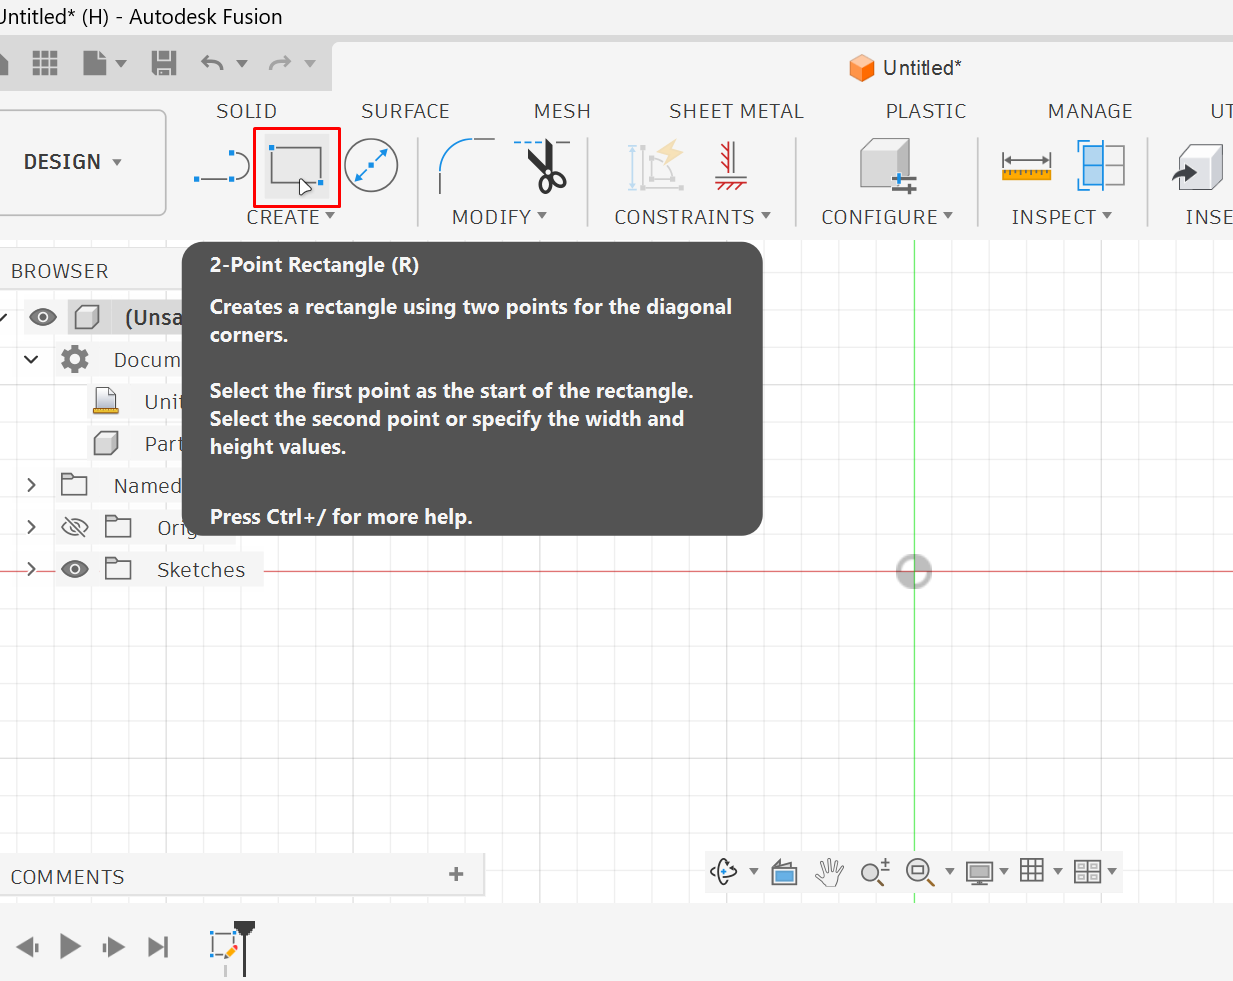
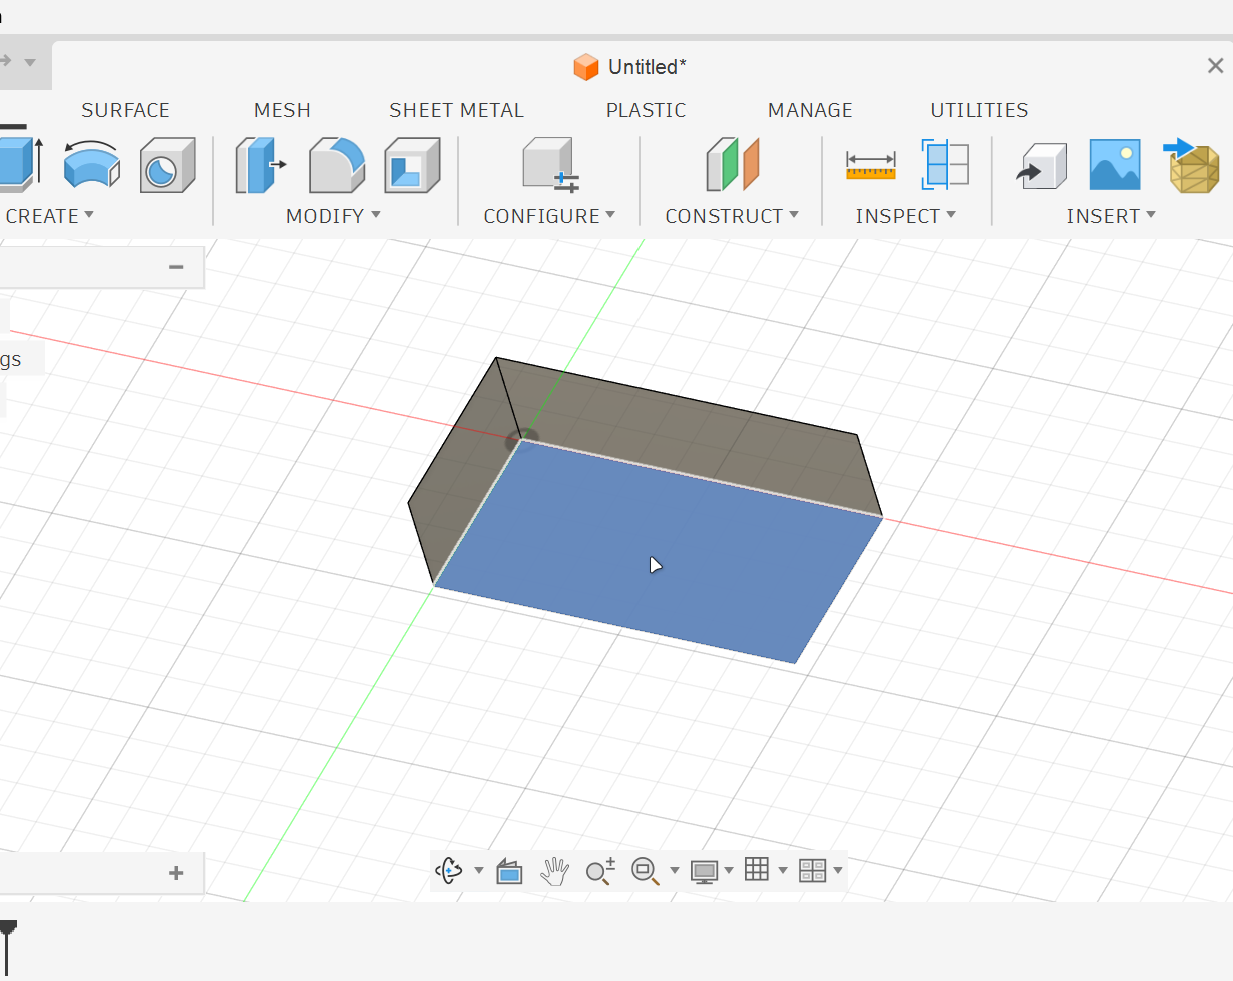
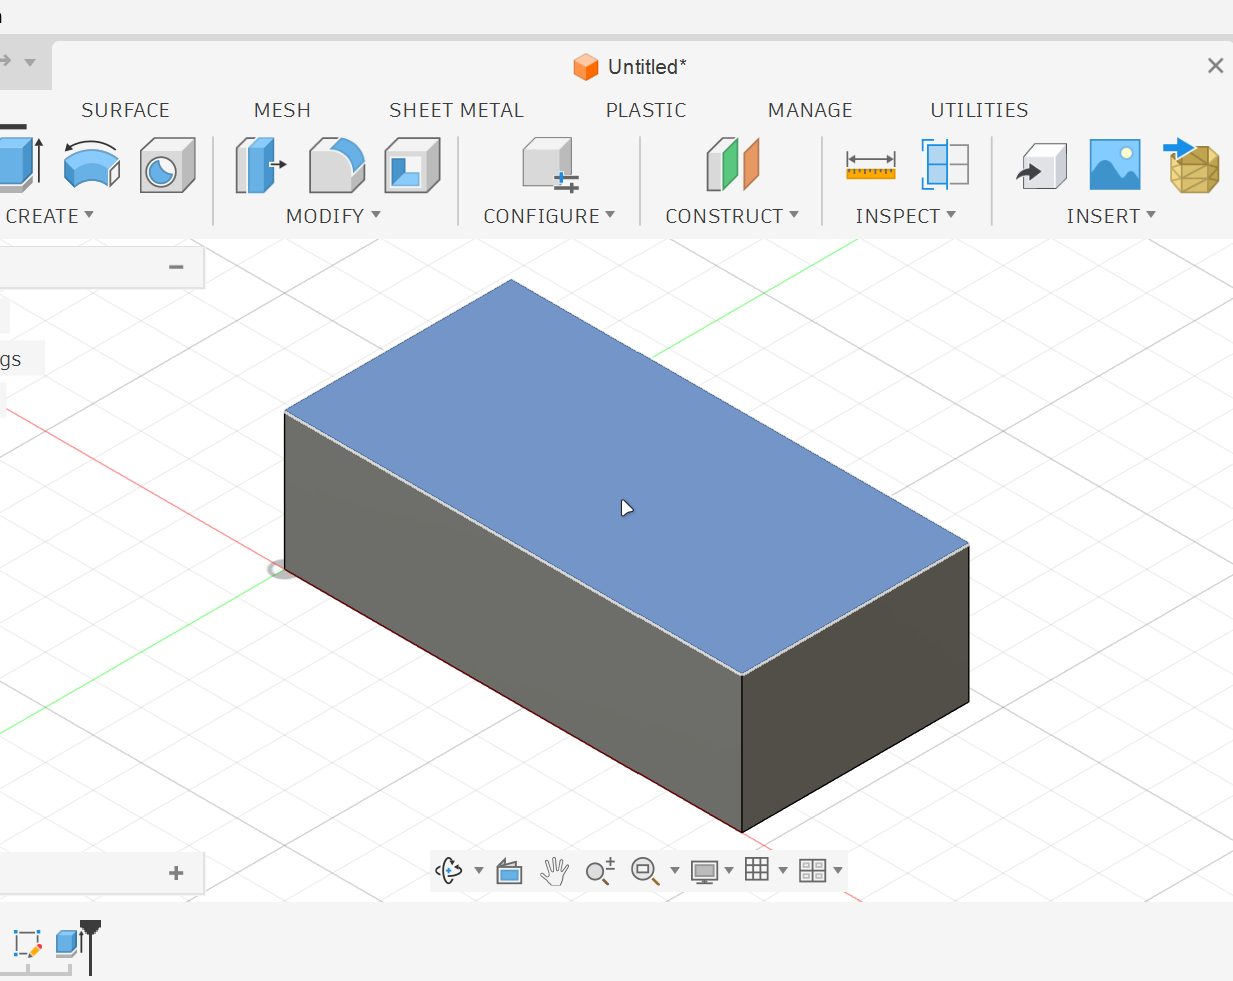
5. Draw a rectangle starting from the origin (47.7 mm x 23.7 mm).
2. For now, choose either Part Design or Hybrid Design.
4. Select the Rectangle tool.
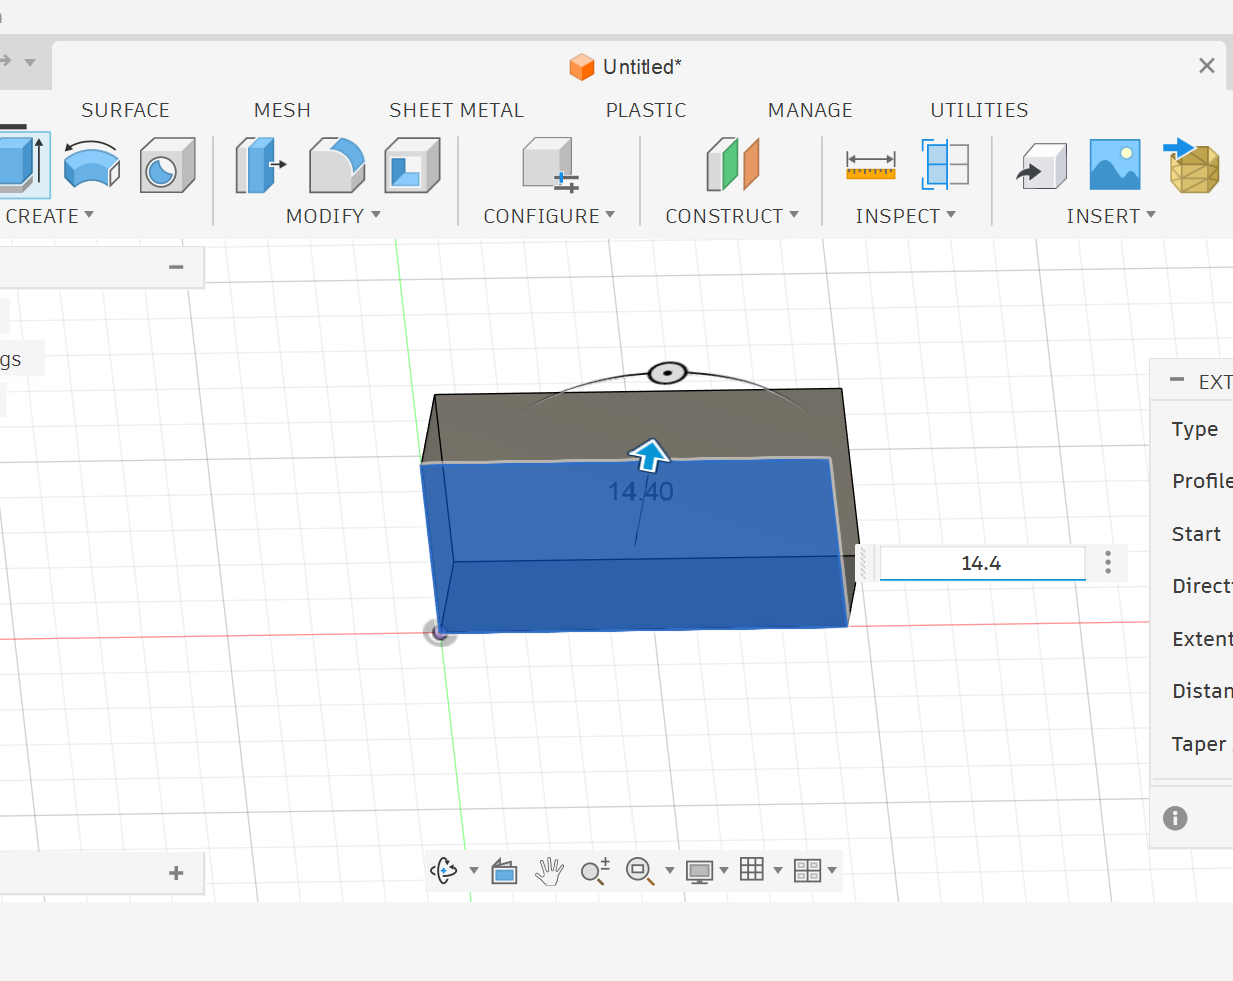
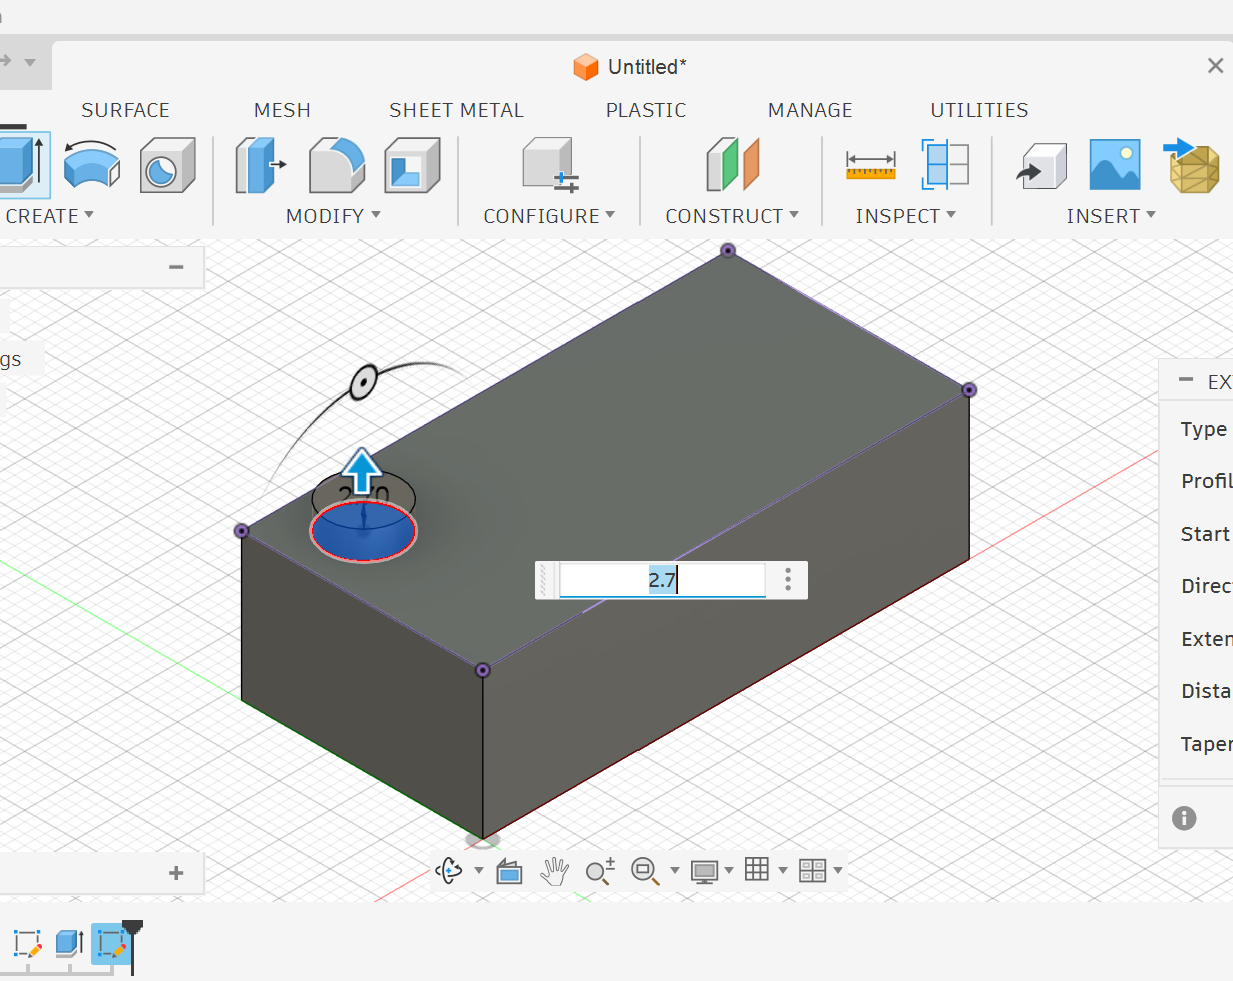
6. Extrude the shape upward (14.4 mm).
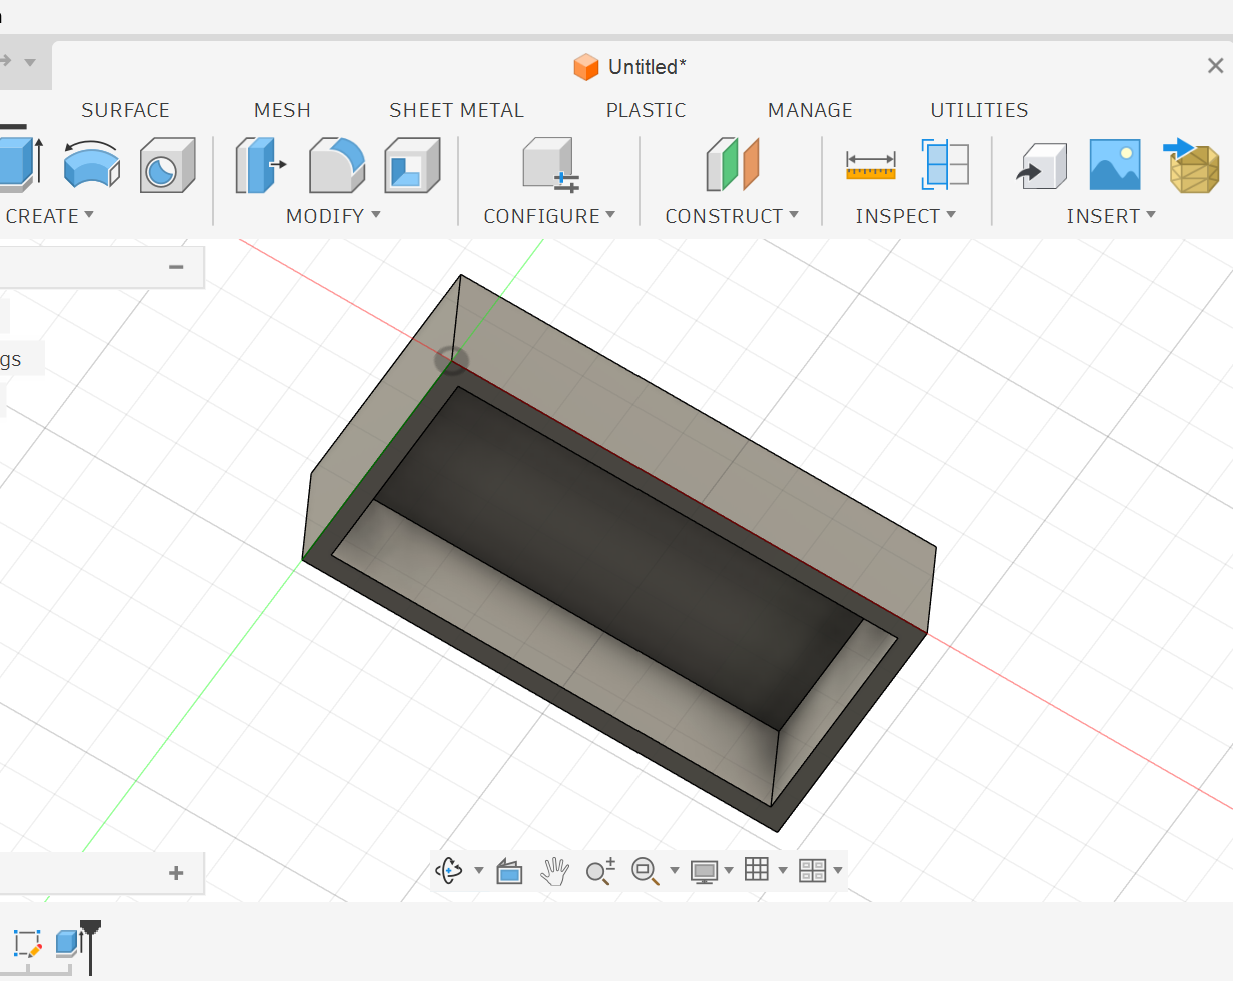
You now have the main rectangular body of the brick.
Hollow the Bottom
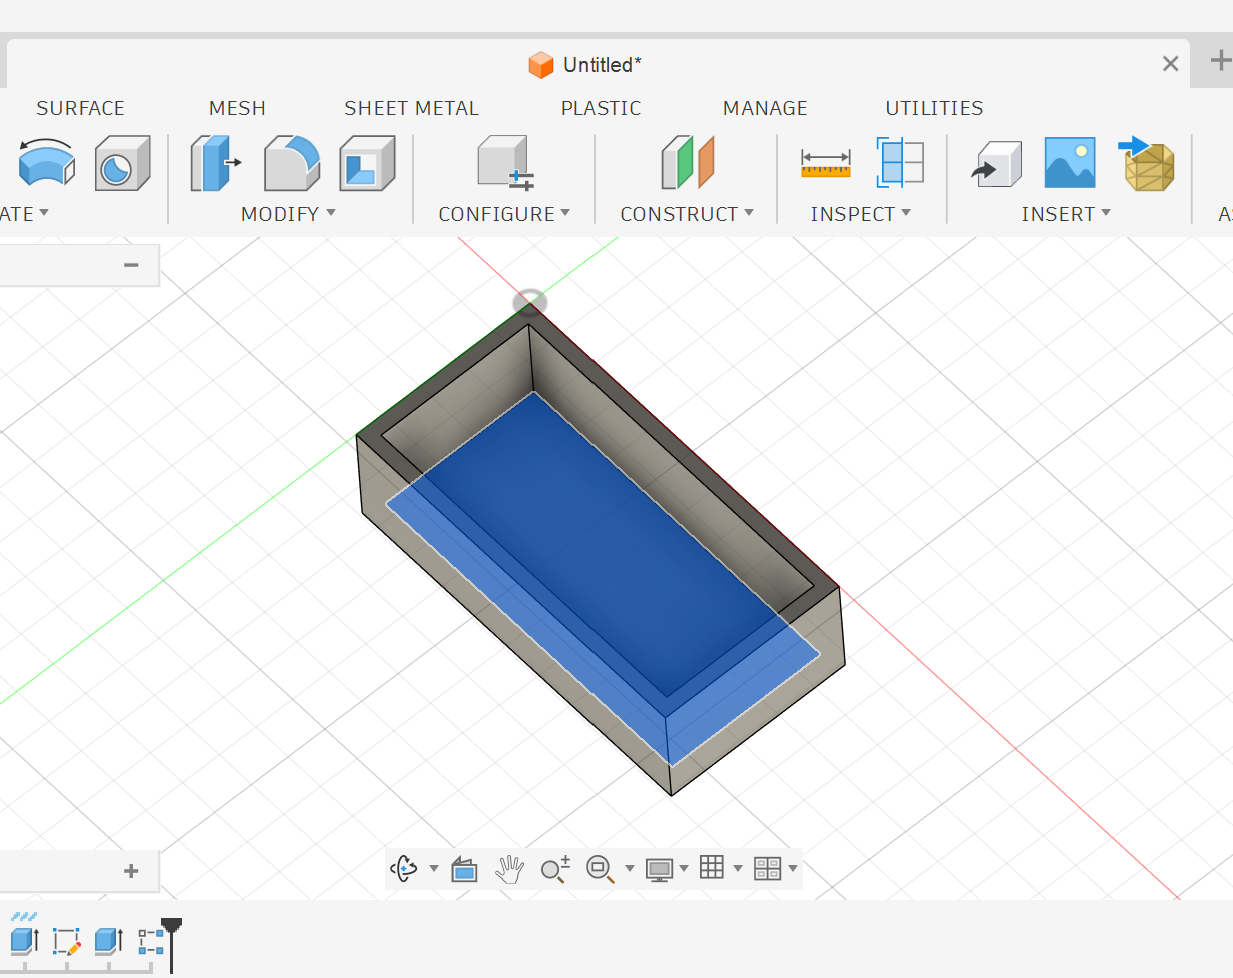
Next, you will create an empty space inside the brick from the bottom side.
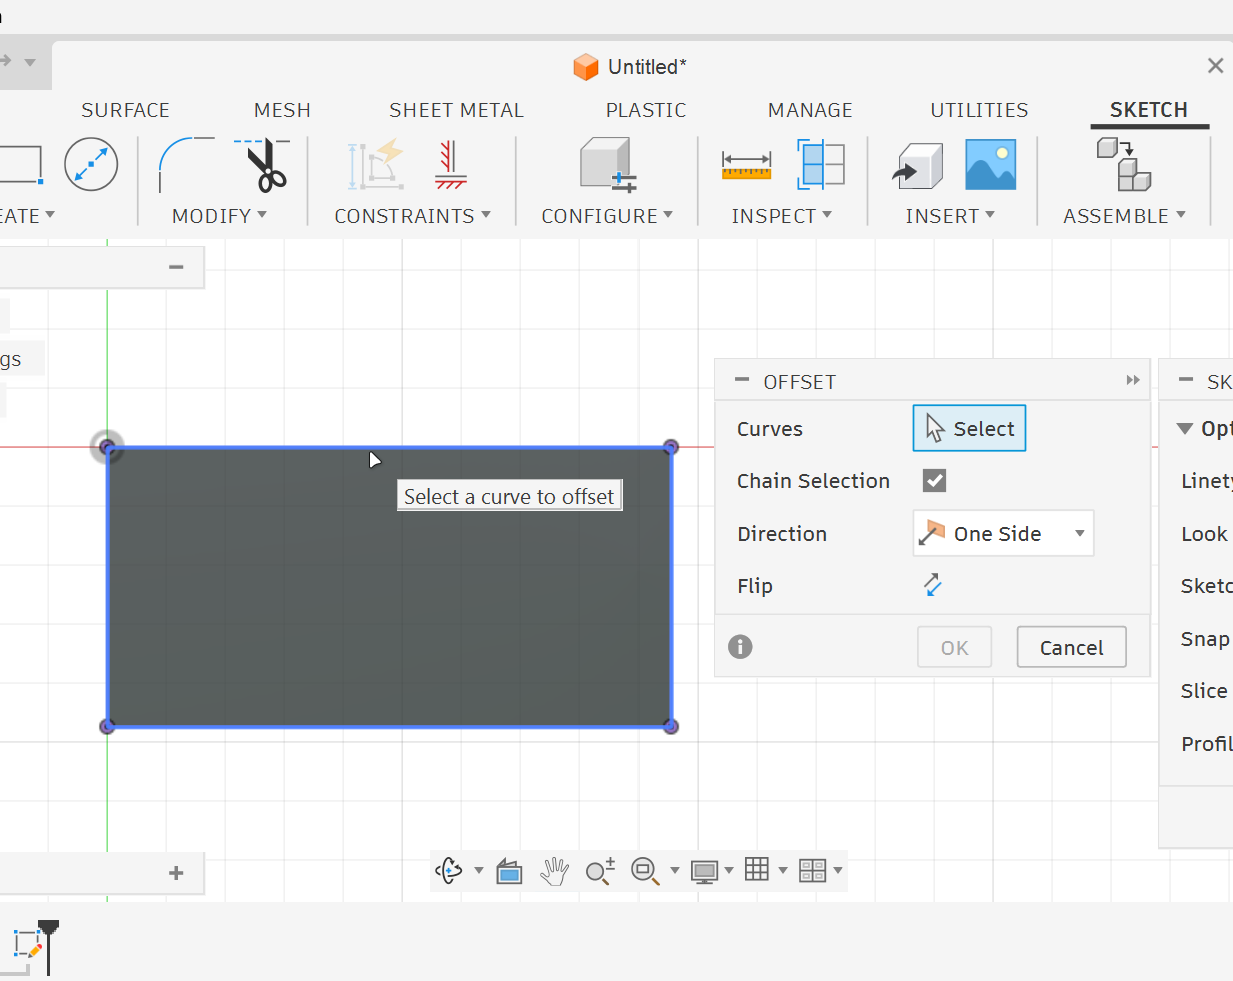
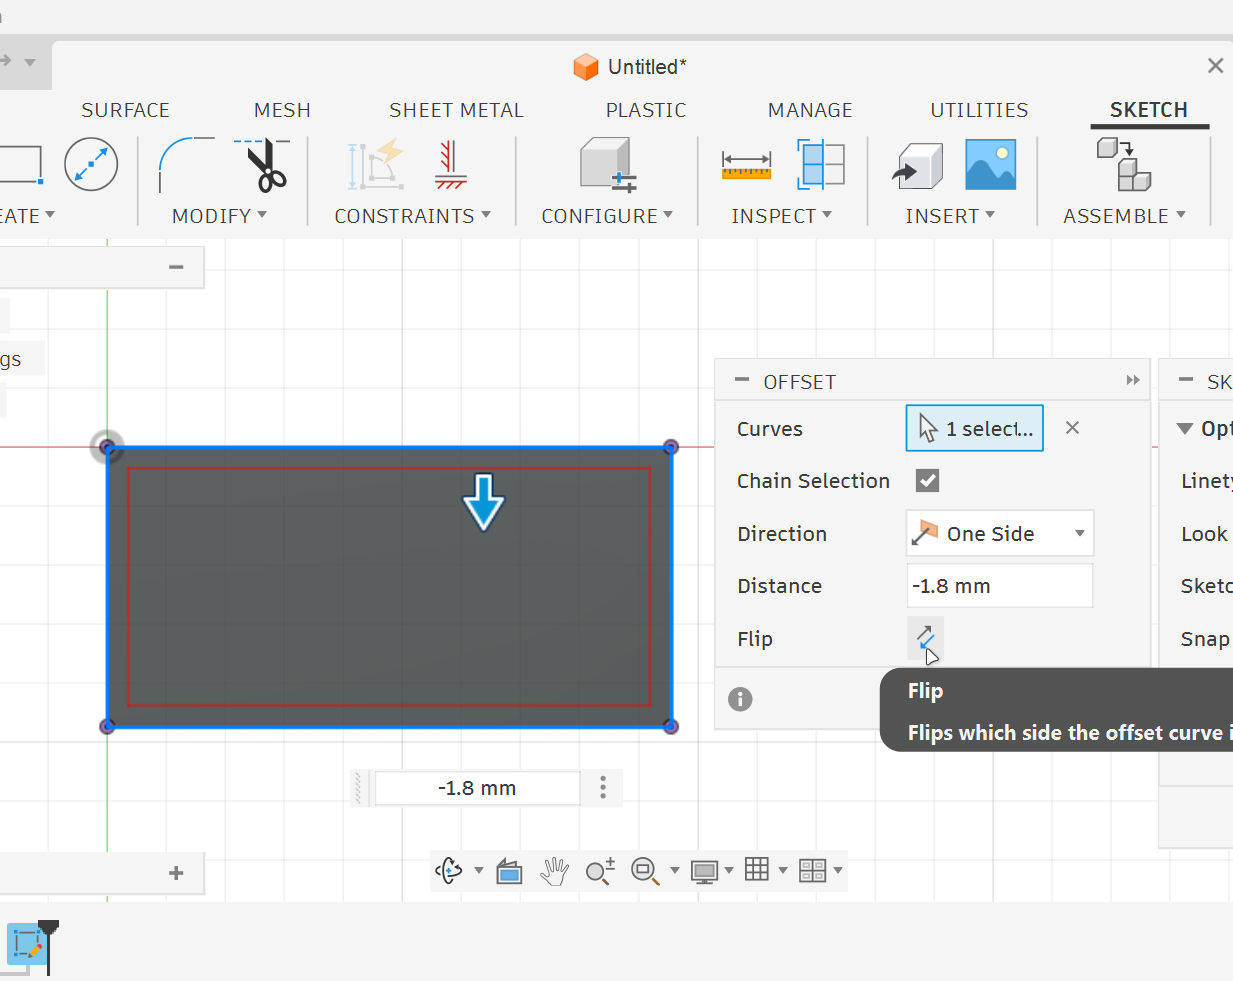
1. Create a sketch on the bottom face.
3. Select the outer rectangle edge.
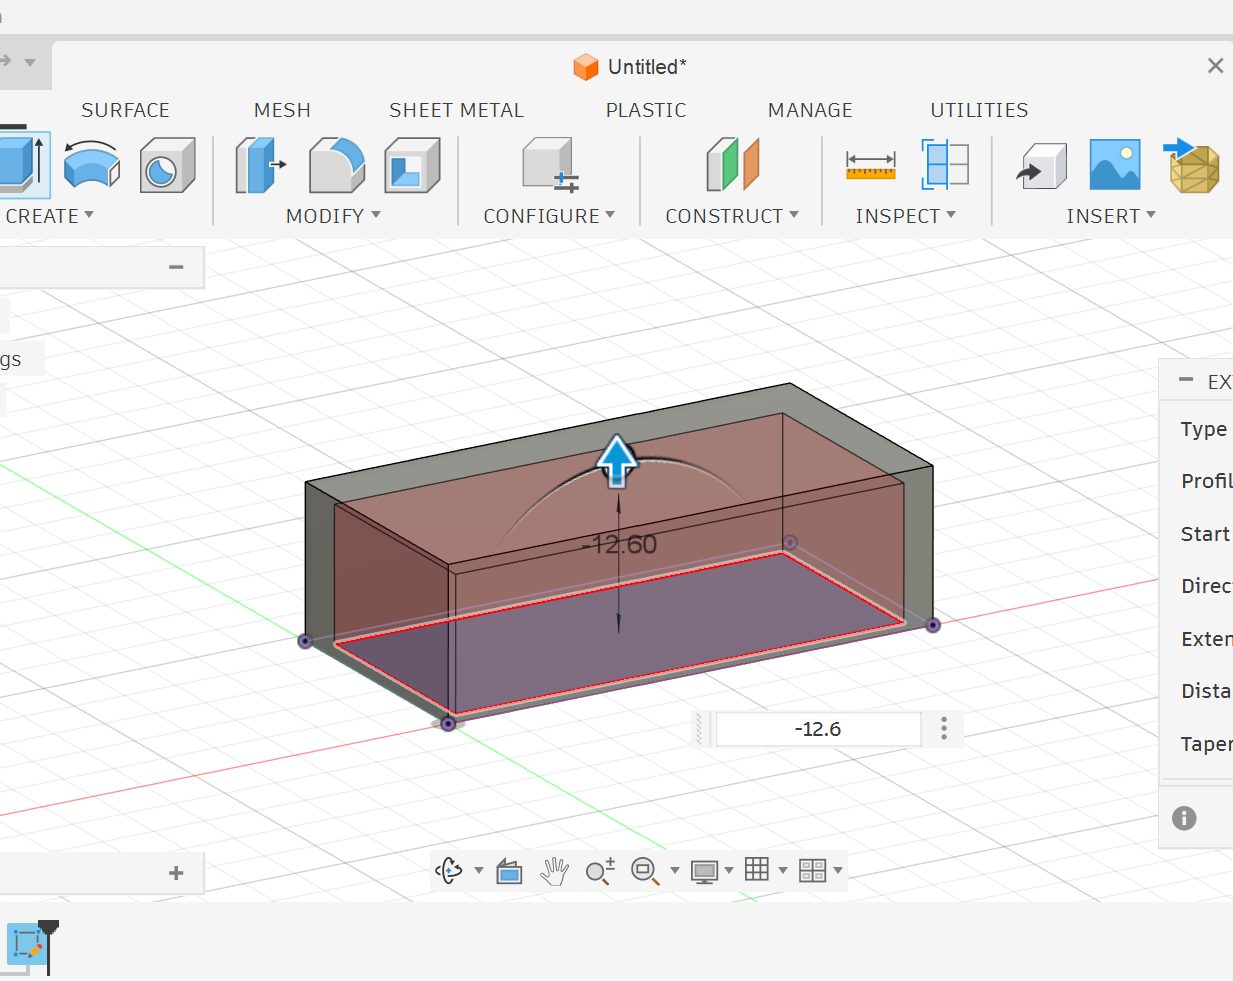
5. Extrude - Cut upward by 12.6 mm.
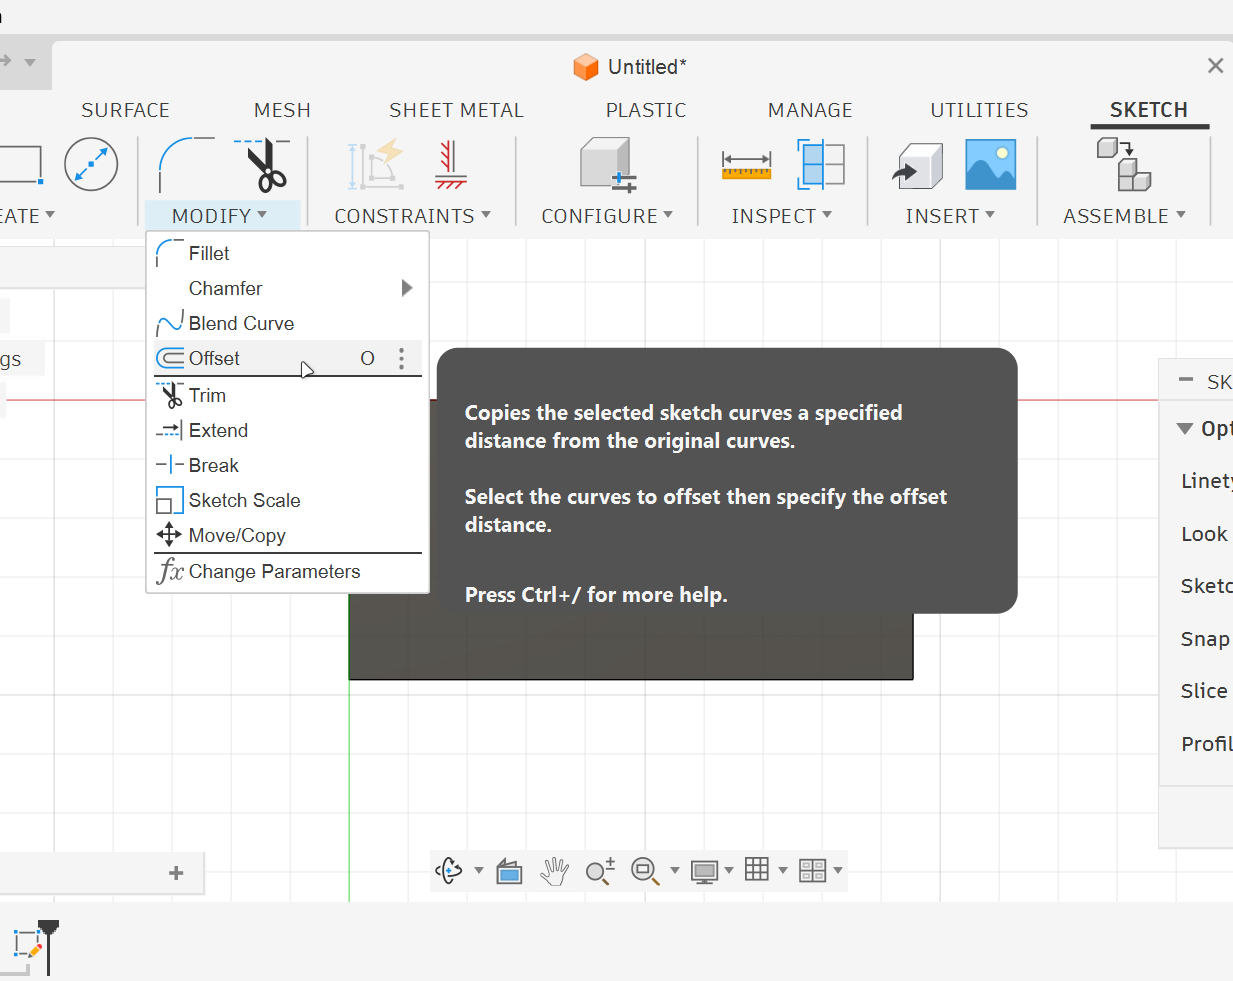
2. Use the Offset tool (Shortcut O).
4. Offset the rectangle inward by 1.8 mm.
Success
This creates the wall thickness of the brick.
Create the First Top Stud
Now you will create one circular stud on the top surface of the brick.
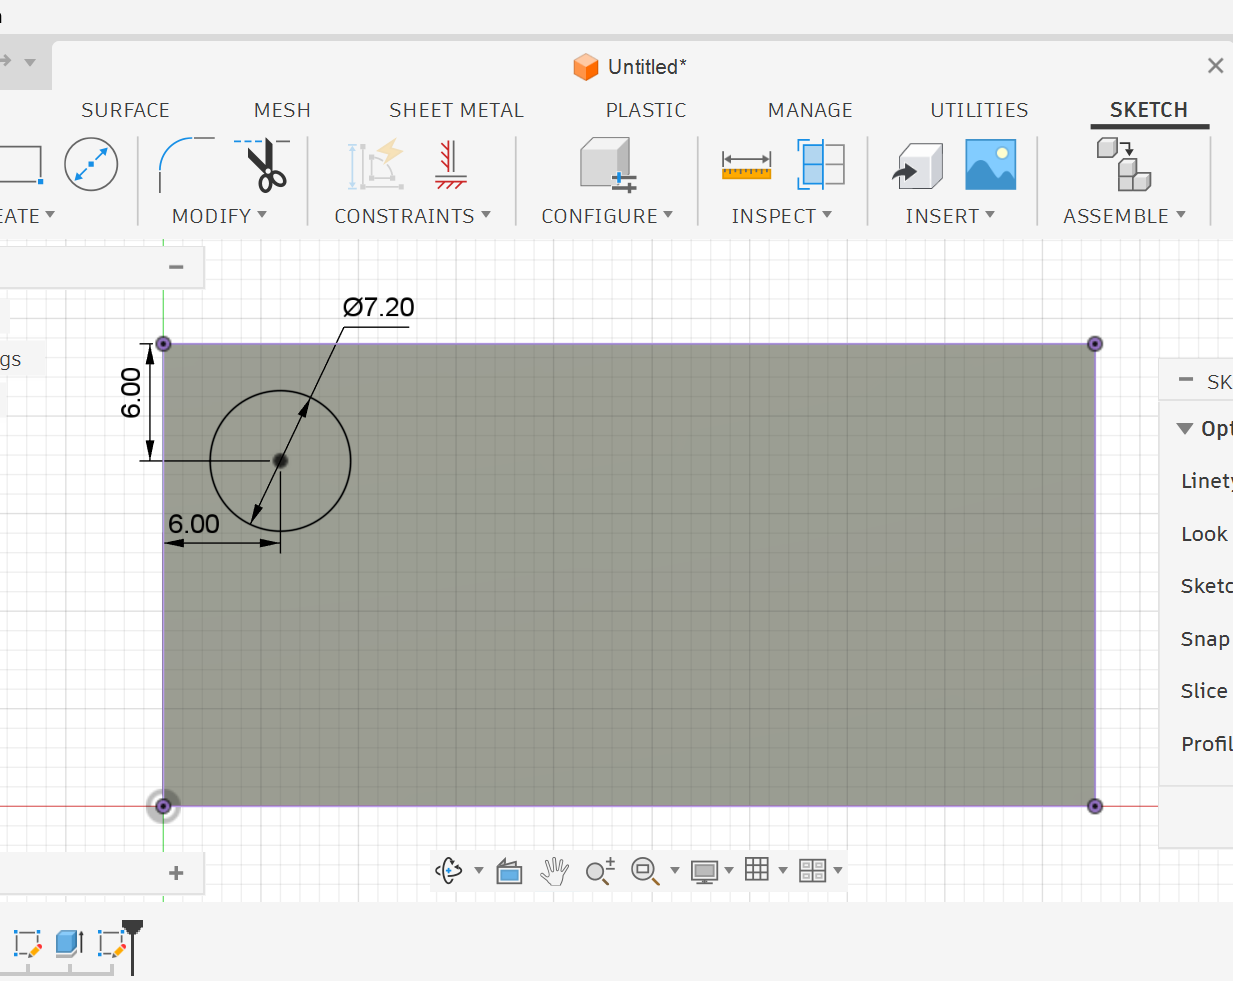
1. Create a sketch on the top face.
2. Draw one circle near one corner of the brick.
3. Extrude the circle upward to create the stud, then set the operation to Join.
Join adds the new extrusion to the existing solid body, combining them into one continuous part instead of creating a separate object.
You now have one stud attached to the top of the brick.
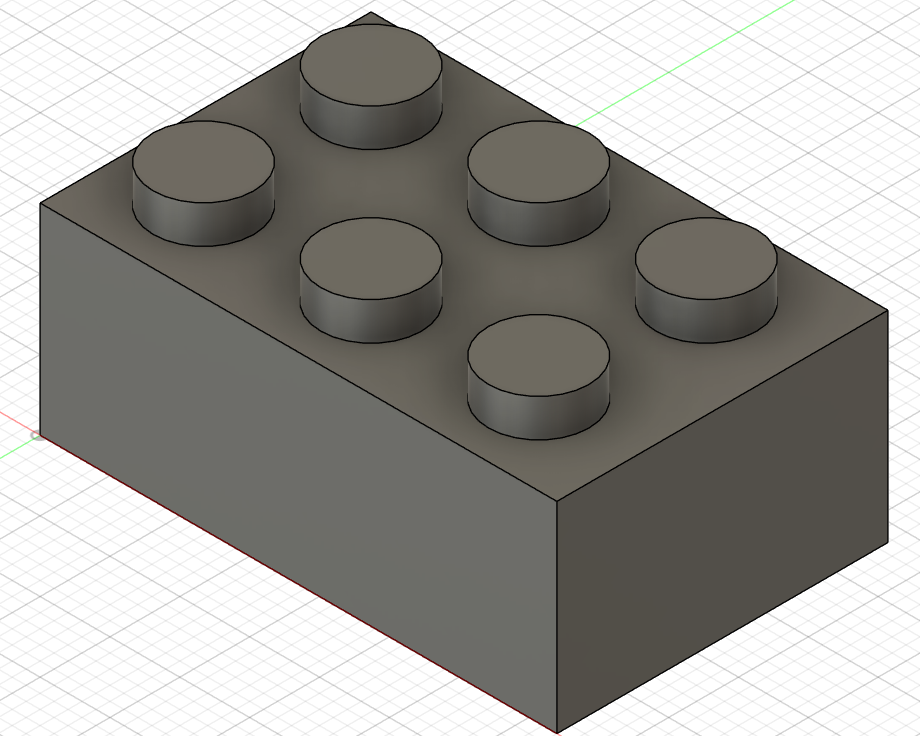
Repeat the Stud
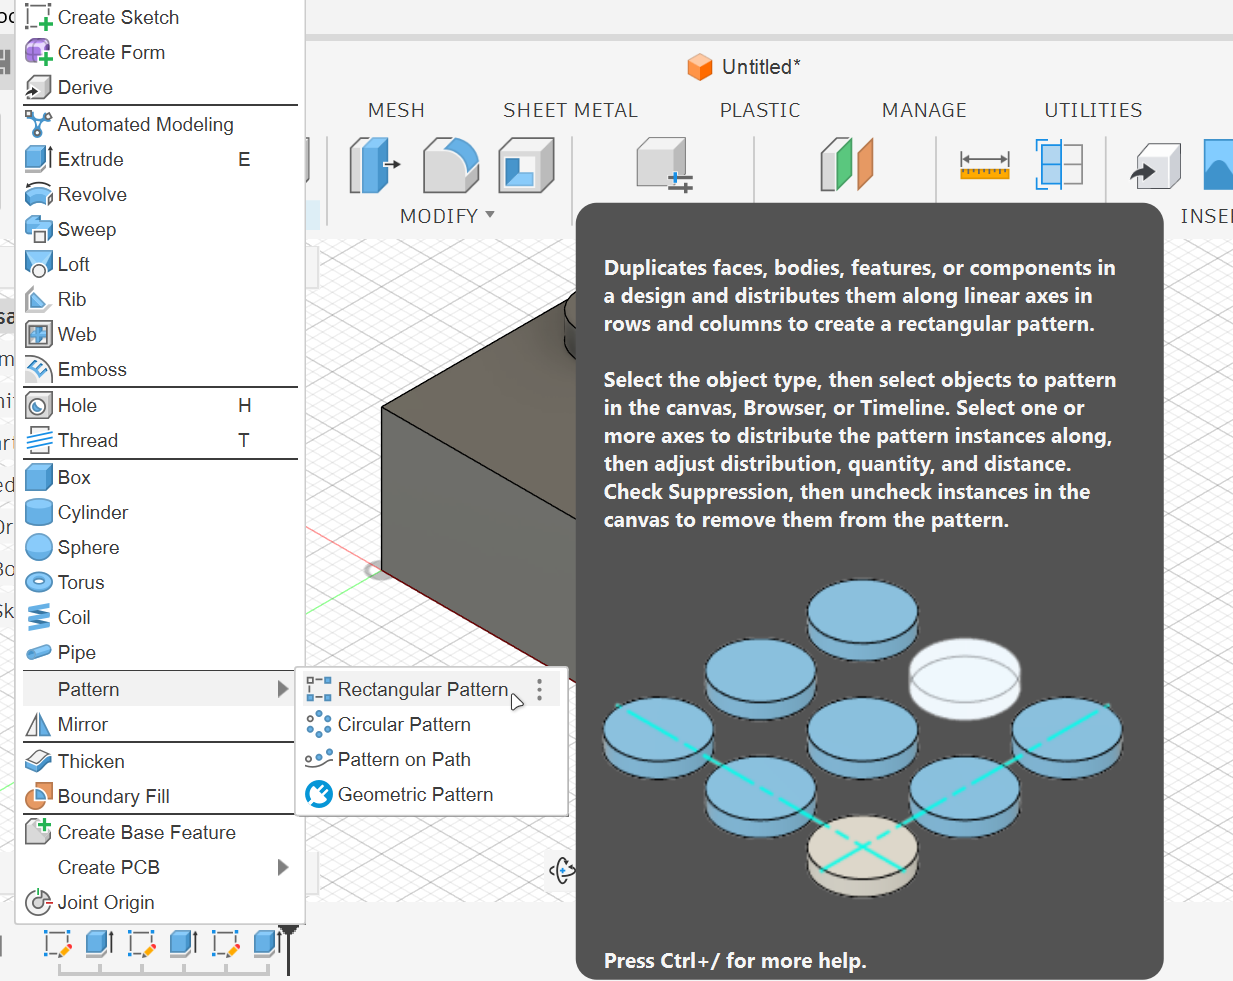
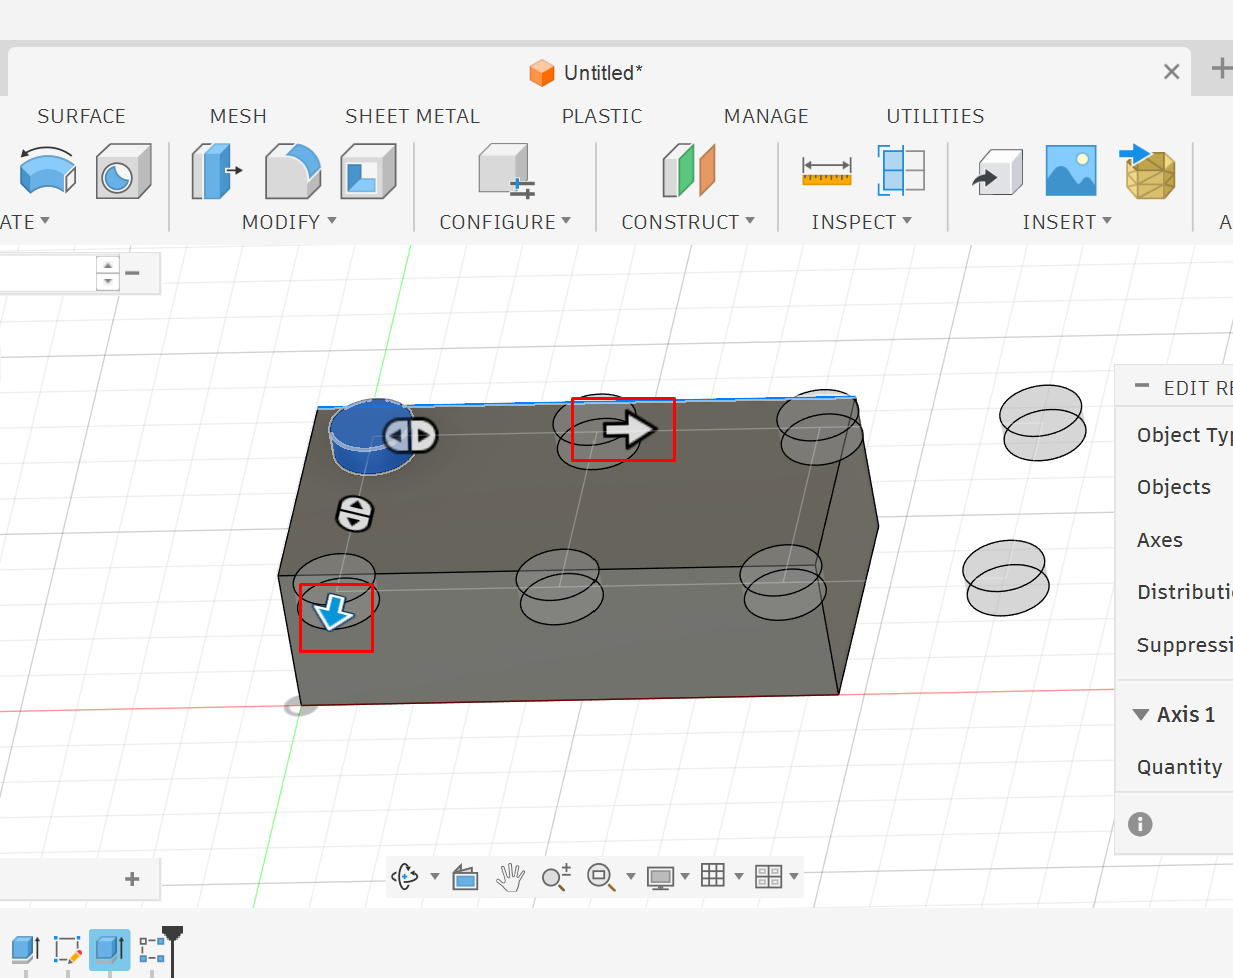
Instead of creating each stud manually, you will repeat the first stud using Rectangular Pattern.
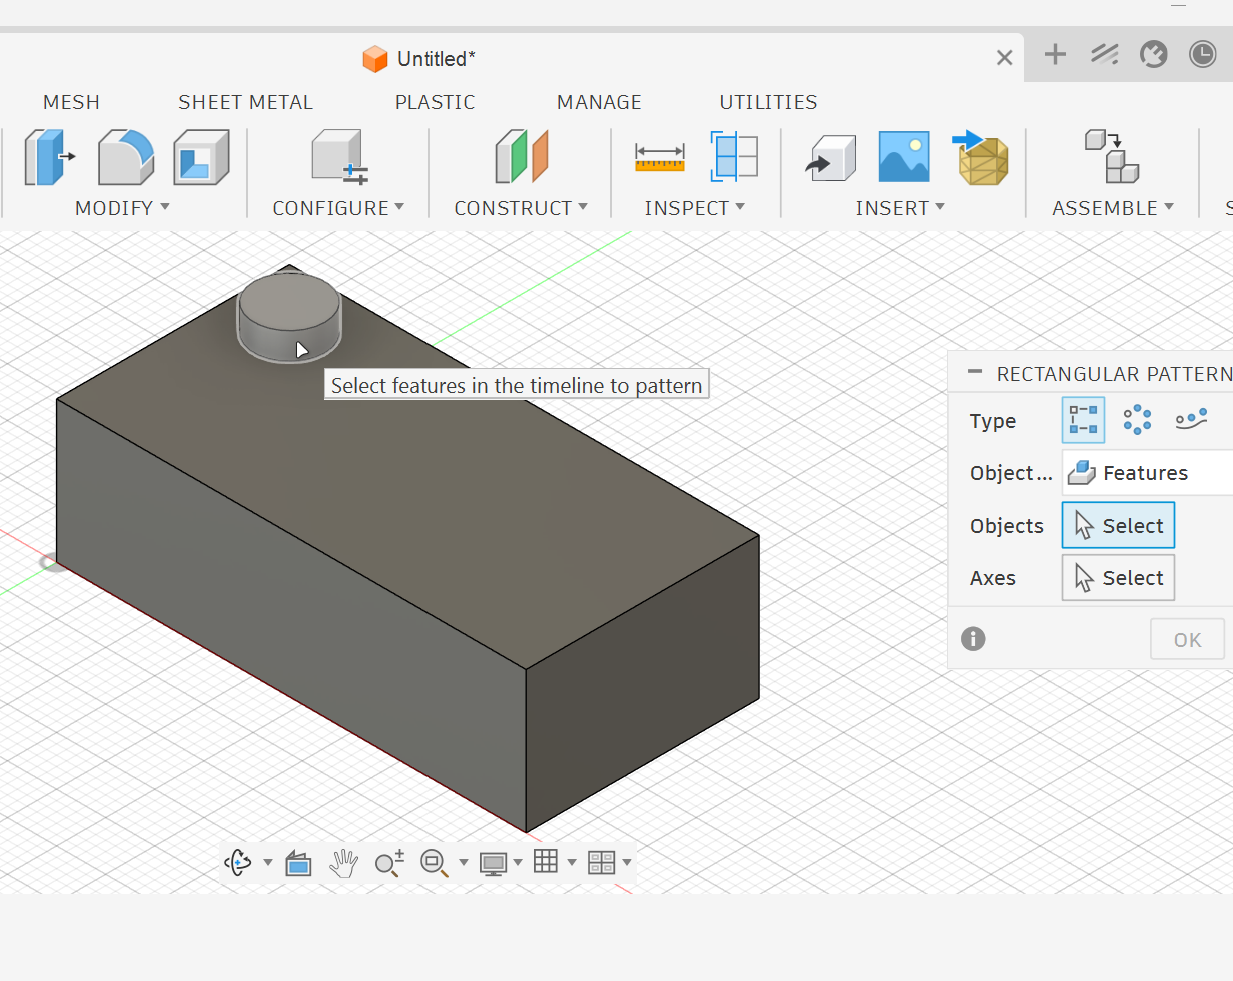
1. Select Rectangular Pattern.
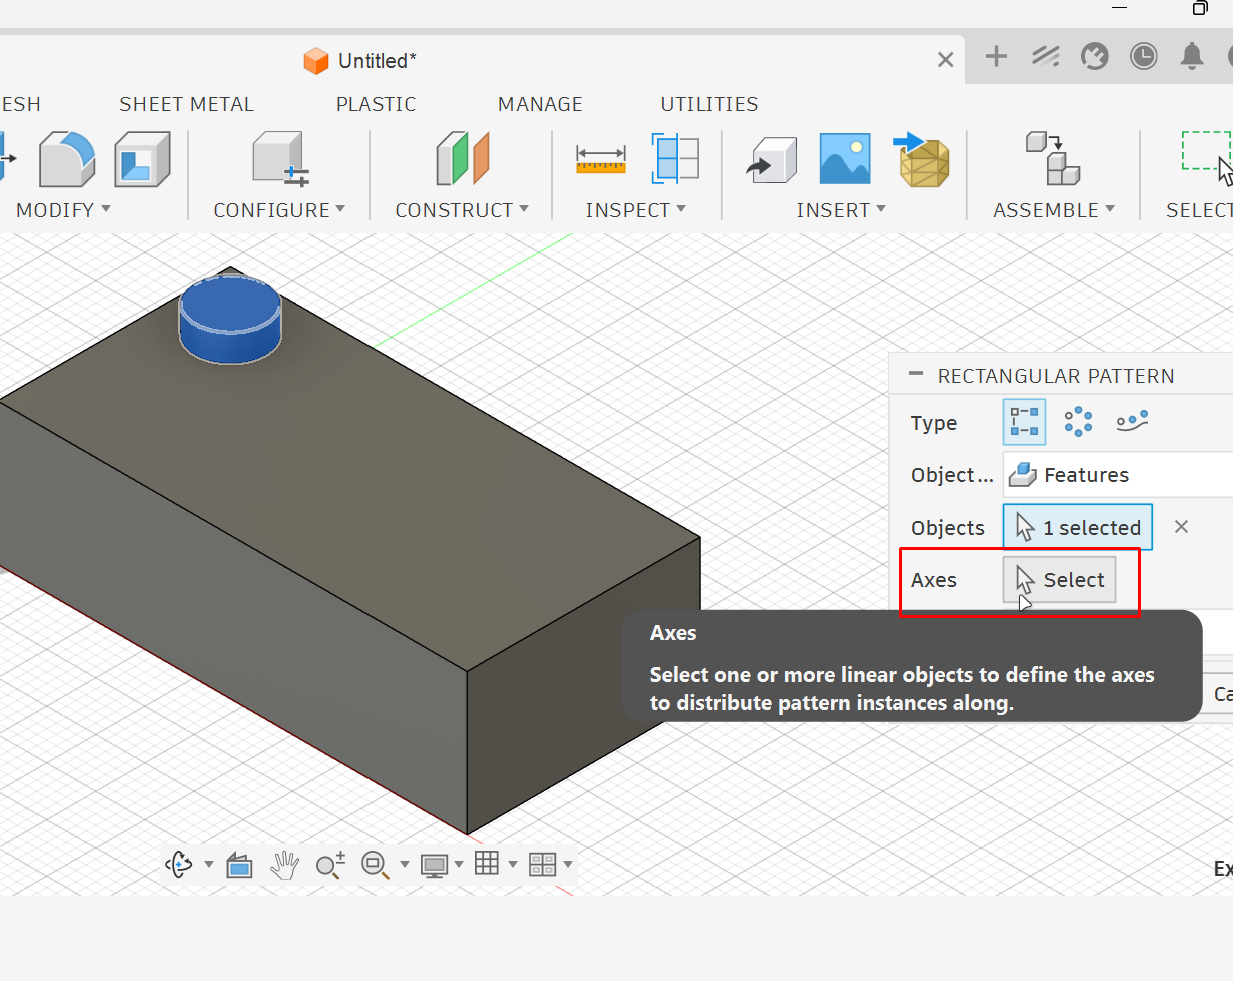
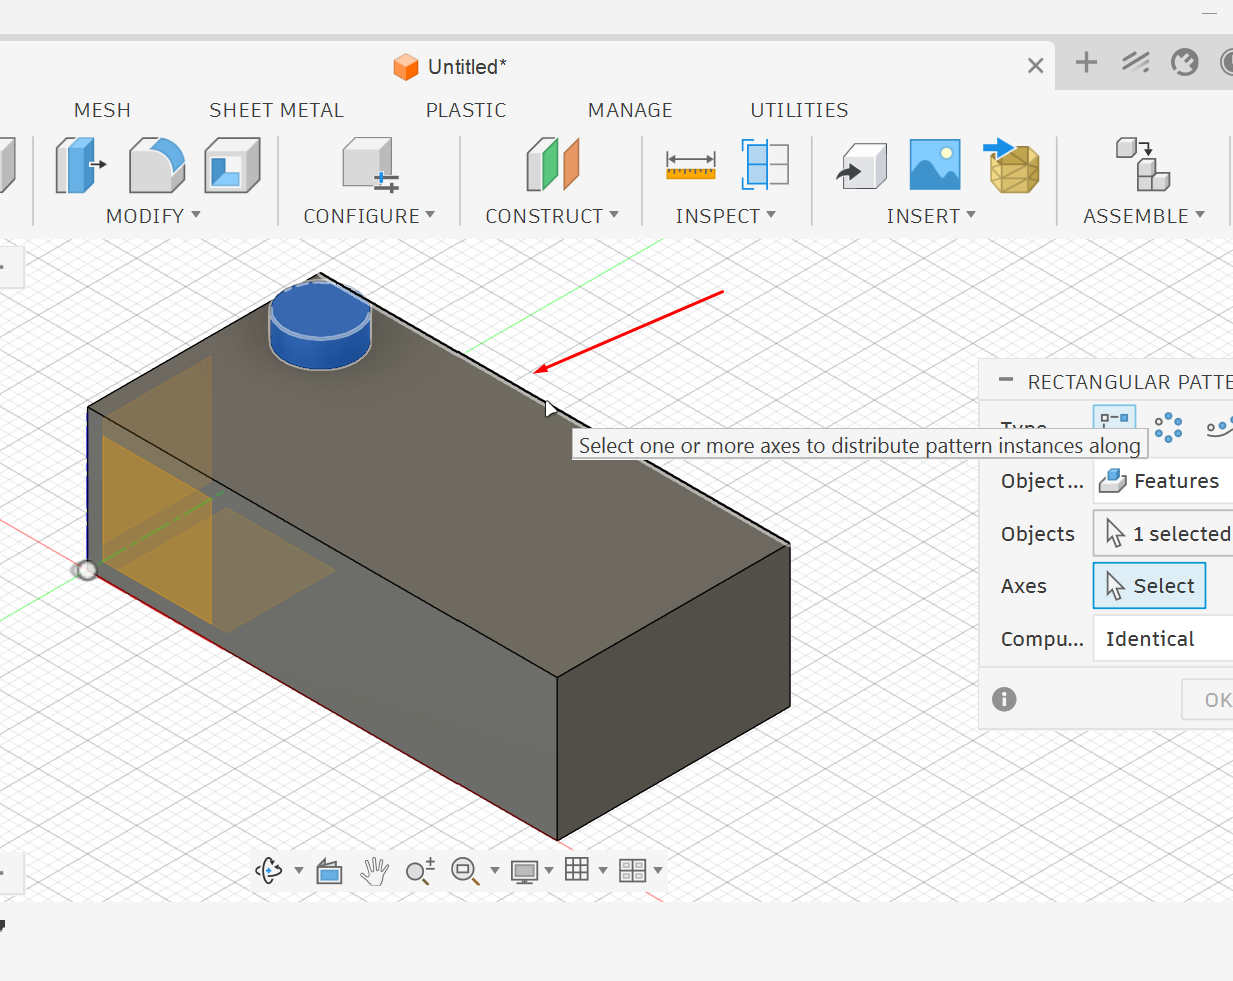
4. Click on Axes.
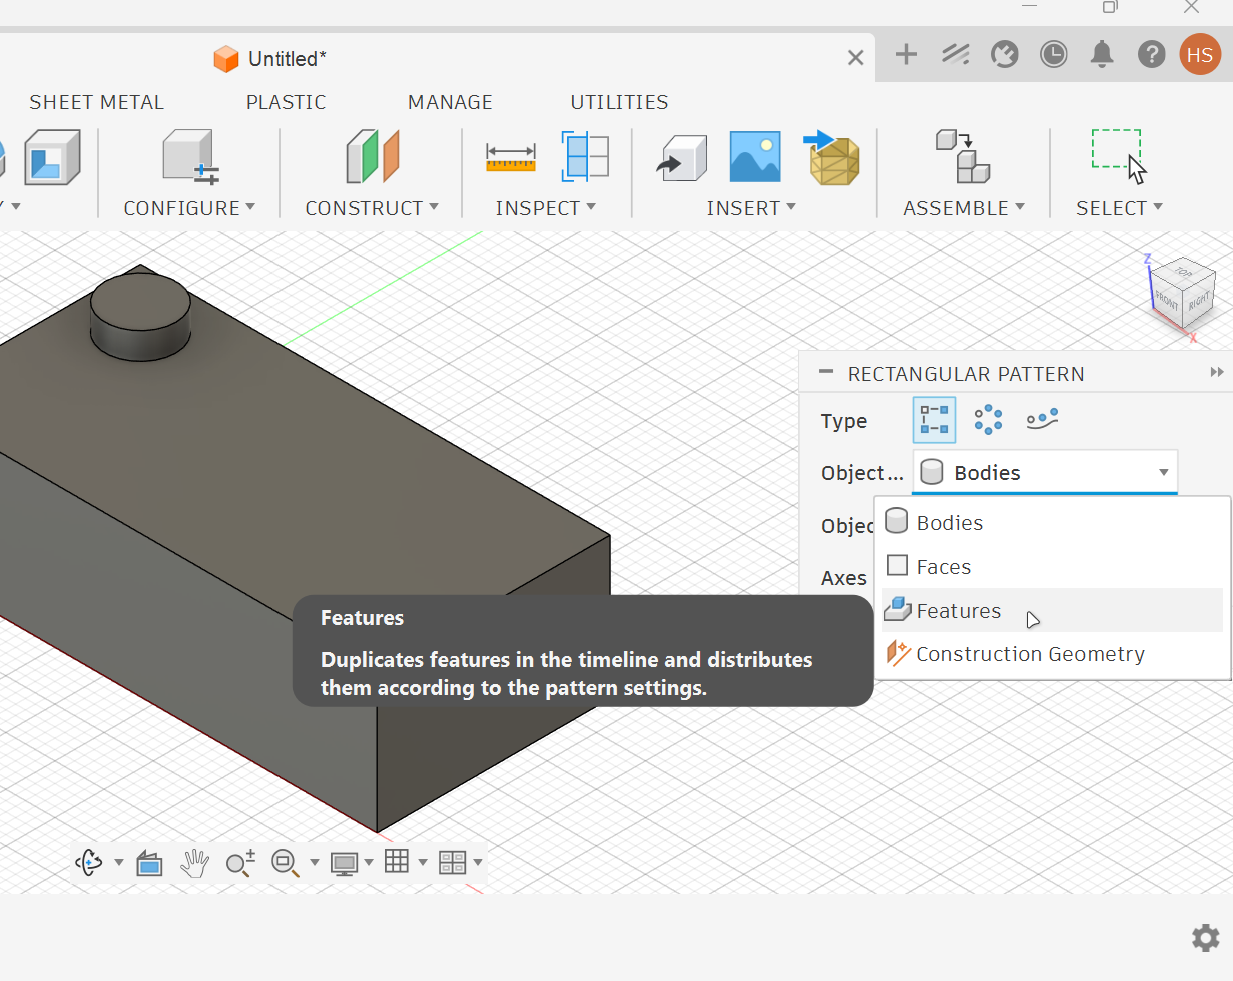
2. Set the pattern type to Features.
5. Select a long edge of the brick as the first direction.
3. Select the extrude feature of the first stud.
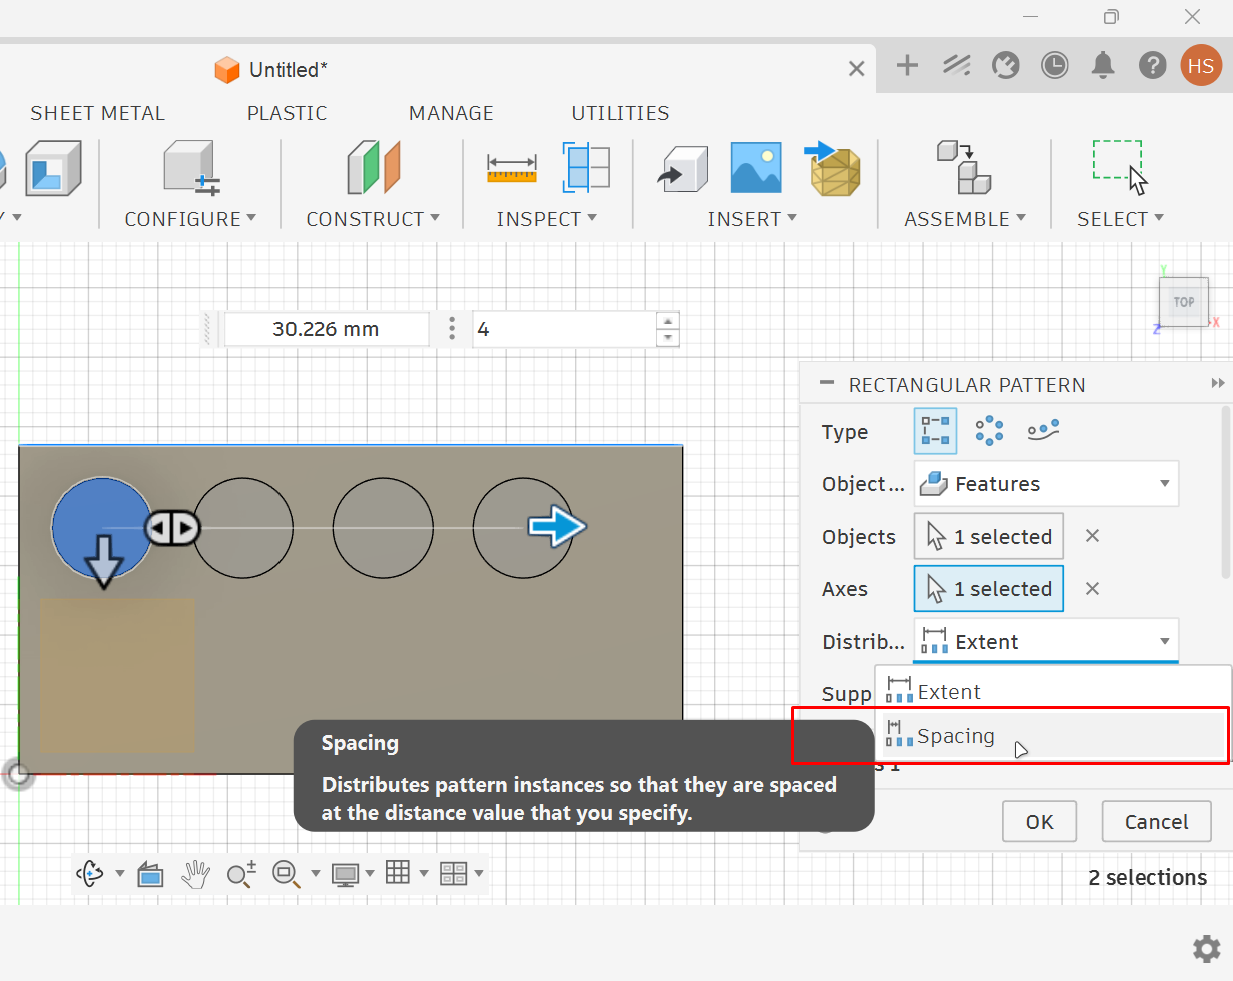
6. In Distribution, select Spacing.
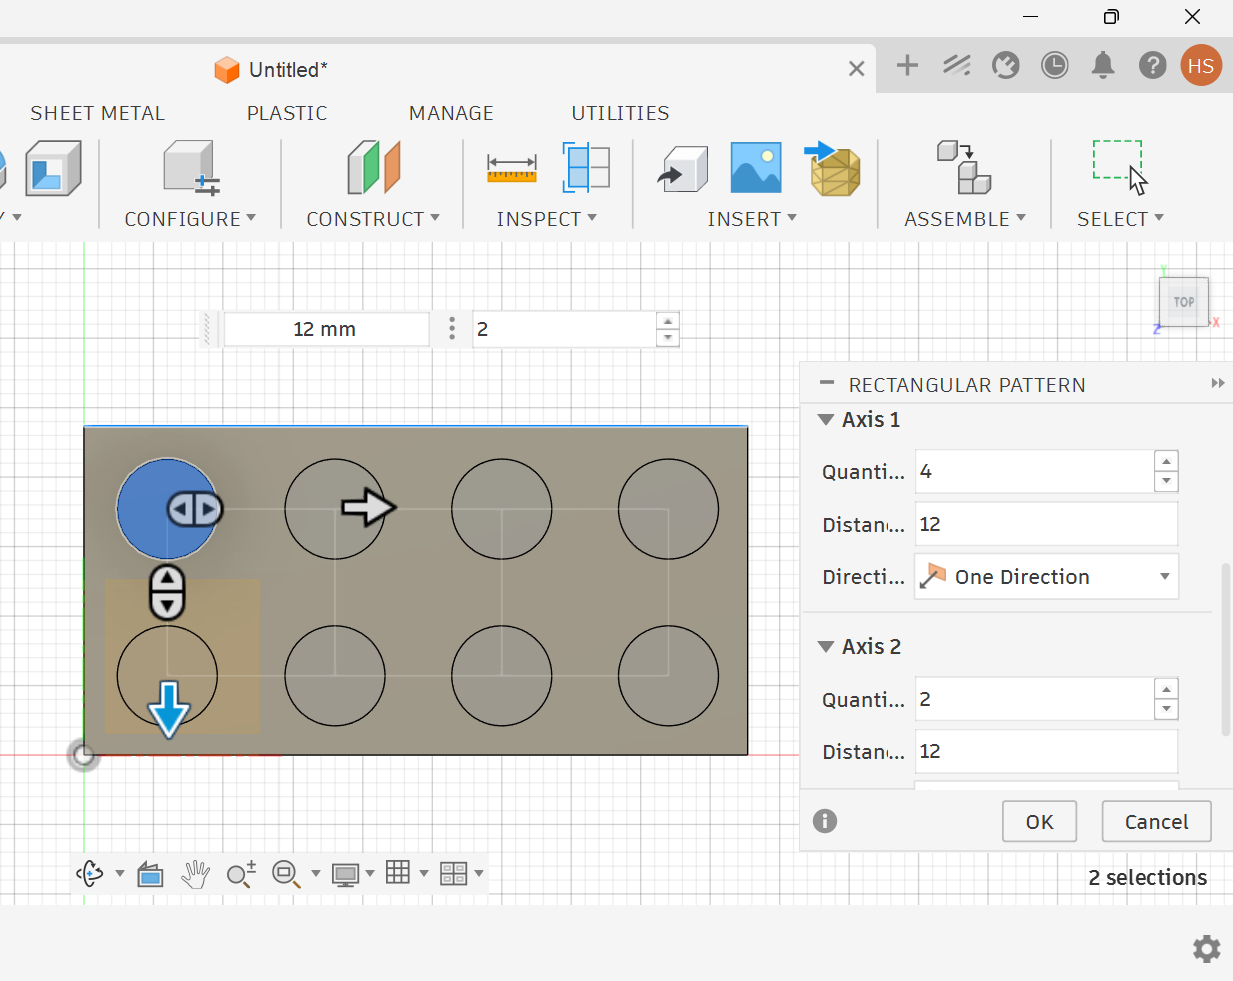
7. Set values as shown in image.
Success
You should now have 8 top studs arranged in a rectangular pattern.
Note
Use the on-screen arrows to preview and adjust the direction and spacing of the pattern, but always enter exact values in the settings panel to complete the setup accurately.
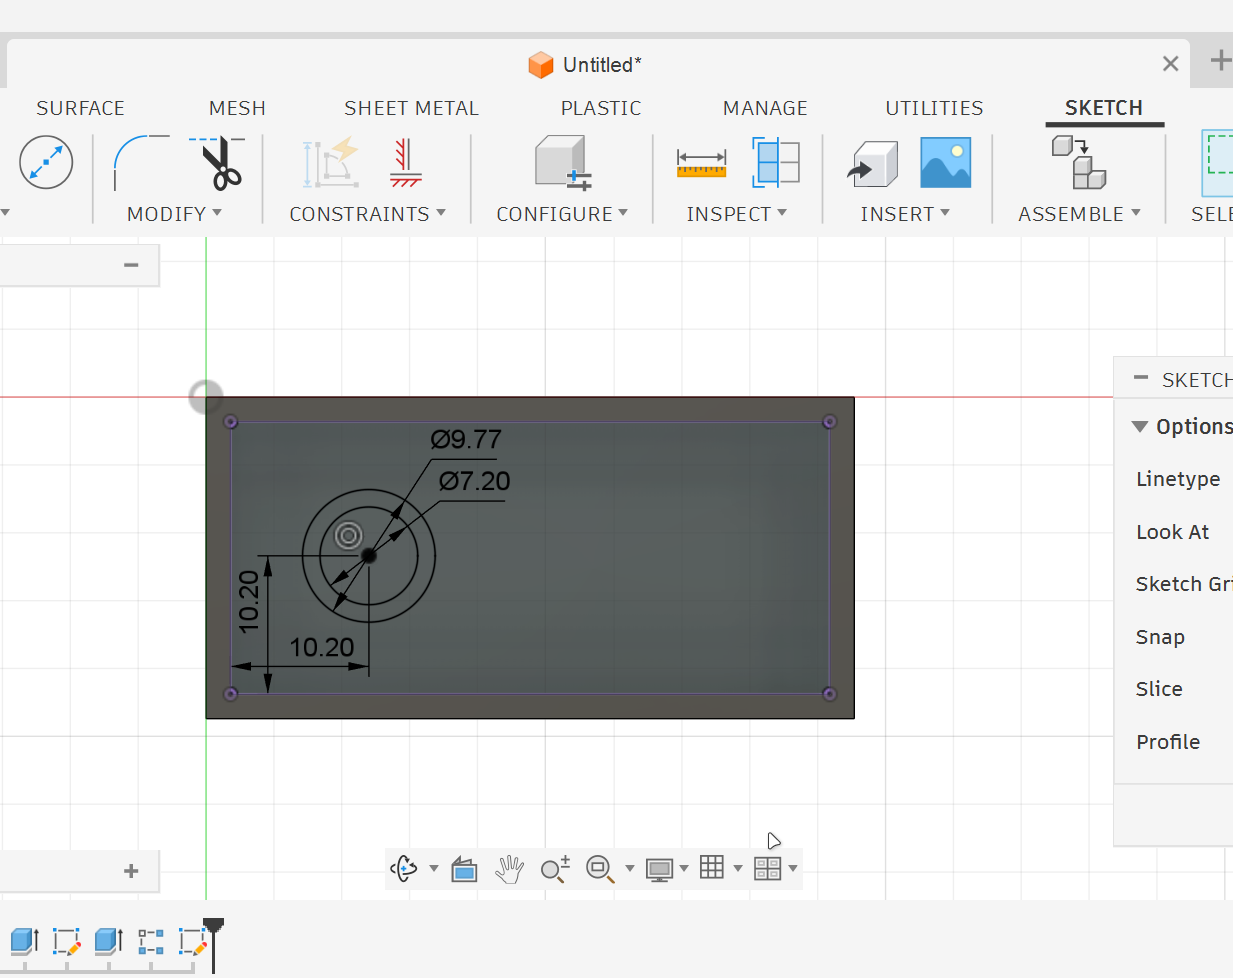
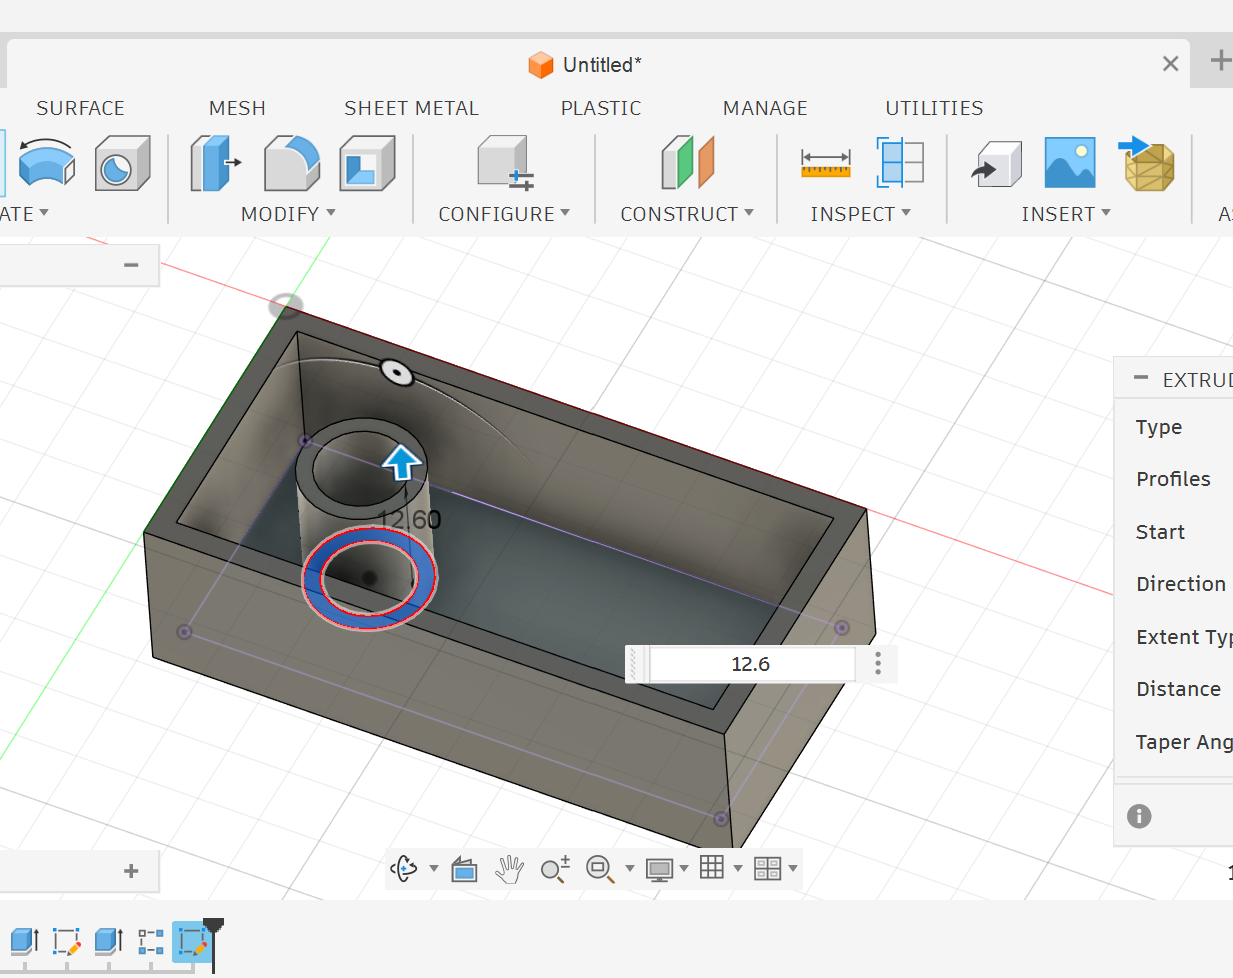
Create the Internal Cylindrical Support
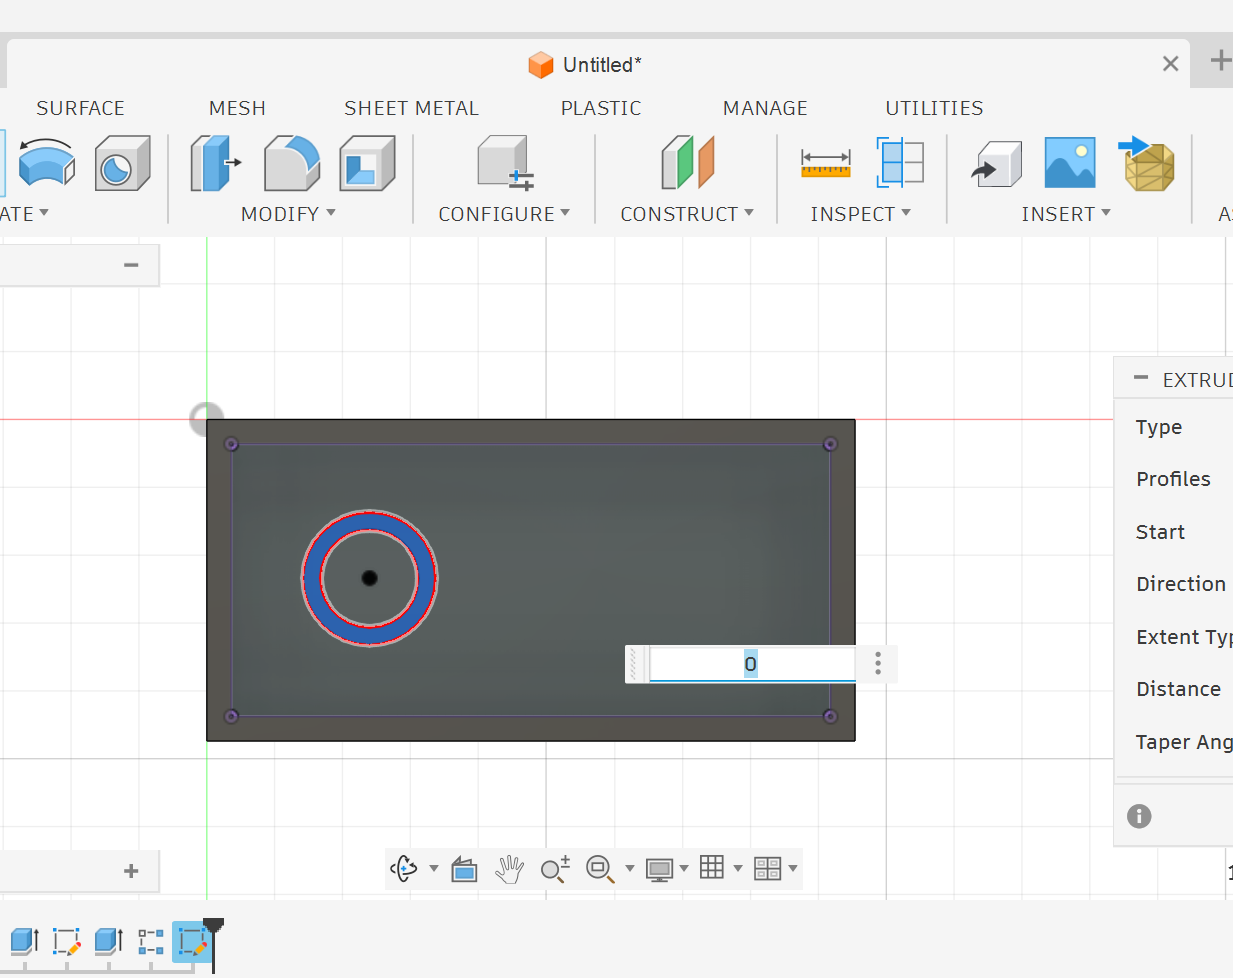
The inside of the brick contains hollow cylindrical supports. These help make the model look more realistic.
1. Create a sketch inside the bottom area.
3. Select the ring-shaped profile between the two circles.
2. Draw two circles with the same center.
4. Extrude the ring upward inside the brick.
You now have one internal hollow support cylinder.
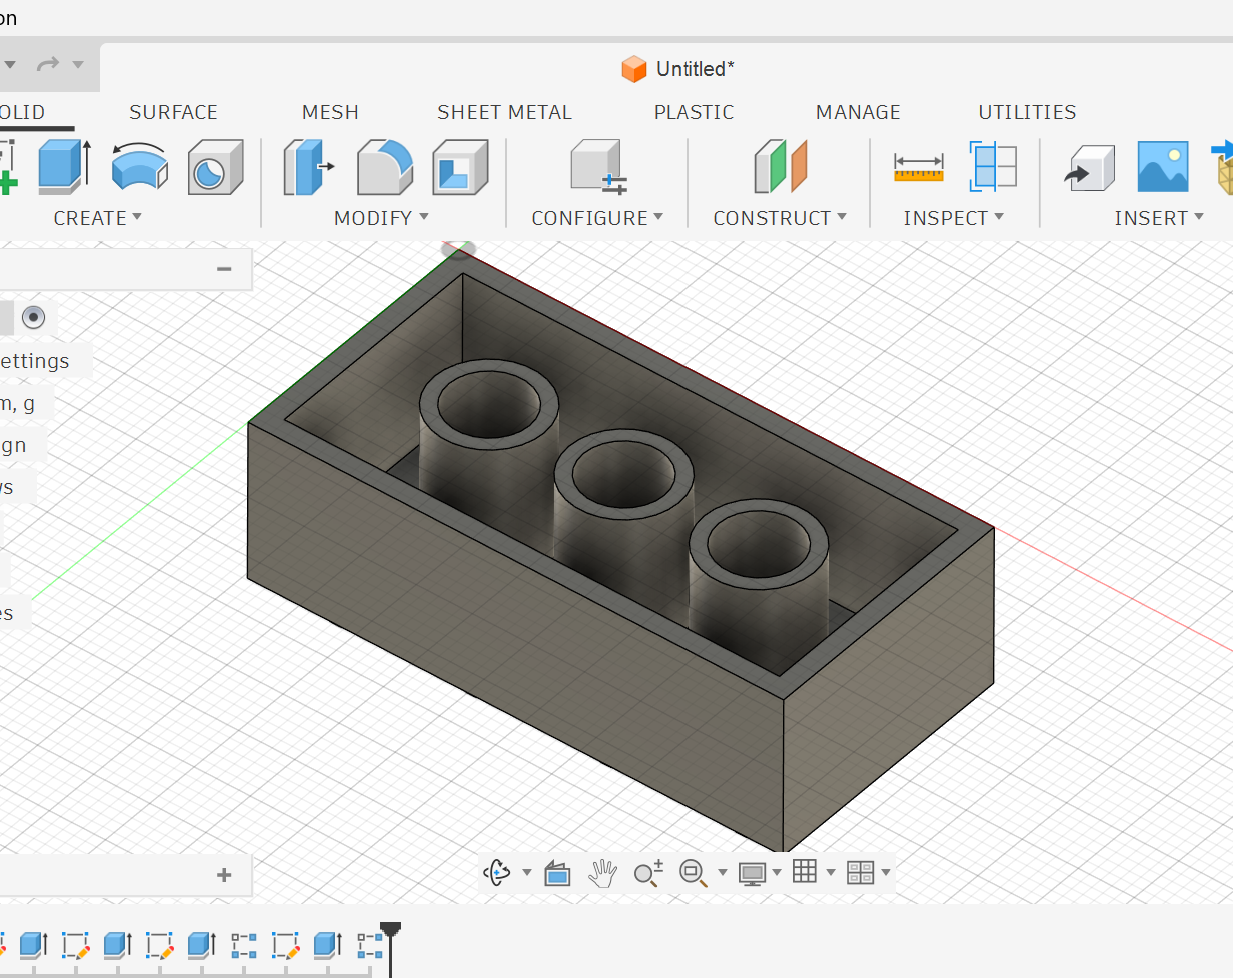
Use the Rectangular Pattern to repeat the support.
Spacing = 12
Quantity = 3
The bottom of the brick should now include three internal cylindrical supports.
Important Notes
•
Use Join when you want to add material to the existing body.
•
Use Cut when you want to remove material from the body.
•
Use Offset to create equal wall thickness.
•
Use Rectangular Pattern when a feature needs to be repeated in rows or columns.
•
Always check the direction of the pattern before clicking OK.
•
If the pattern appears outside the brick, use the flip direction option.
Common Mistakes
•
Drawing every stud manually instead of using Rectangular Pattern.
•
Forgetting to change the pattern type to Features.
•
Using Join instead of Cut when hollowing the bottom.
•
Placing the first stud without accurate dimensions.
•
Forgetting to check the preview before confirming the pattern.
Practice Task
Create a different version of the brick by changing the number of studs.
Use the same method:
1.
Create one stud.
2.
Use Rectangular Pattern.
3.
Adjust the quantity and spacing.
4.
Check that all studs are correctly placed.
Try to make:
•
A 2 × 2 brick.
•
A 2 × 3 brick.
•
A 2 × 6 brick.
Reflection Questions
•
Why do we use Offset when creating the hollow bottom?
•
What happens if the pattern direction is wrong?
•
Why is it important to fully define the position of the first stud?
•
How can changing the quantity in Rectangular Pattern help you create different brick sizes?
•
What part of this model would be easiest to edit later?