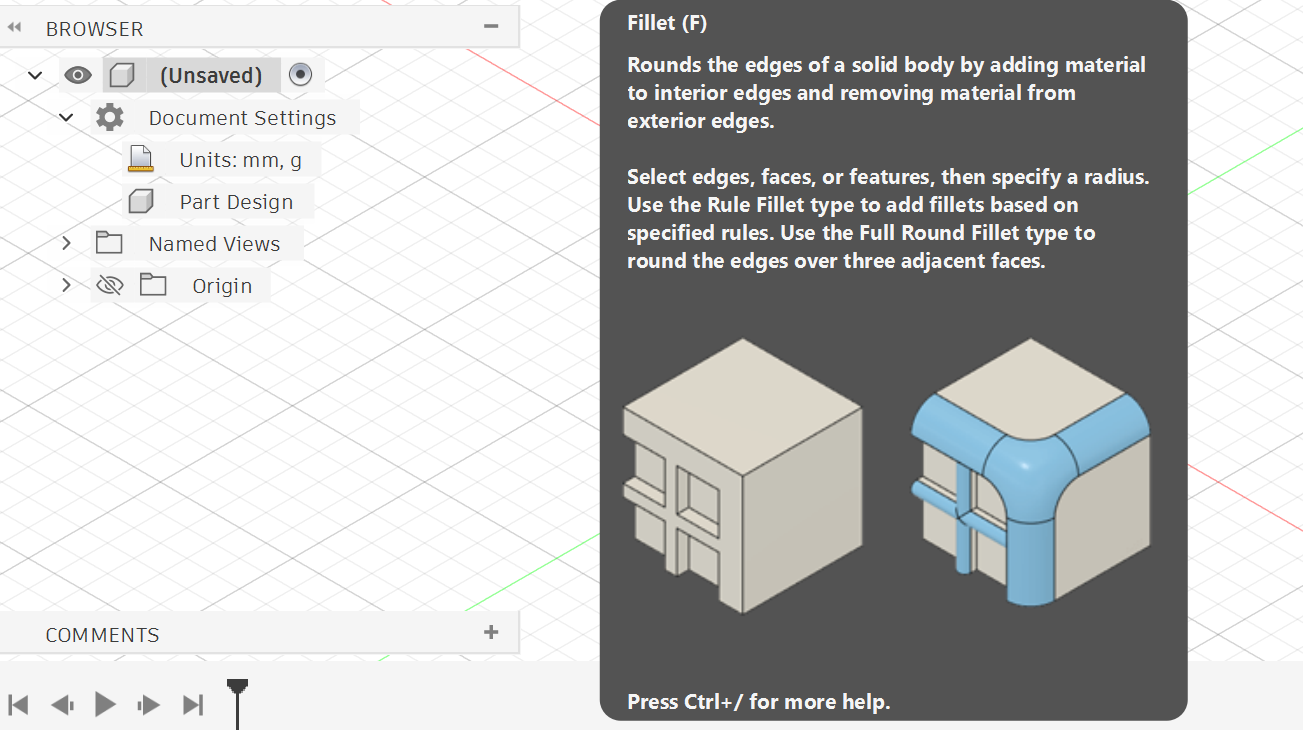
Overview
In this lesson, you will learn how to use the Fillet tool to round sharp edges on a 3D model. You will see how fillets improve the appearance of a model, make edges smoother and help create a more realistic and manufacturable design.
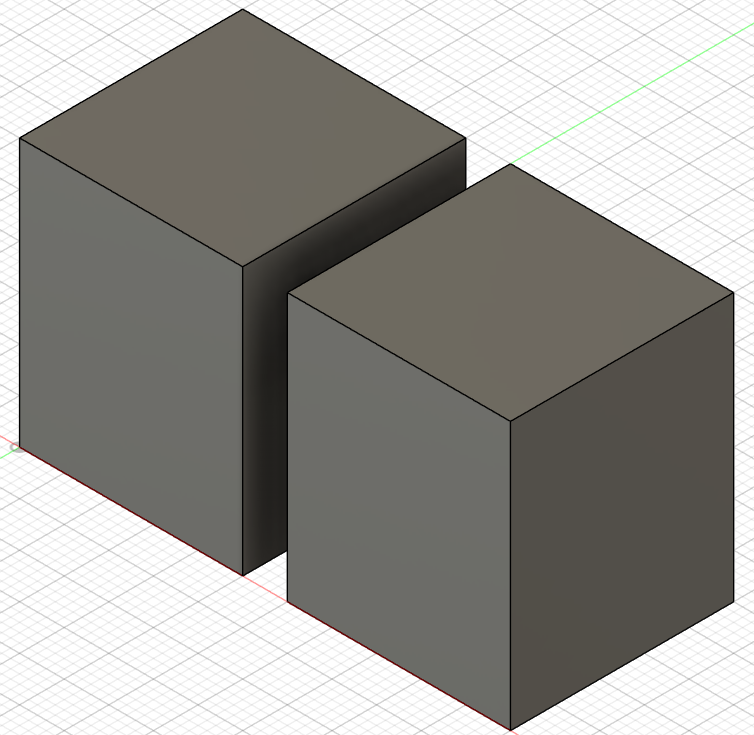
Sharp
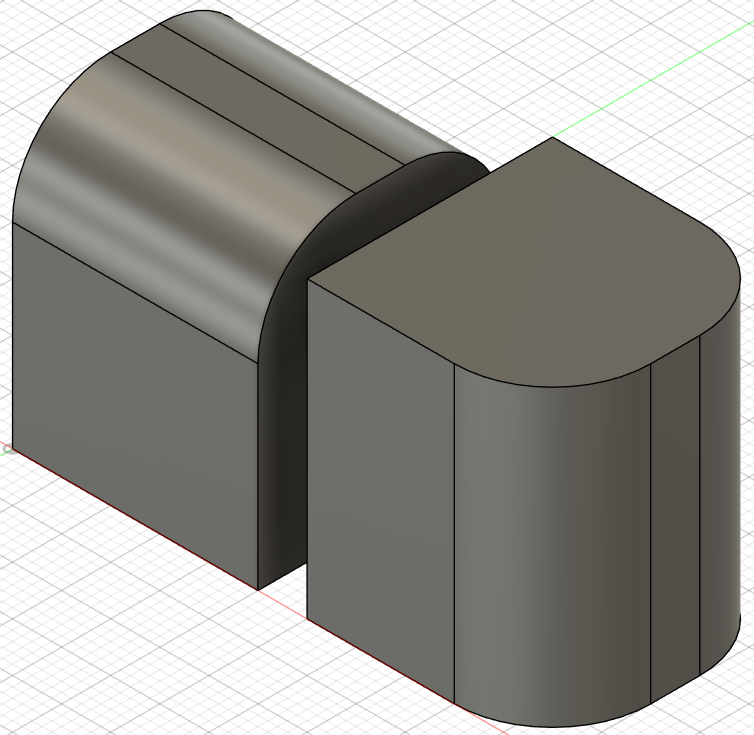
Round
Objectives
By the end of this lesson, you will be able to
•
Explain what a fillet is and why it is used in 3D modeling.
•
Select one or more edges to apply a fillet.
•
Set an accurate fillet radius based on a technical drawing.
•
Understand the difference between small and large fillet radius values.
•
Edit a fillet later from the timeline.
What is a Fillet?
A Fillet is a rounded edge added to a 3D model.
Instead of keeping an edge sharp, Fusion 360 can replace it with a smooth curved surface.
Fillets are useful because they:
•
Make the model look cleaner and more realistic.
•
Remove sharp corners.
•
Improve safety and comfort in physical products.
•
Make parts easier to manufacture.
•
Help create smoother 3D printed parts.
Sharp Edges
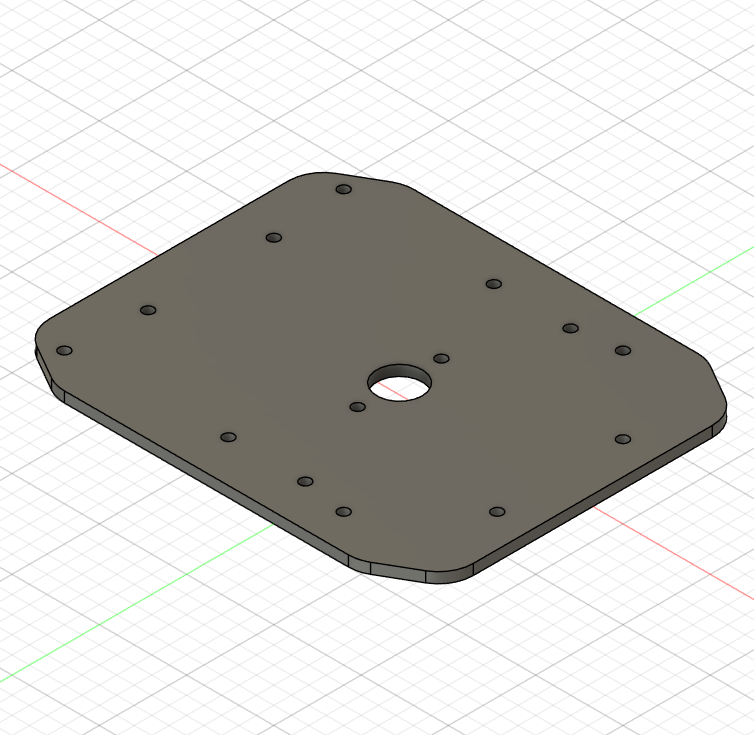
Rounded Edges
Accessing the Fillet Tool
To use Fillet in Fusion 360
1.
Go to the Solid workspace.
2.
Choose Fillet.
You can also use the shortcut: F
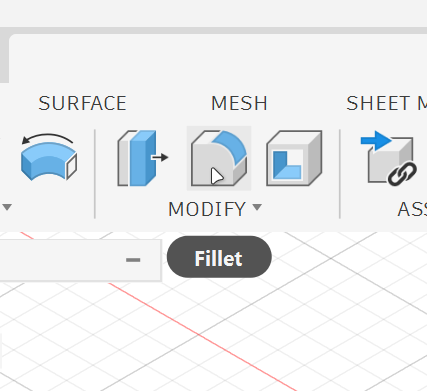
Basic Fillet
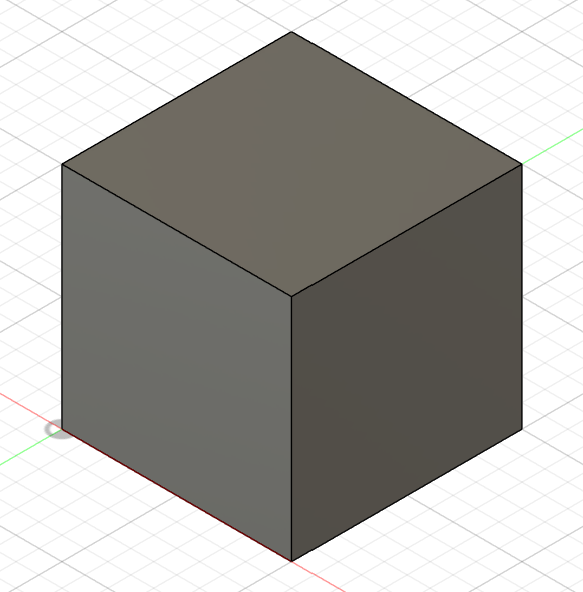
1. Create a simple 3D body.
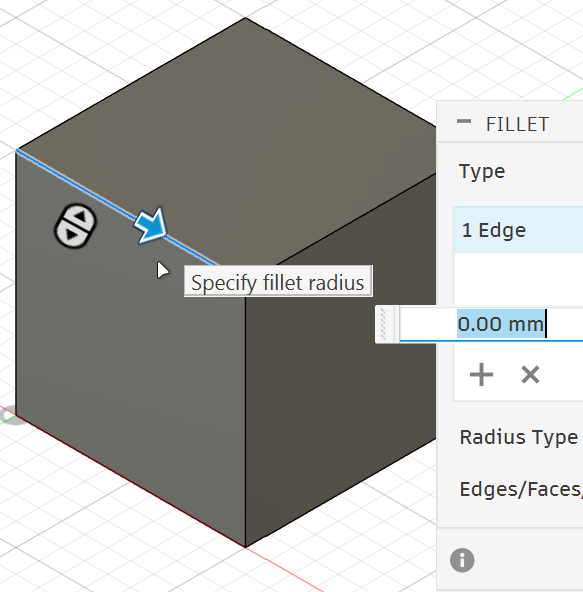
3. Select the edge you want to round.
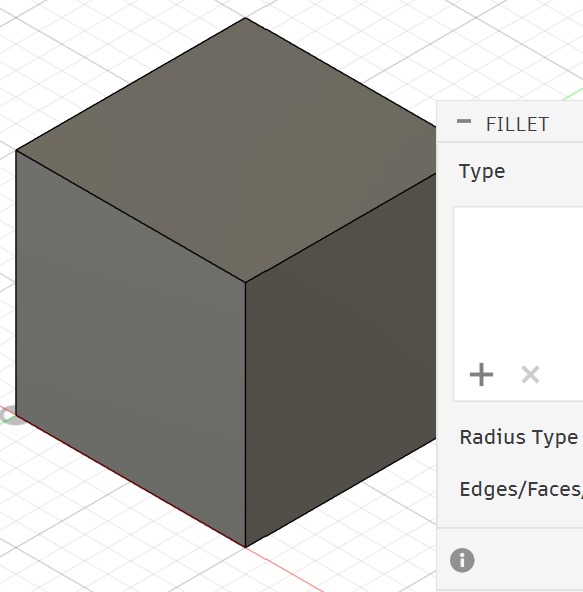
2. Activate the Fillet tool.
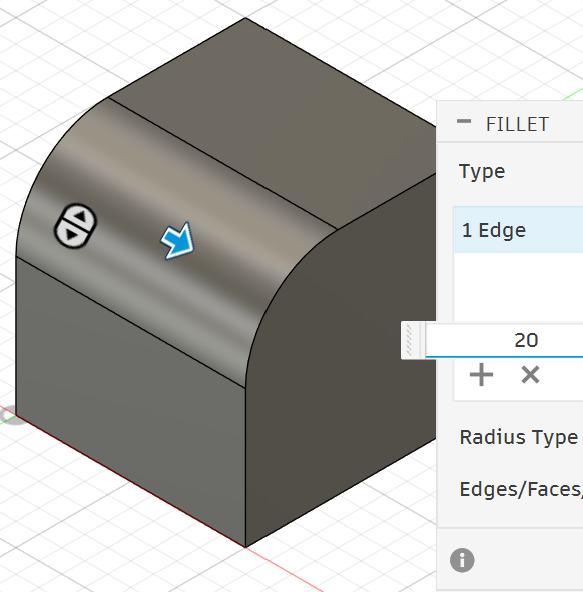
4. Enter the fillet radius, then click OK or press Enter.
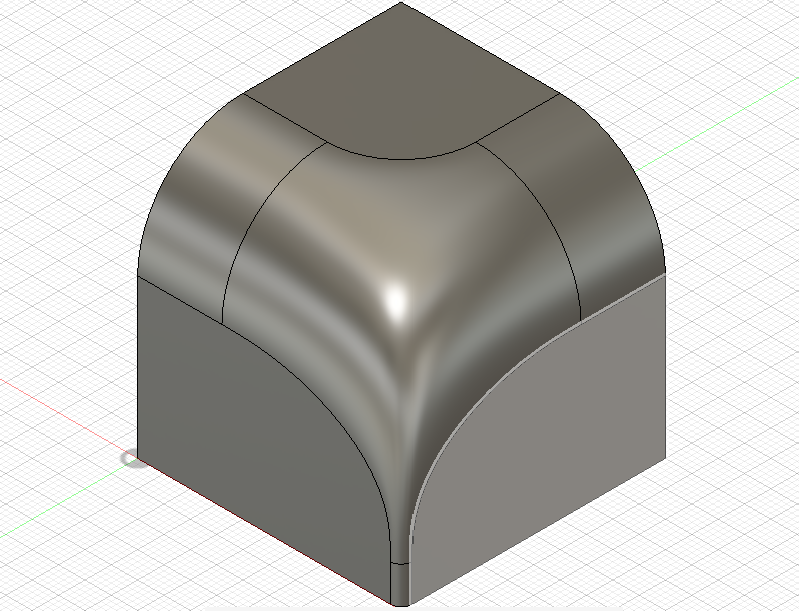
The radius controls how large the rounded edge will be.
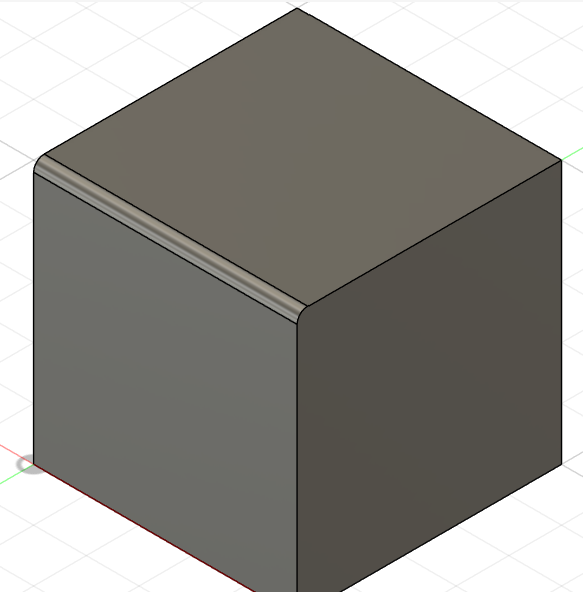
A small radius creates a slight round edge.
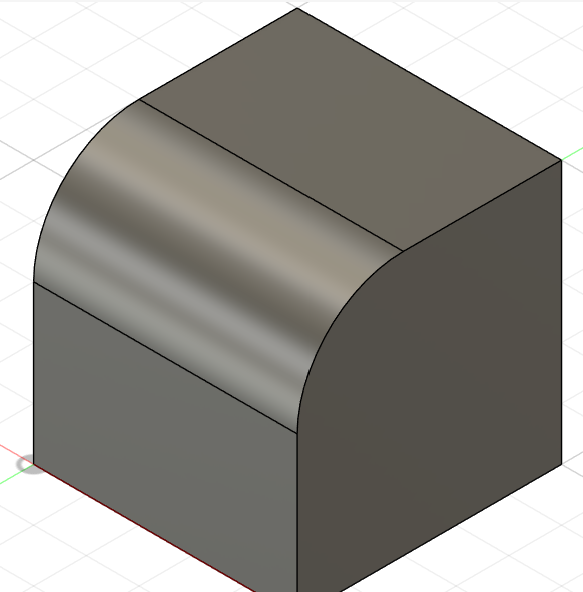
A large radius creates a stronger curve.
Selecting Edges
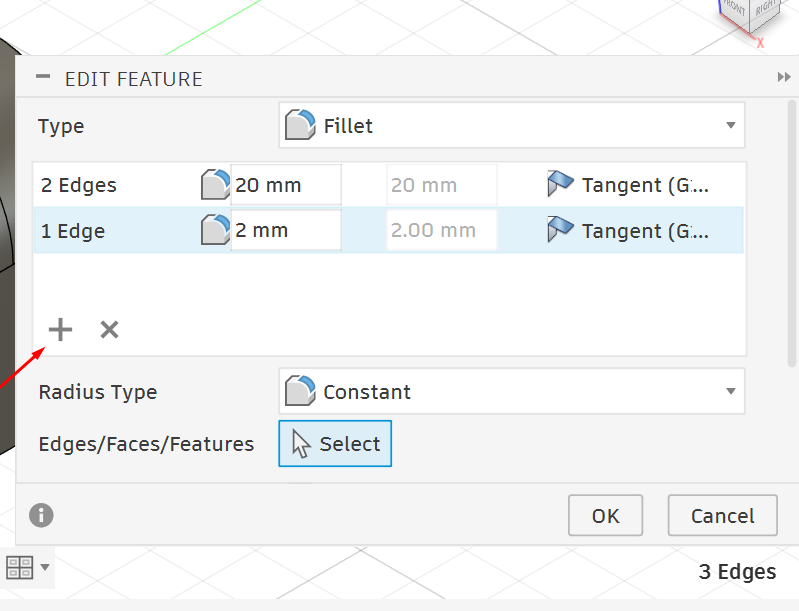
You can select one edge or multiple edges before applying the fillet.
When selecting edges:
•
Click one edge to apply the fillet to that edge.
•
Select more edges if they should have the same radius.
•
Use Ctrl to control selection and remove unwanted selected edges.
•
You can create more than one selection set if different edges need different fillet values.
This is useful when one part of the model needs a small fillet and another part needs a larger fillet.
Important Notes
•
Apply fillets near the end of the modeling process.
•
Do not add fillets too early if the model still needs major edits.
•
If a fillet fails, the radius may be too large for the selected edge.
•
Check the model from different views after applying the fillet.
•
Use the timeline to edit the fillet if the design changes.
Common Mistakes
•
Selecting the wrong edge.
•
Using a fillet radius that is too large.
•
Forgetting to check the drawing for the correct radius.
•
Applying fillets before finishing the main shape.
•
Creating separate bodies instead of using Join during extrusion.
Practice Task
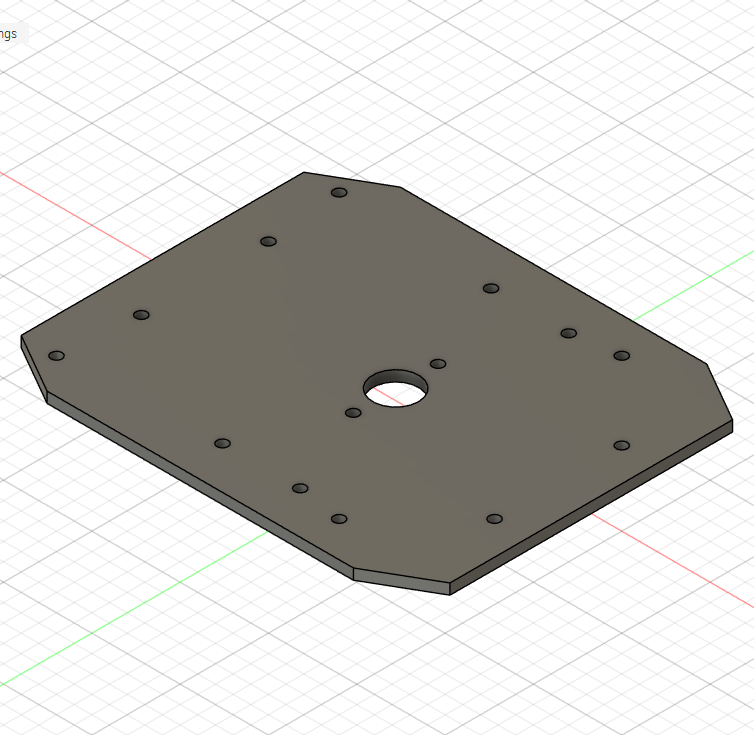
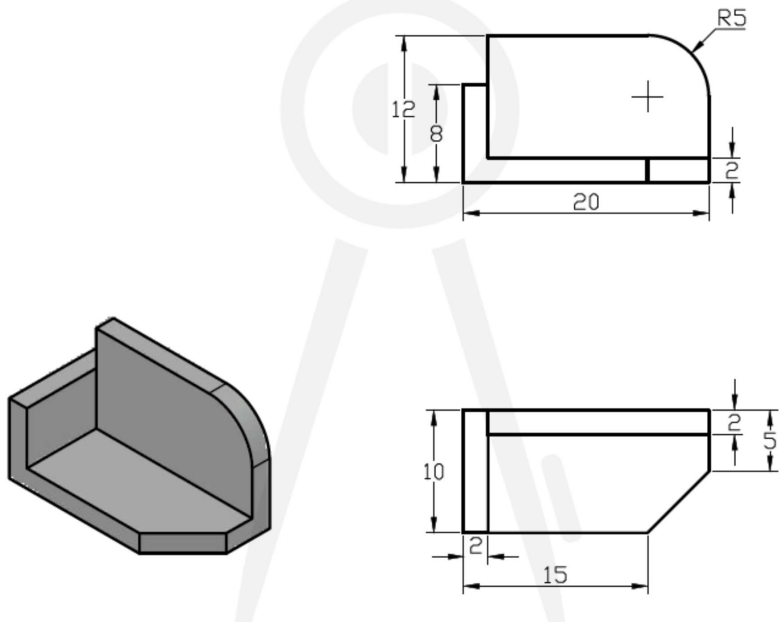
Start by studying the different views of the drawing and identifying the main dimensions before modeling.
Make sure all new features are joined into onel solid body.
After finishing the model, check it from the top, side and isometric views to make sure it matches the drawing. If the dimensions or fillet do not look correct, go back to the sketch or timeline and edit the related feature.
Reflection Questions
•
Why should fillets usually be added after creating the main shape of the model?
•
How can the timeline help you edit a fillet after it has been created?
•
Why is it important to check the model from different views after applying the fillet?
•
If the final model does not match the drawing, what features or sketches should you check first?