Overview
In this lesson, students will learn about the programming blocks in ScratchJr and how they are used to create simple programs.
students will explore different types of blocks, including:
•
Triggering blocks → used to start a program
•
Motion blocks → move characters in different directions
•
Looks blocks → change how characters appear
•
Sound blocks → play or record sounds
•
Control blocks → manage actions and timing
•
End blocks → stop actions or change scenes
Objectives
•
Learning about all the blocks that are available in ScratchJr and what they do.
Triggering blocks
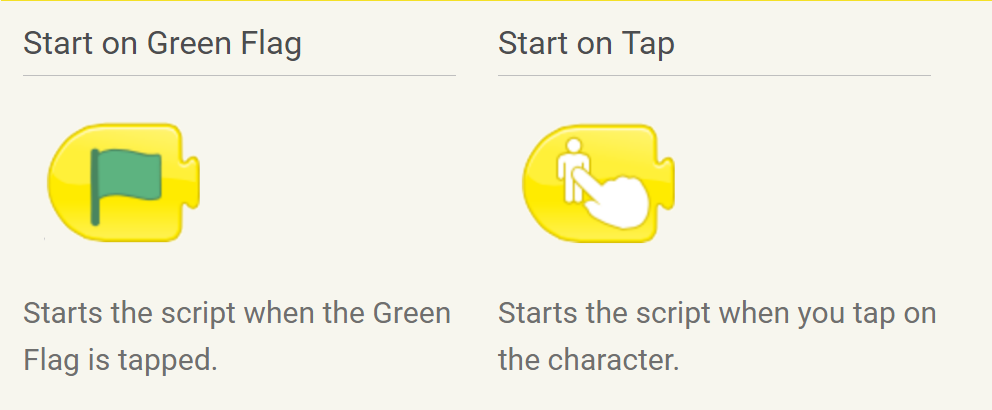
The Triggering blocks help us to start program , we have several ways to start our program like
•
Start on Green Flag
•
Start on Tap
•
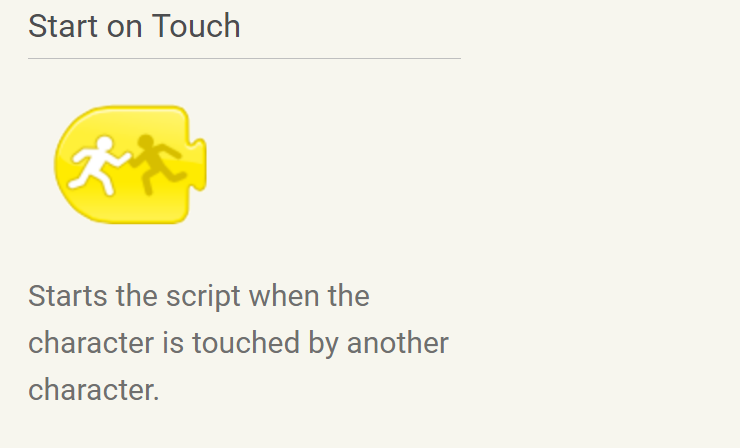
Start on Bump
•
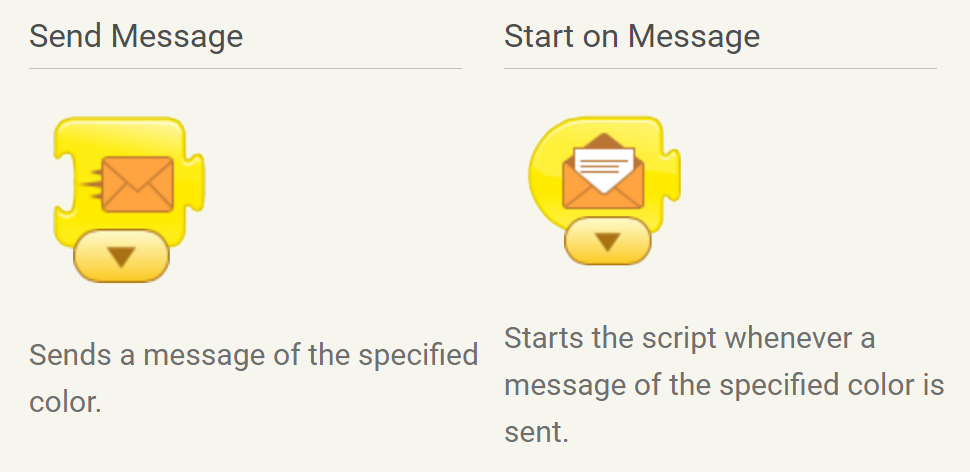
Start on message
•
Send Message
Motion Blocks
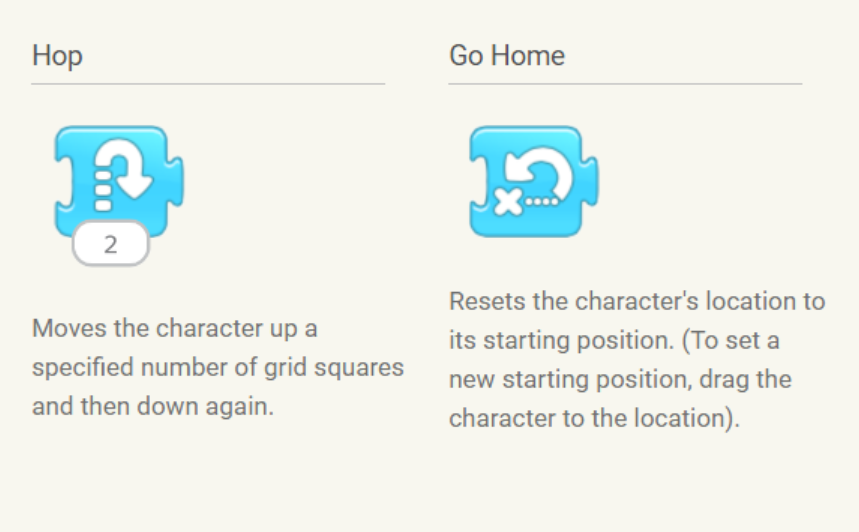
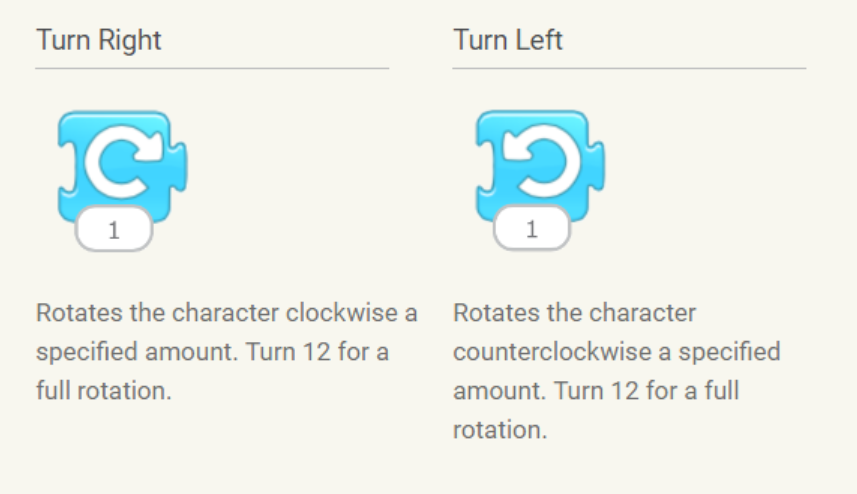
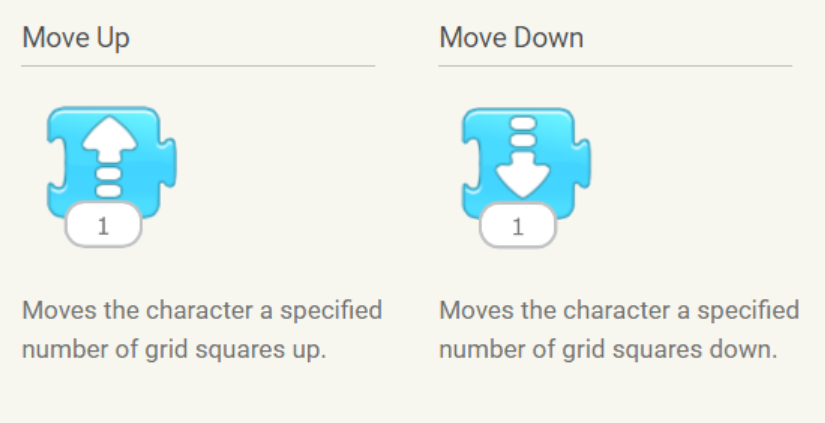
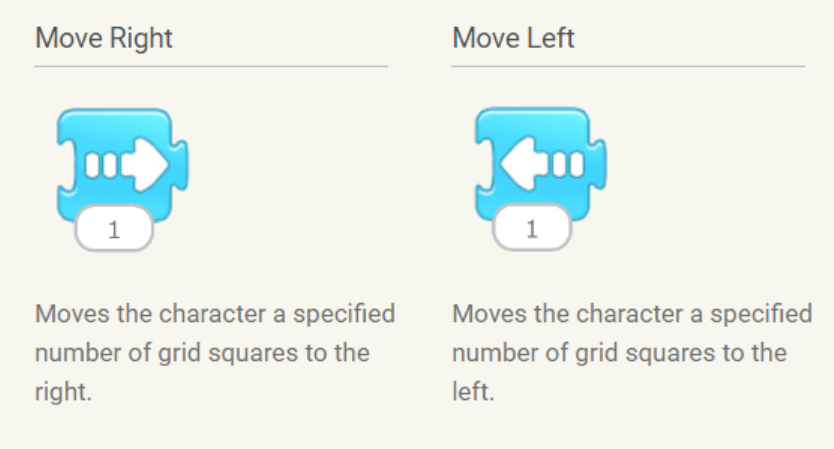
Motion blocks help us to move sprites to a specific direction
Looks Blocks
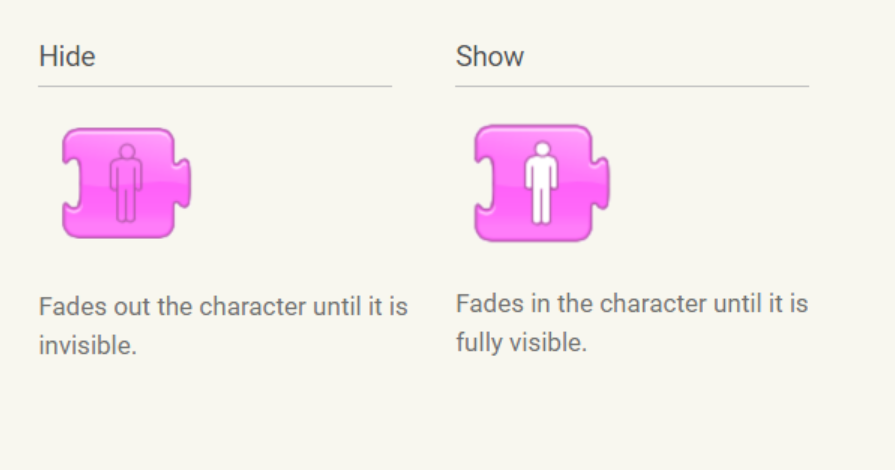
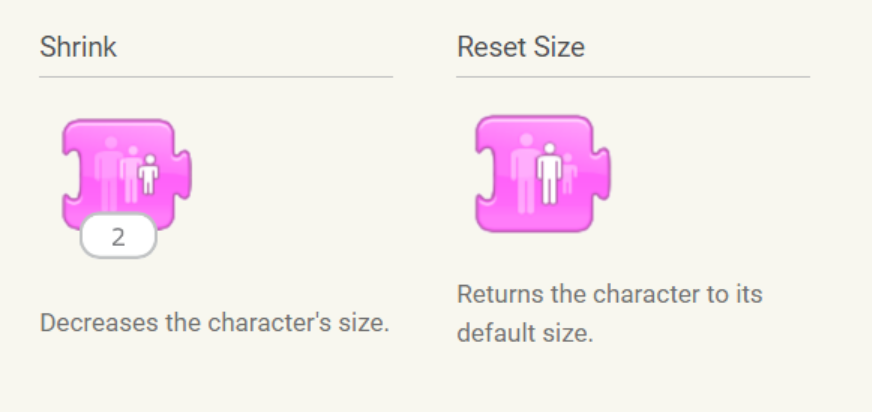
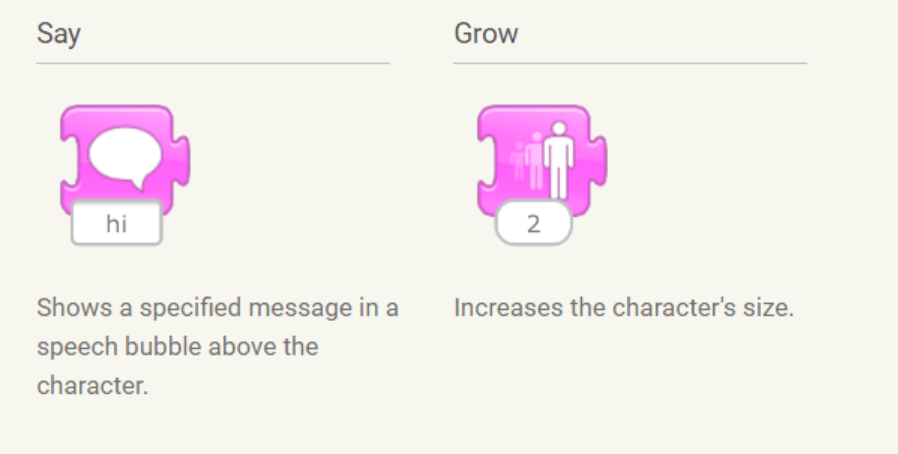
Looks blocks help us to change the look of our sprite
Sound Blocks
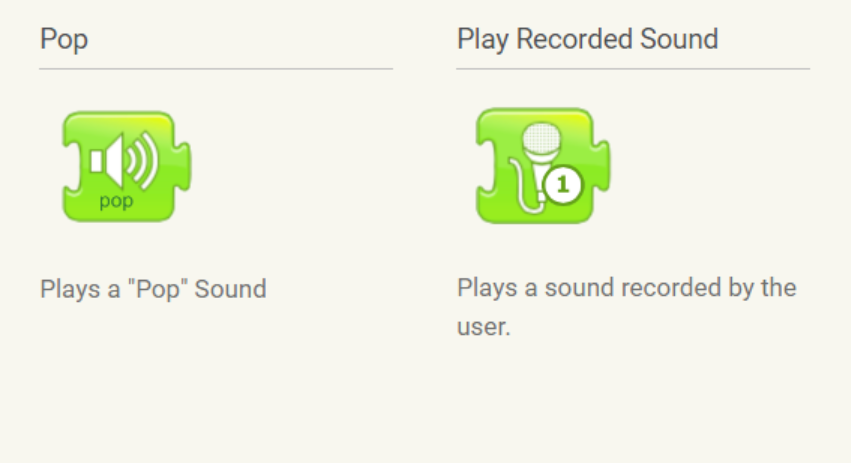
We use sound blocks to play sound or record sound
Control Blocks
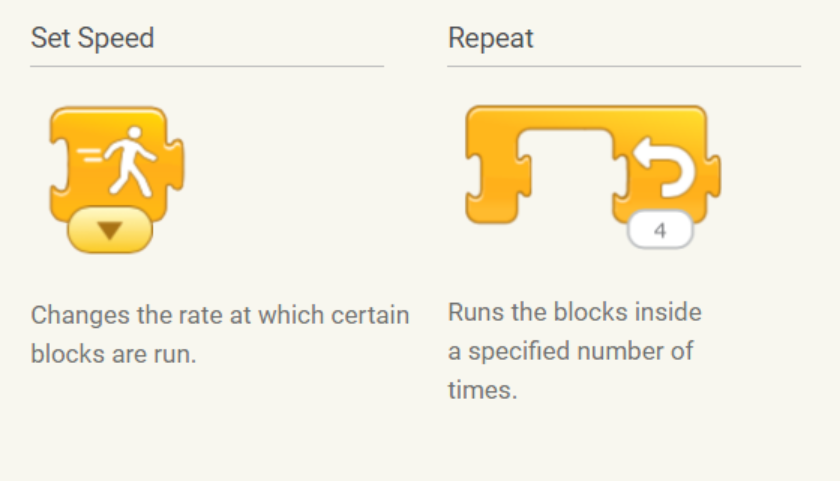
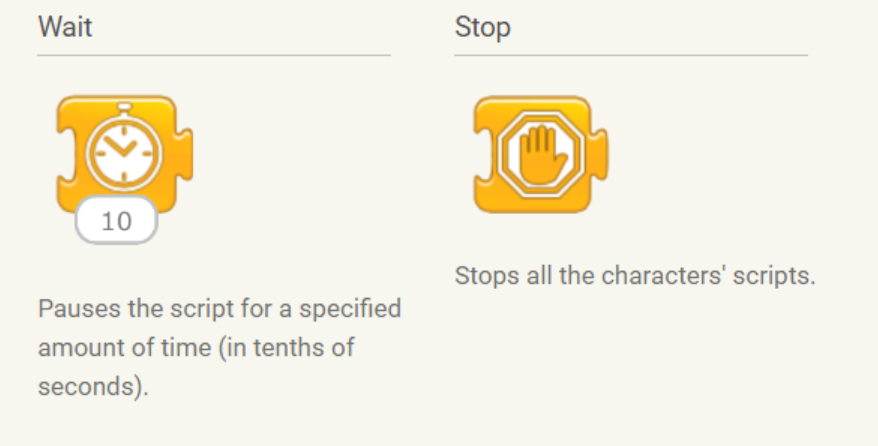
Control Blocks are used to control the movement of the sprite under certain conditions.
End Blocks
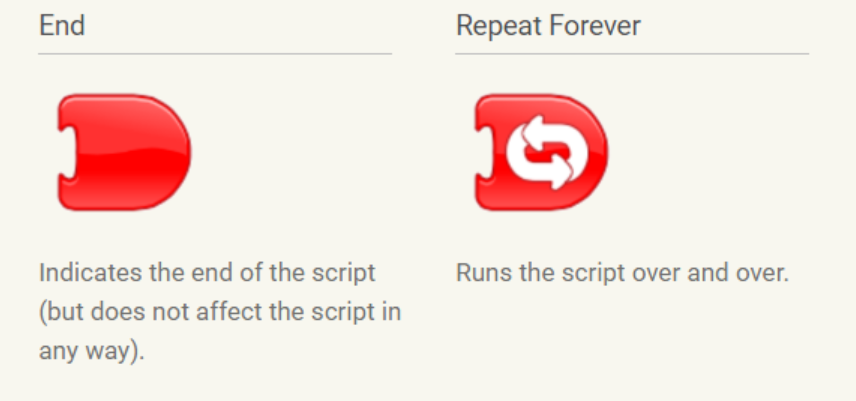
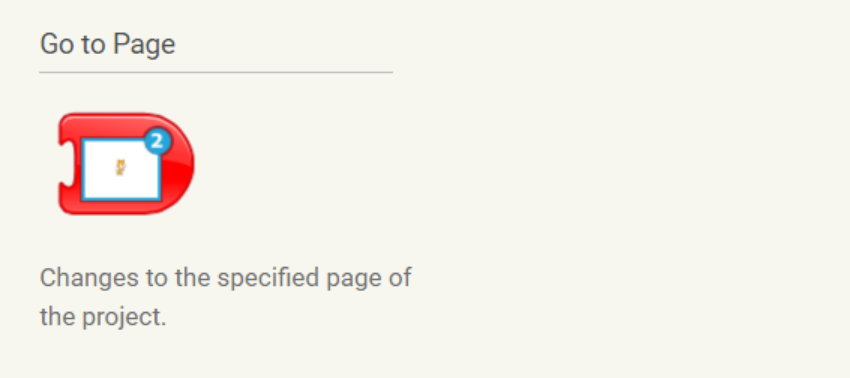
These blocks are used to end the script or run the script over or change the page to another background
Activity
Objectives
•
Learn how to make cats dance , move and speak with a friend on a stage.
•
Learn how to delete objects and undo steps.
•
Discover how to use the programming blocks to bring your characters to life.
Step 1 | Open the App
This is the first screen you’ll see when you open the ScratchJr app. Tap the Home button on the left.
Step 2 | Make a New Project
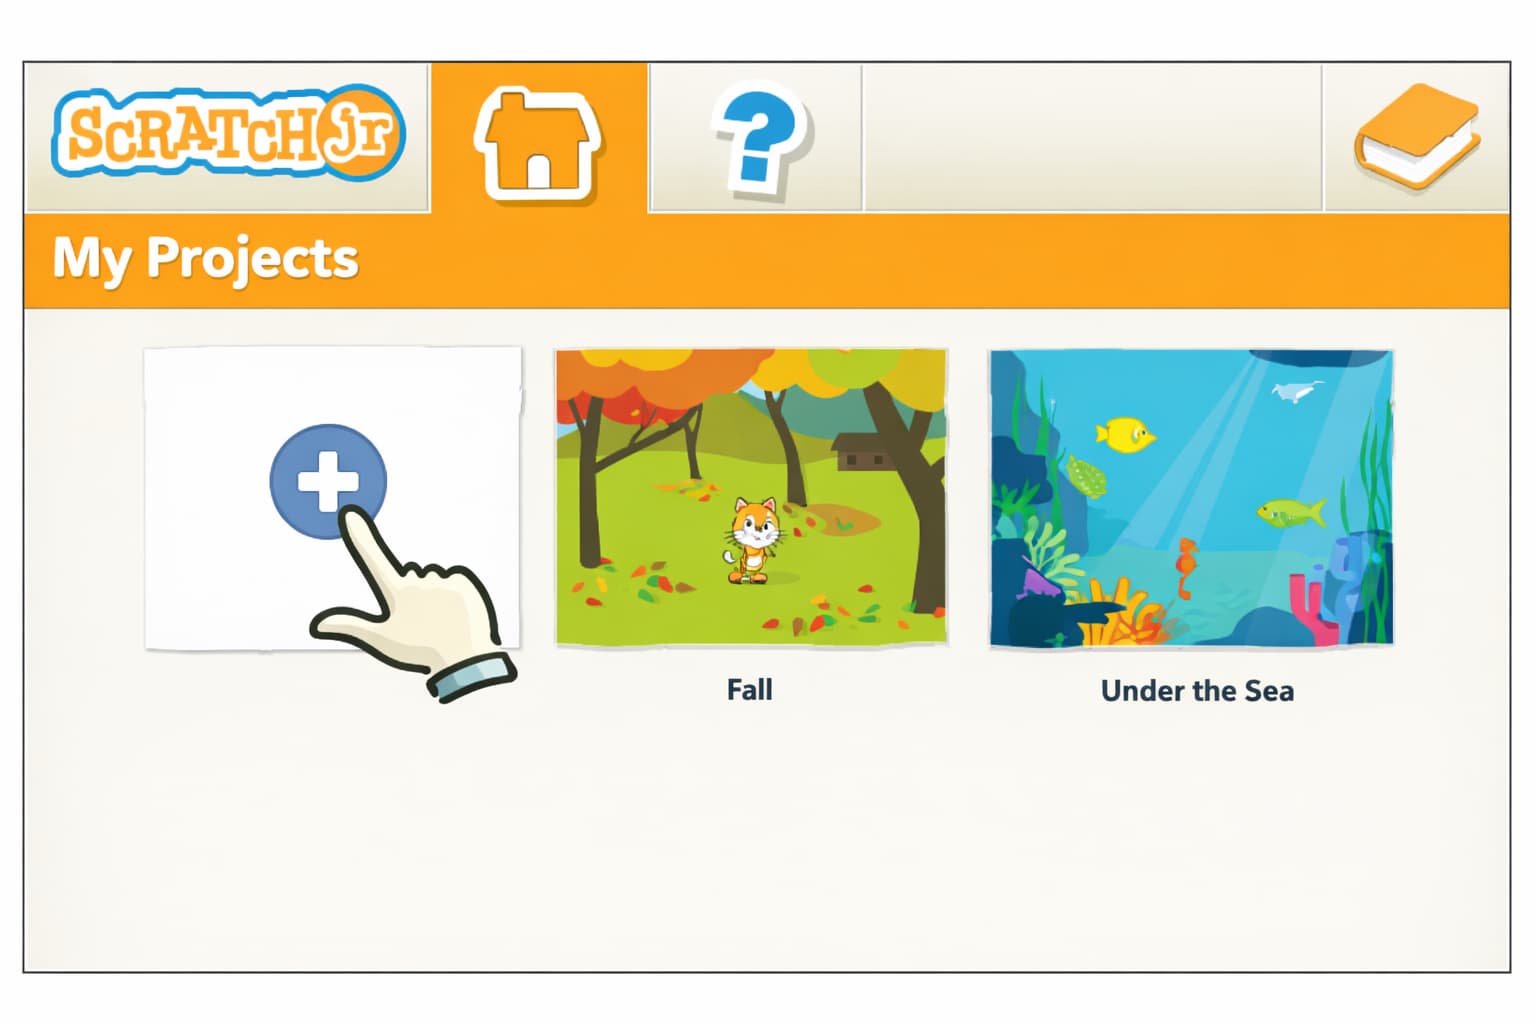
The home screen shows all of your saved ScratchJr projects. In the following picture, you can see two projects that have already been created. If this is your first project, you’ll see only the plus sign. Tap the plus sign to make a new project.
Step 3 | Make the Cat Move!
This is where the magic happens! You can make amazing animations, silly stories, and great games all from the ScratchJr editor. Whatever you make will play in the center of the screen.
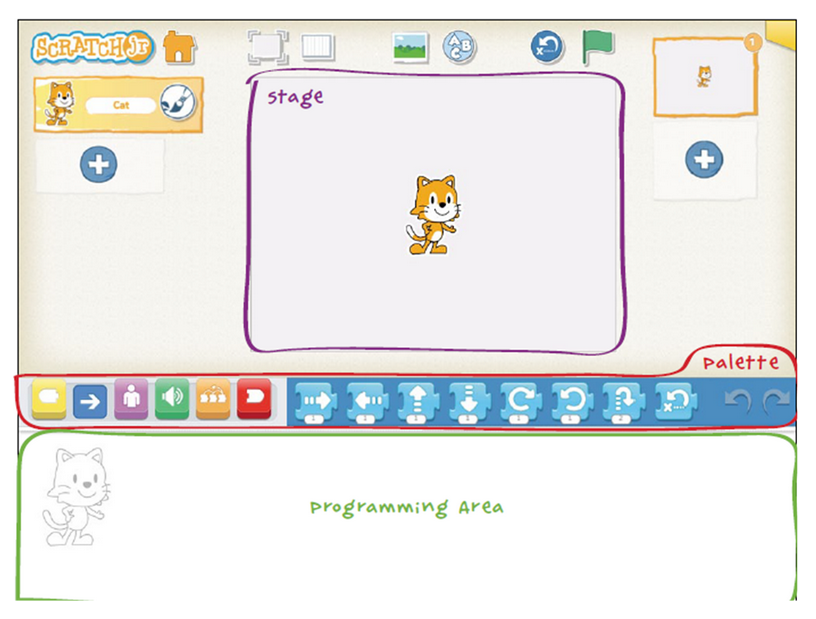
We call this area the stage.
Each new project starts with the ScratchJr cat. To make the cat move, we can use the motion blocks, which are in the blue palette of programming blocks. Use your finger to drag one of the blue arrow blocks to the programming area.Tap the blue block, and the cat moves in the direction of the arrow .
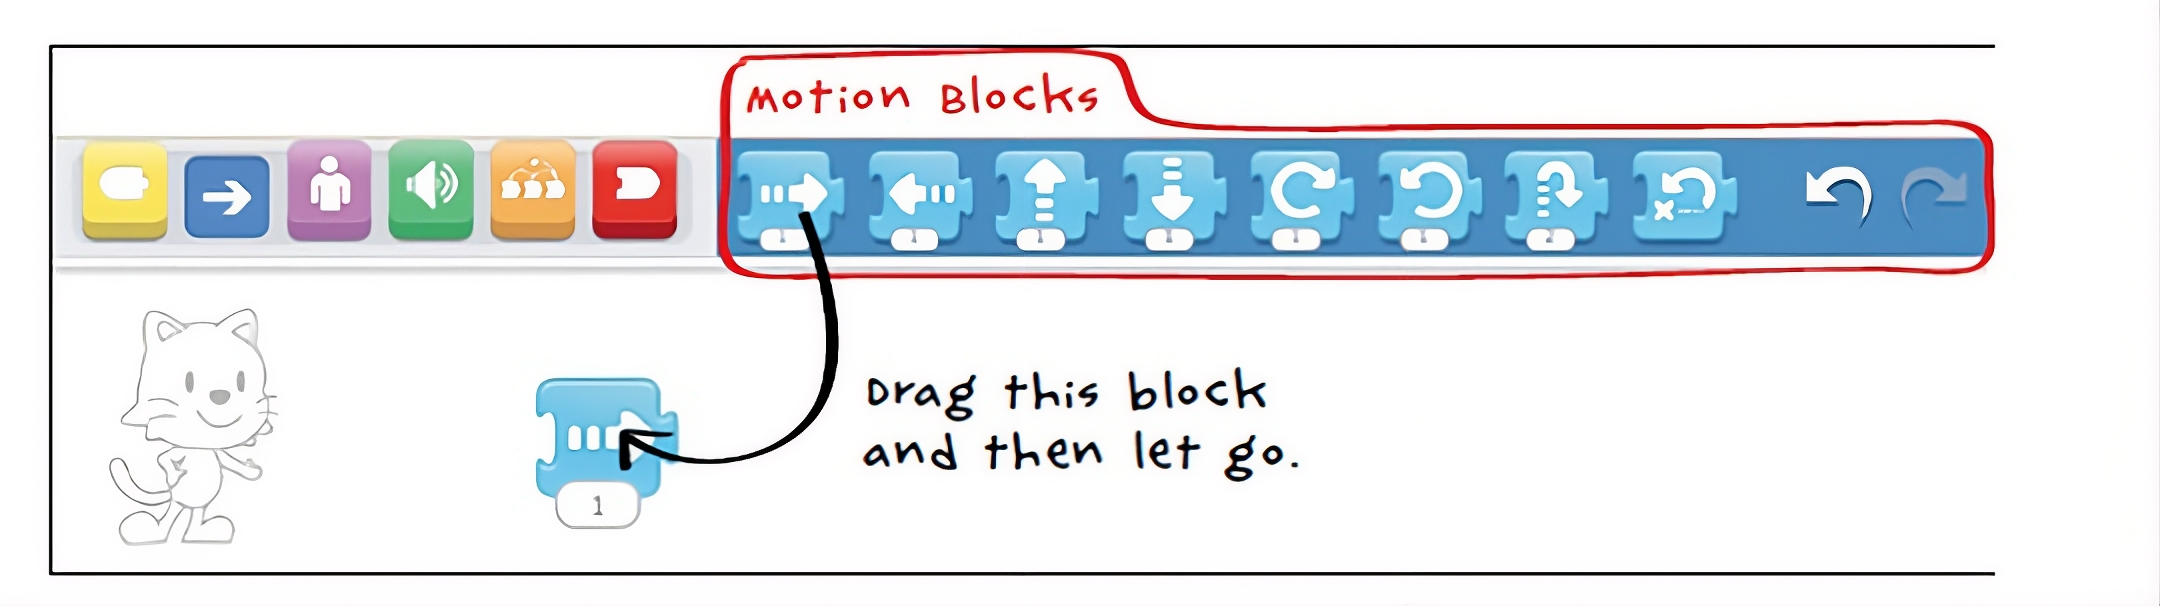
You can drag more blocks to the programming area and snap them together to make a sequence of actions, which we call a script.
To run the script and see the cat dance, tap any of the blocks in the script.
Notice that the script runs from the beginning no matter which block you tap, and each block is highlighted as it runs.
Step 4 | Use the Green Flag
You can also use the Start on Green Flag block to start your script.
First, tap the yellow button in the block categories area to show the triggering blocks. Select the Start on Green Flag block, drag it to the programming area, and snap it onto the
in front of your script.
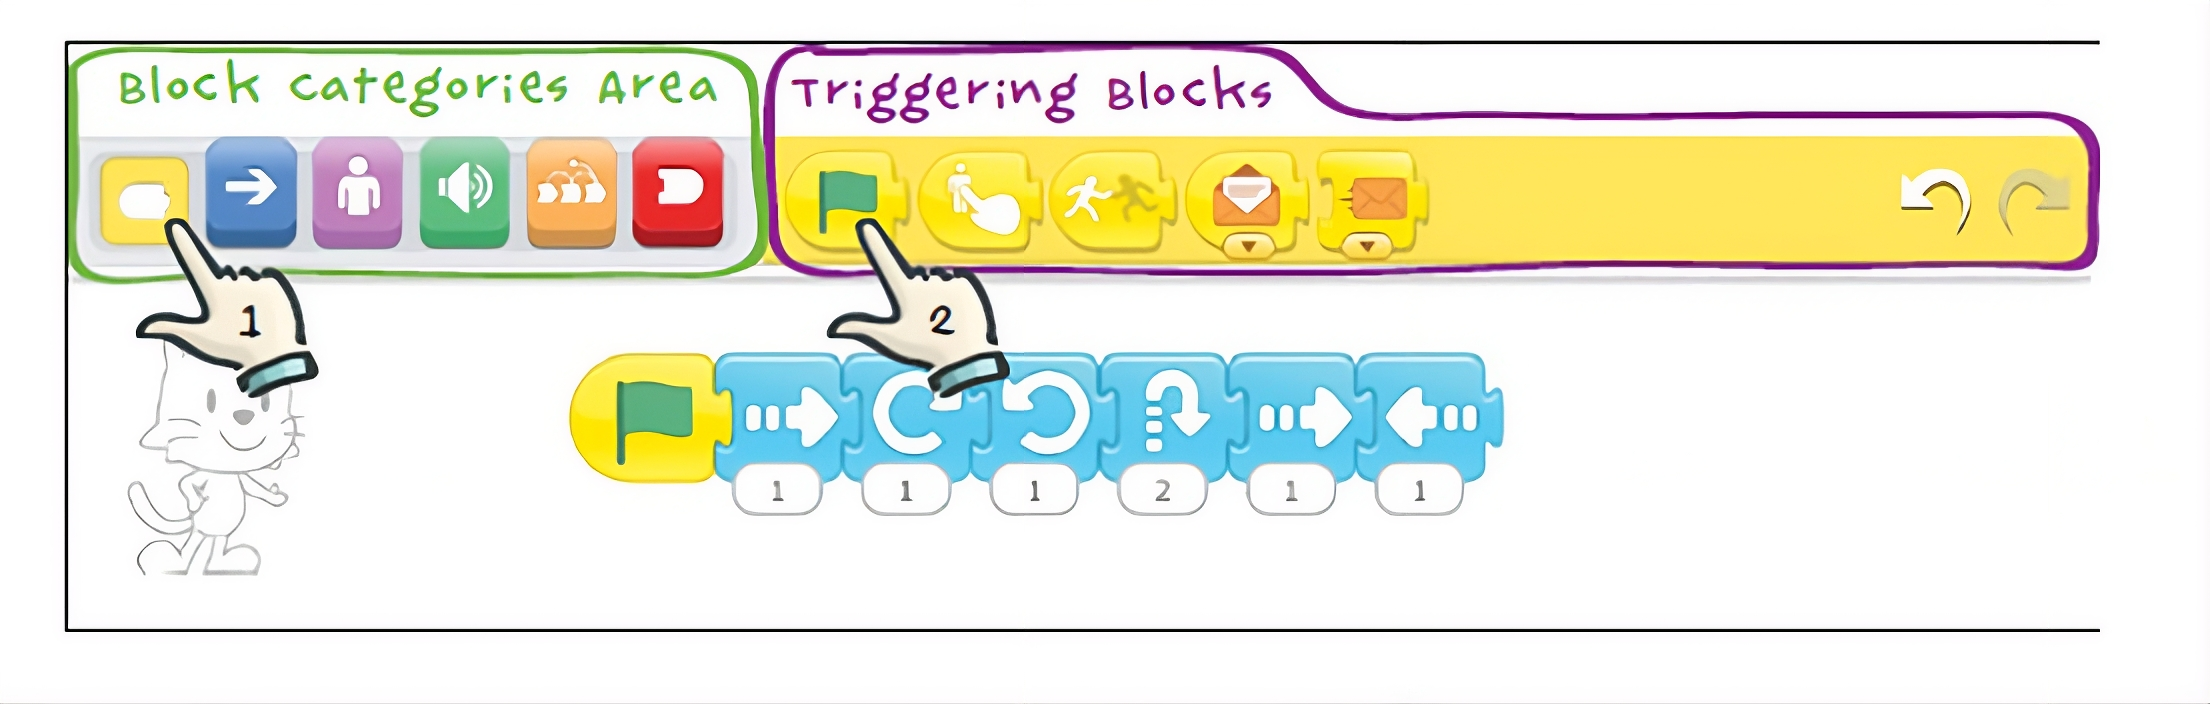
Now tap the Green Flag button at the top of the screen.

The cat will dance just like it did when you tapped on the Script!
You can see that there are other triggering blocks. You’ll find out how to use these as you go through the other projects in this book.
Step 5 | Add a Background
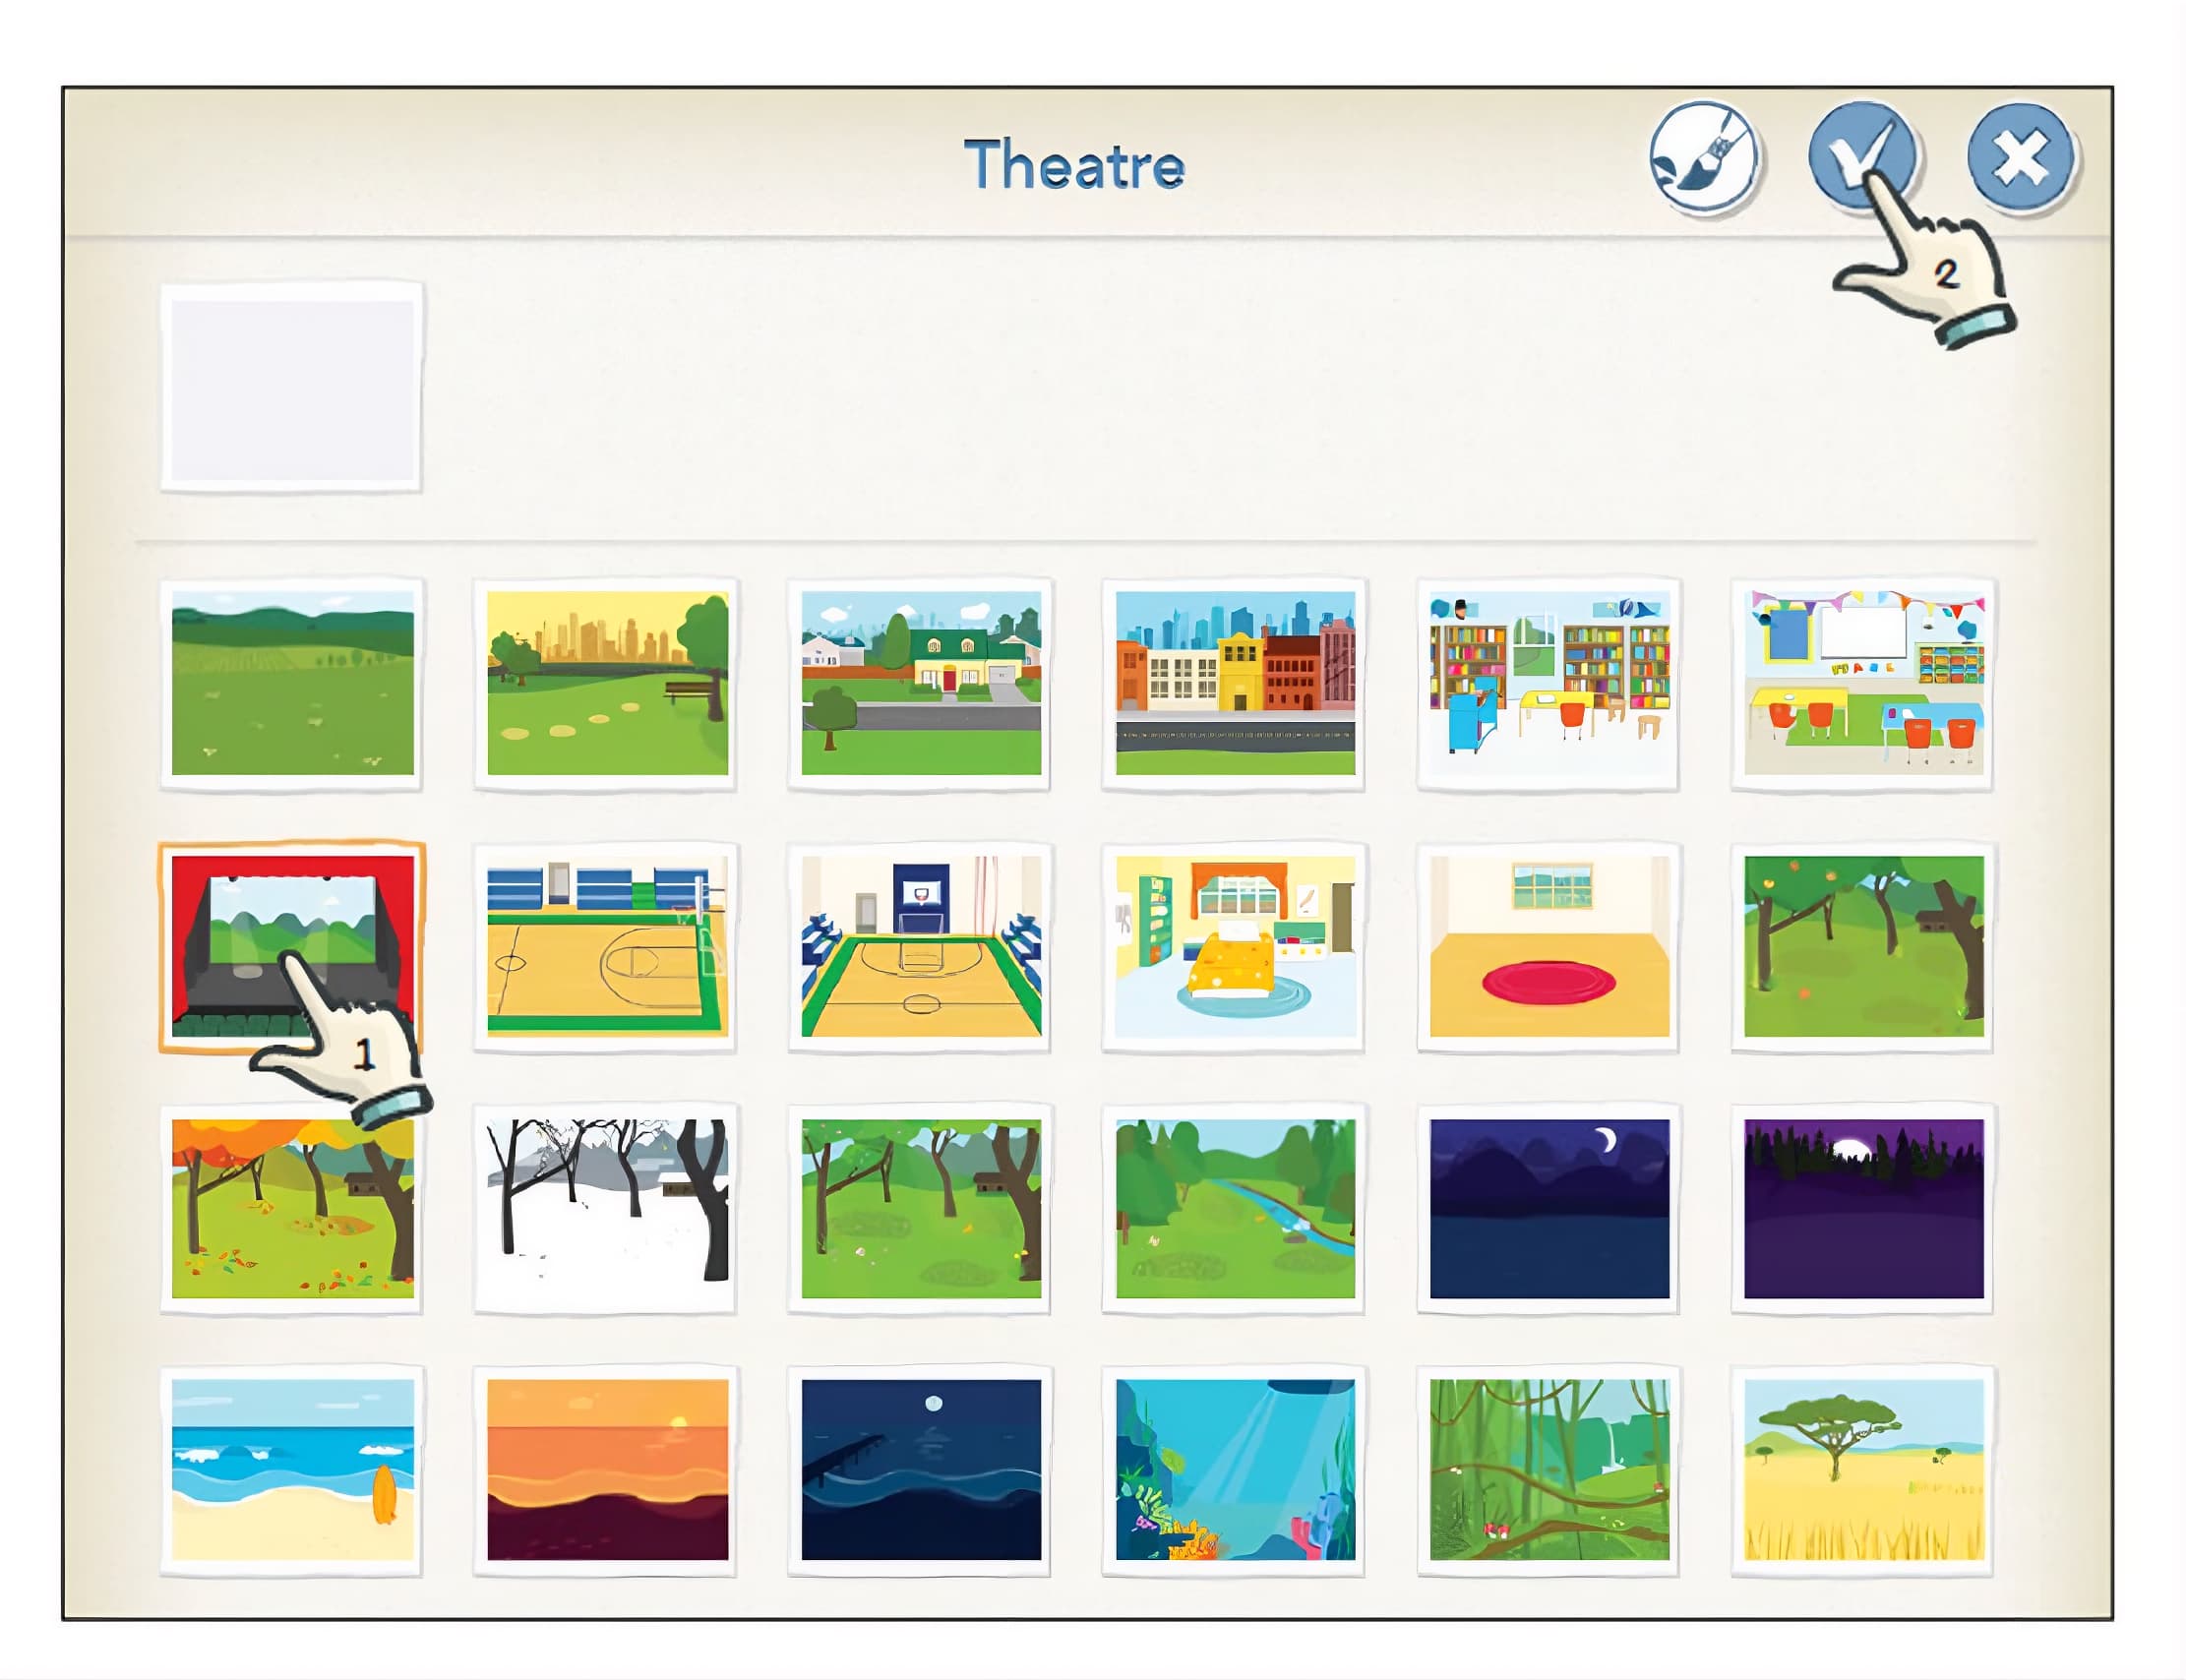
Select a new background to make the cat dance on a stage, instead of just a plain white Background.
by tapping on the button with the blue sky and green grass at the top of the main screen.
This is called the Change Background button.

You’ll see loads of backgrounds that you can choose from. For our dancing cat, let’s choose the theater. Tap the check mark at the top to load it into your stage.
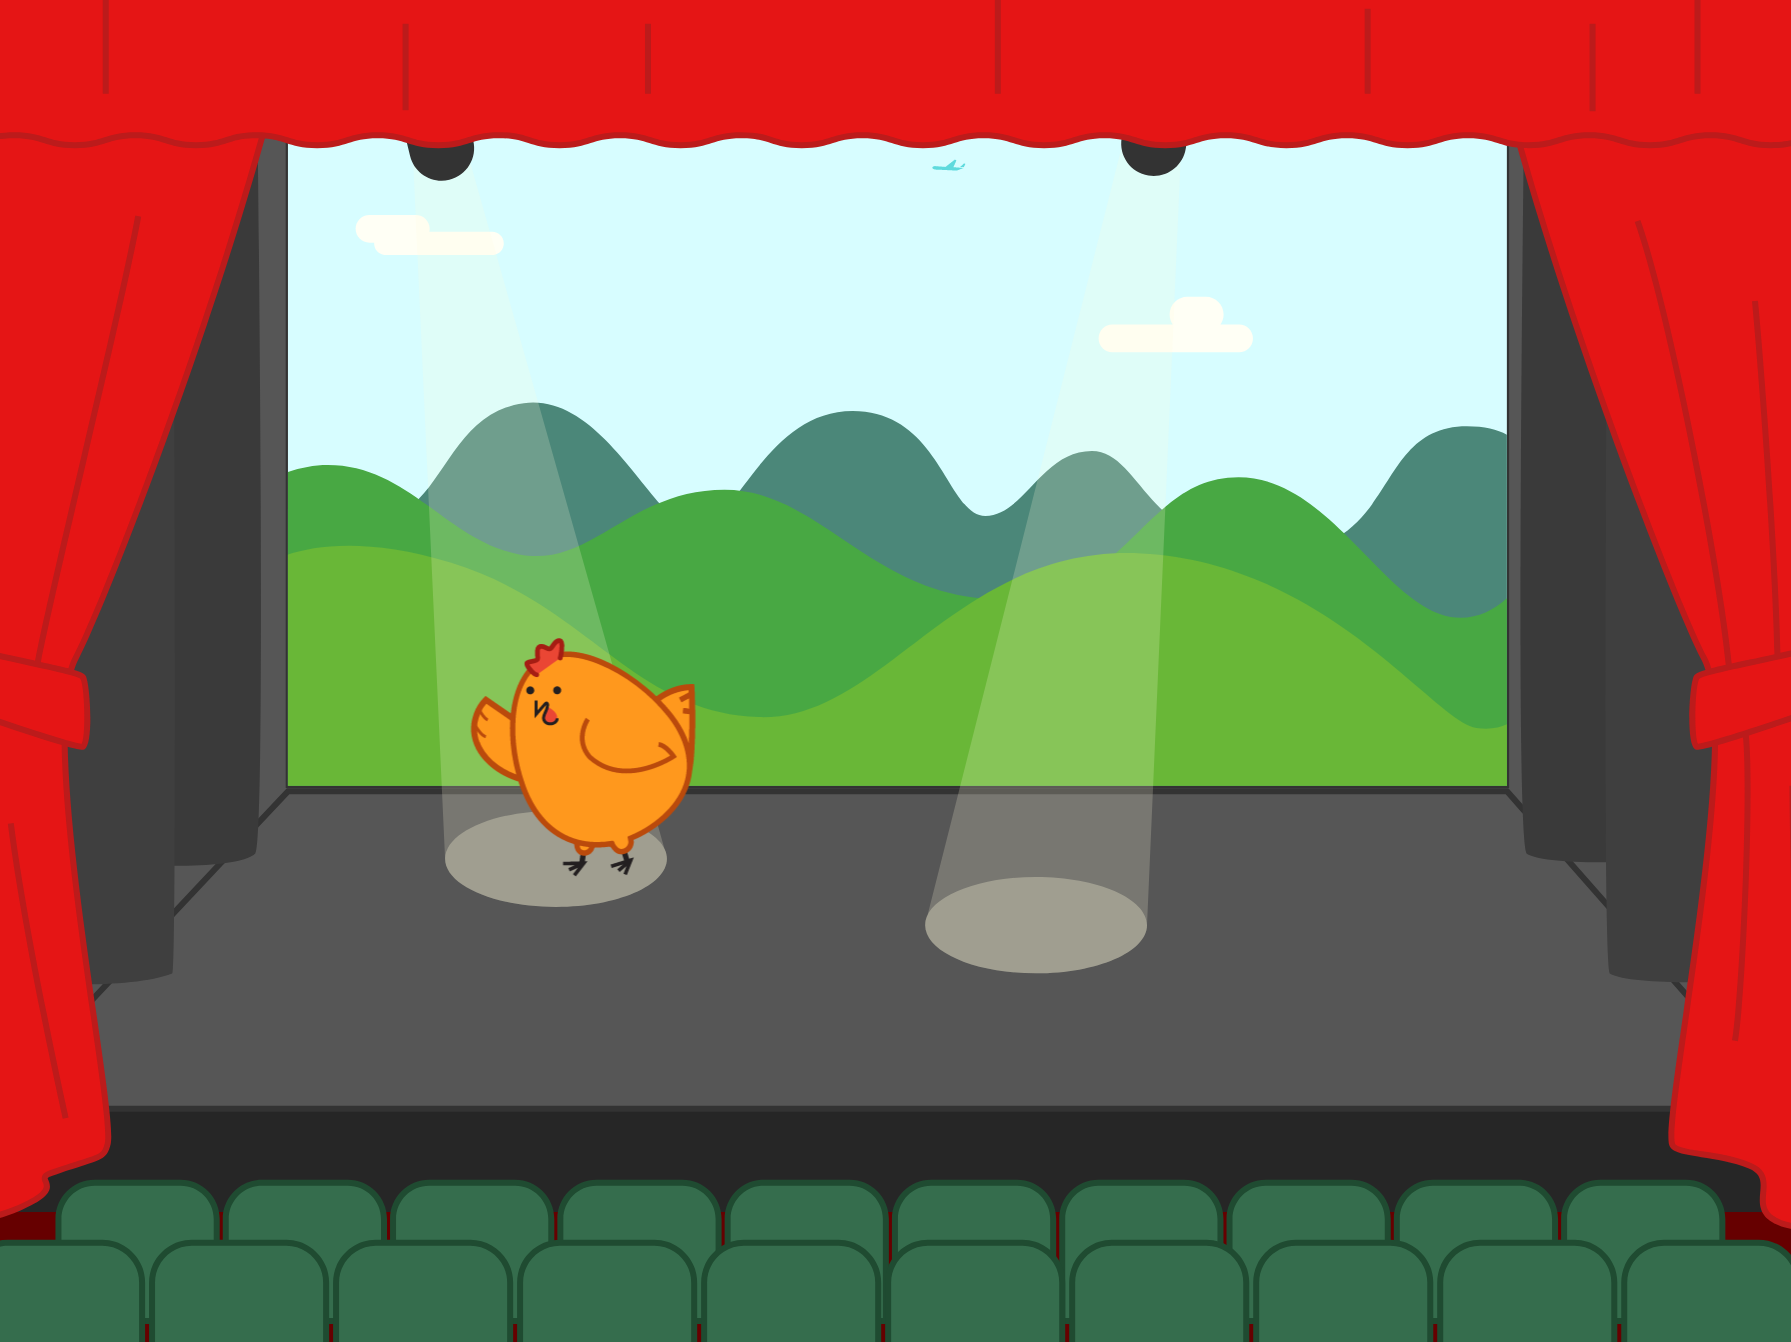
The Chicken is smiling and dancing, but it looks a bit lonely dancing on its own.
Step 6 | Add Another Character
Let’s give your cat a friend. Tap the plus sign on the left side of your screen to add a character
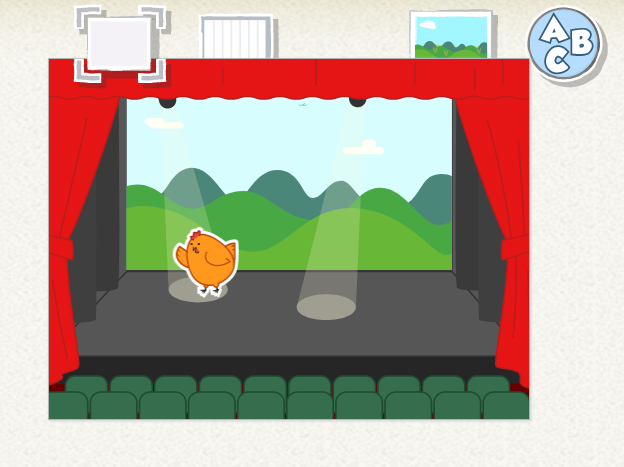
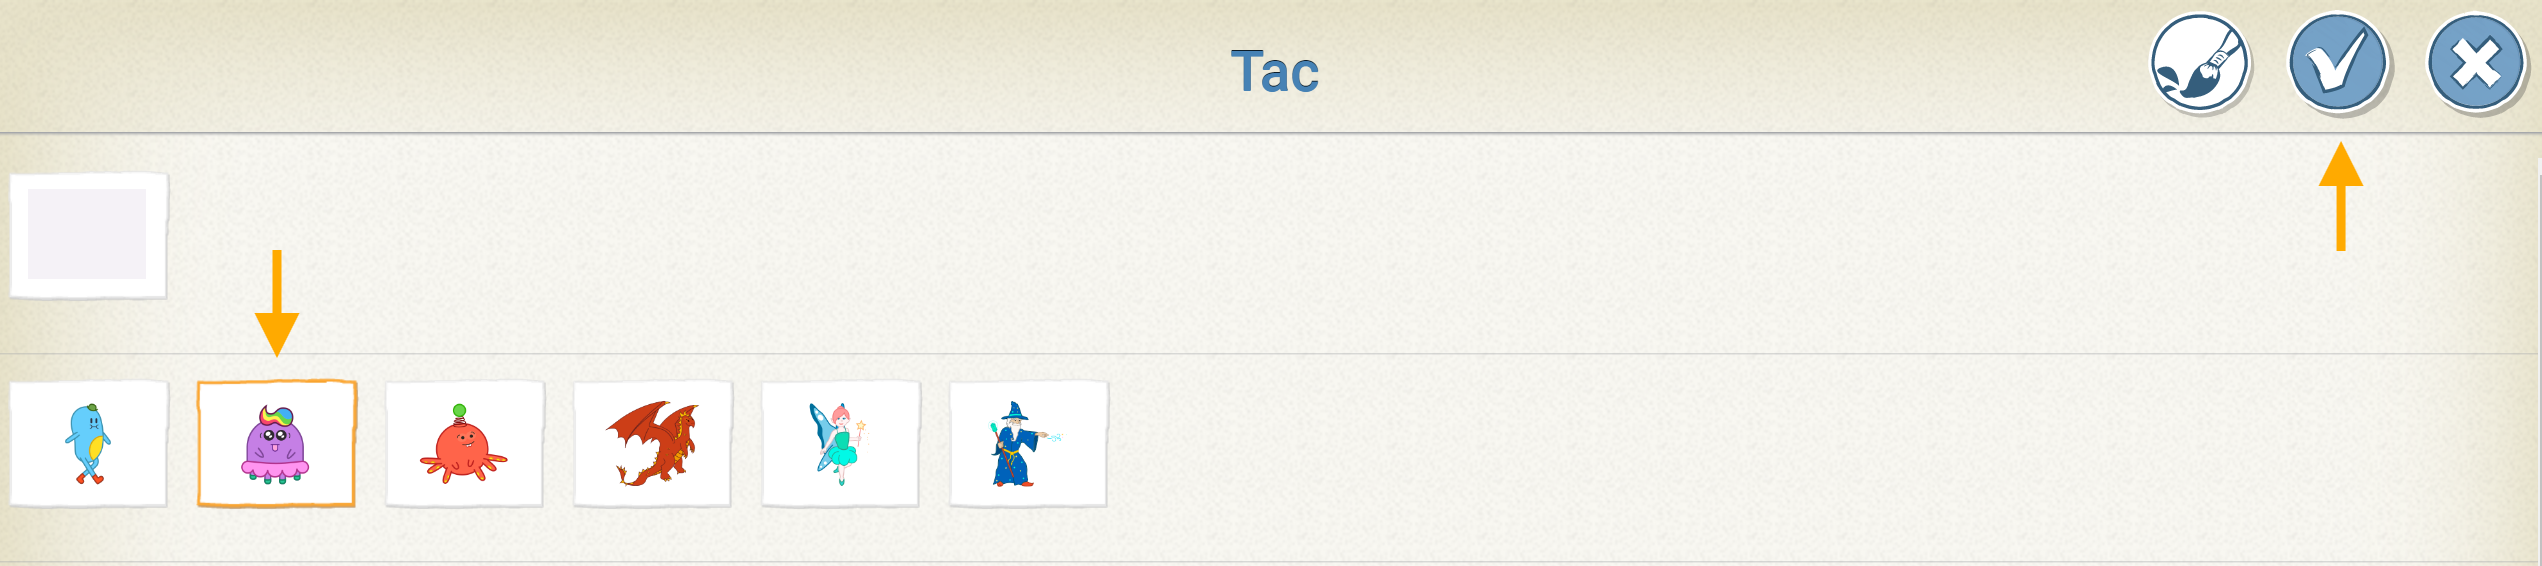
Now there are two characters on the stage. To the left of the stage is the character area, which shows you all the characters involved in your project.
The new character will always appear in the middle of the stage. To move the character, use your finger to drag it wherever you want on the stage. We’ve dragged each of our characters to a spotlight.
Note: Each character has its own scripts, like actors in a play. To see the cat’s script, tap the cat in the character area on the left, and you’ll see that your script is still there. Then select the penguin again so that you can give it dance
Step 7 | Don’t Just Dance, Say Something!
To make the penguin say something before it dances. You can add speech bubbles for characters using the purple Say block. Tap the purple button in the block categories area to reveal the looks blocks.
Drag the Say block to the programming area.
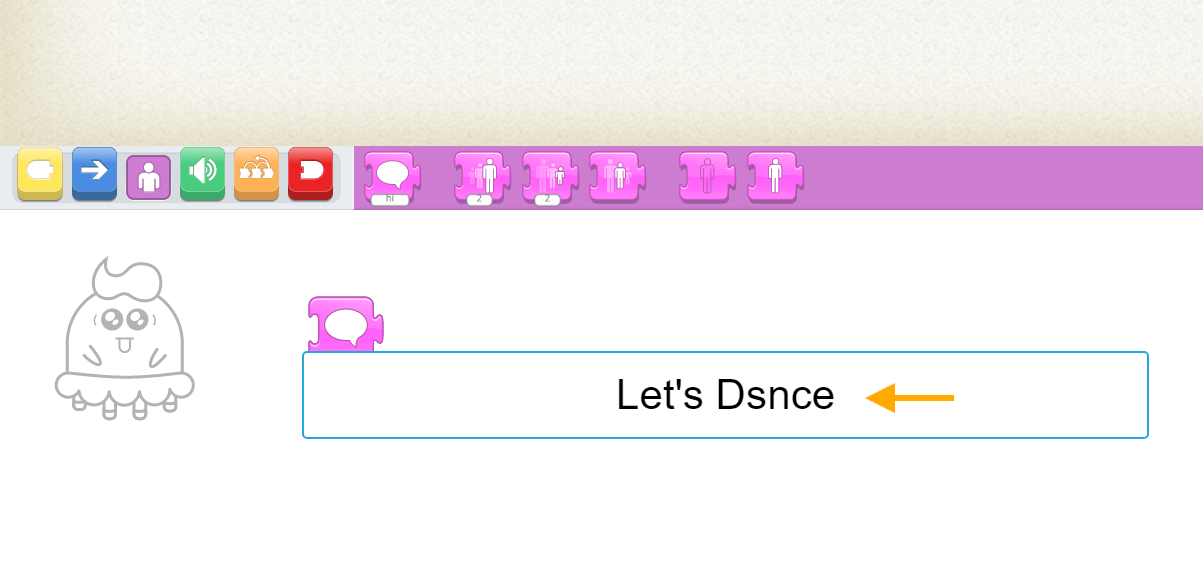
Let’s change the text of the Say block from “hi” to “Let's Dance!” First, tap the word hi to make the keyboard appear. Use the backspace key to delete hi, and then type Let’s dance! or whatever you want the penguin to say.
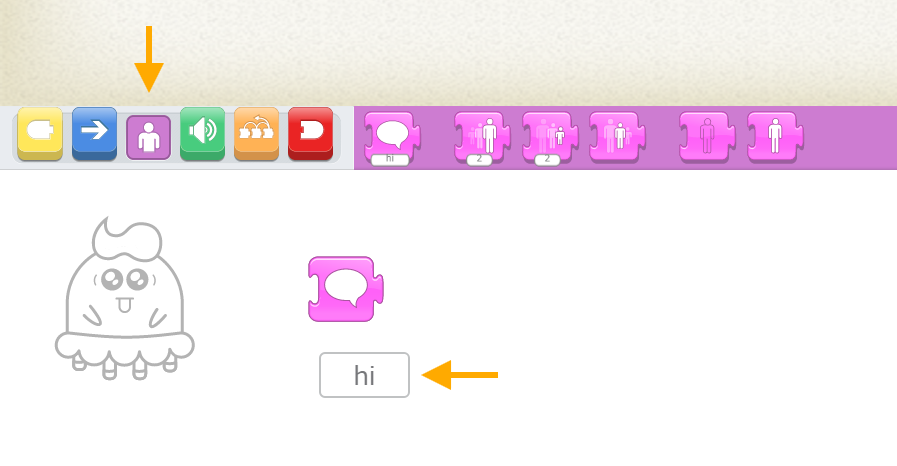
Let’s change the text of the Say block from “hi” to “Let's Dance!” First, tap the word hi to make the keyboard appear. Use the backspace key to delete hi, and then type Let’s dance! or whatever you want the penguin to say.
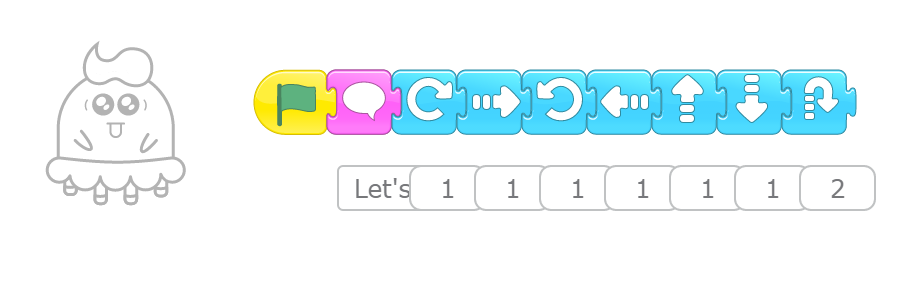
Add some blue motion blocks to make the penguin dance, and then put a Start on Green Flag block at the beginning of the penguin’s script.
Step 8 |Test your program
Try it out by tapping the Green Flag button at the top of the screen.
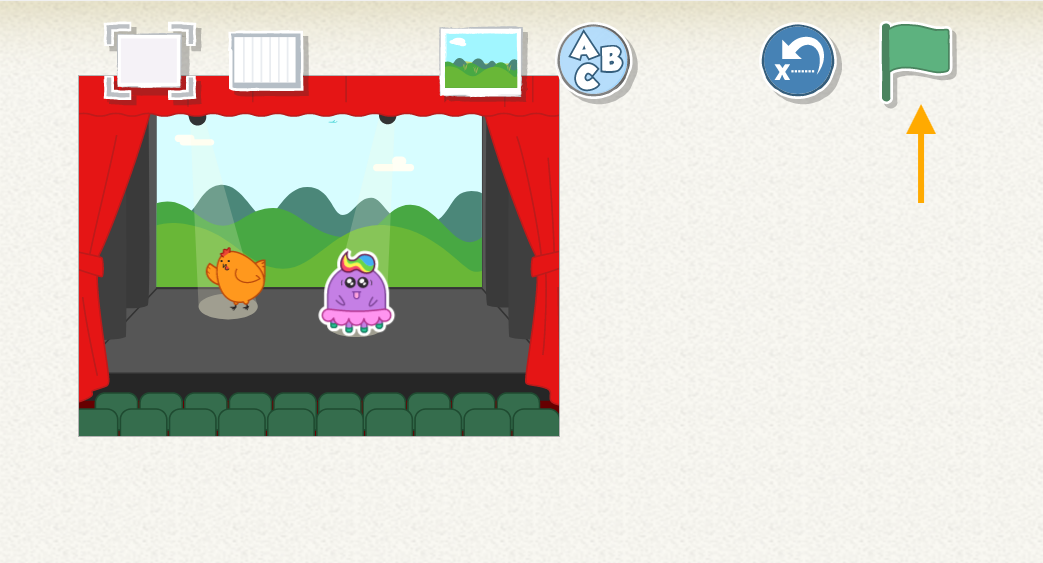
Step 9 | Add a Title
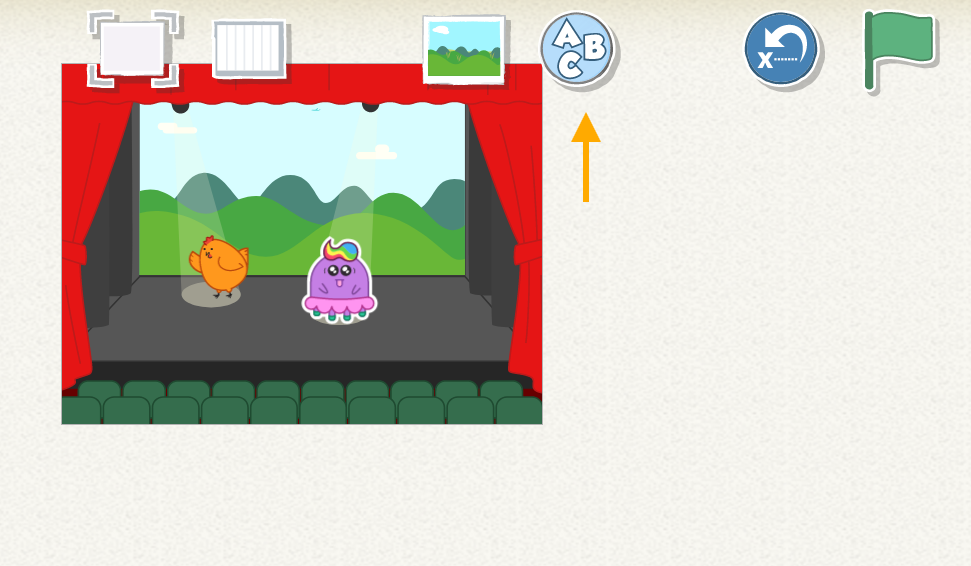
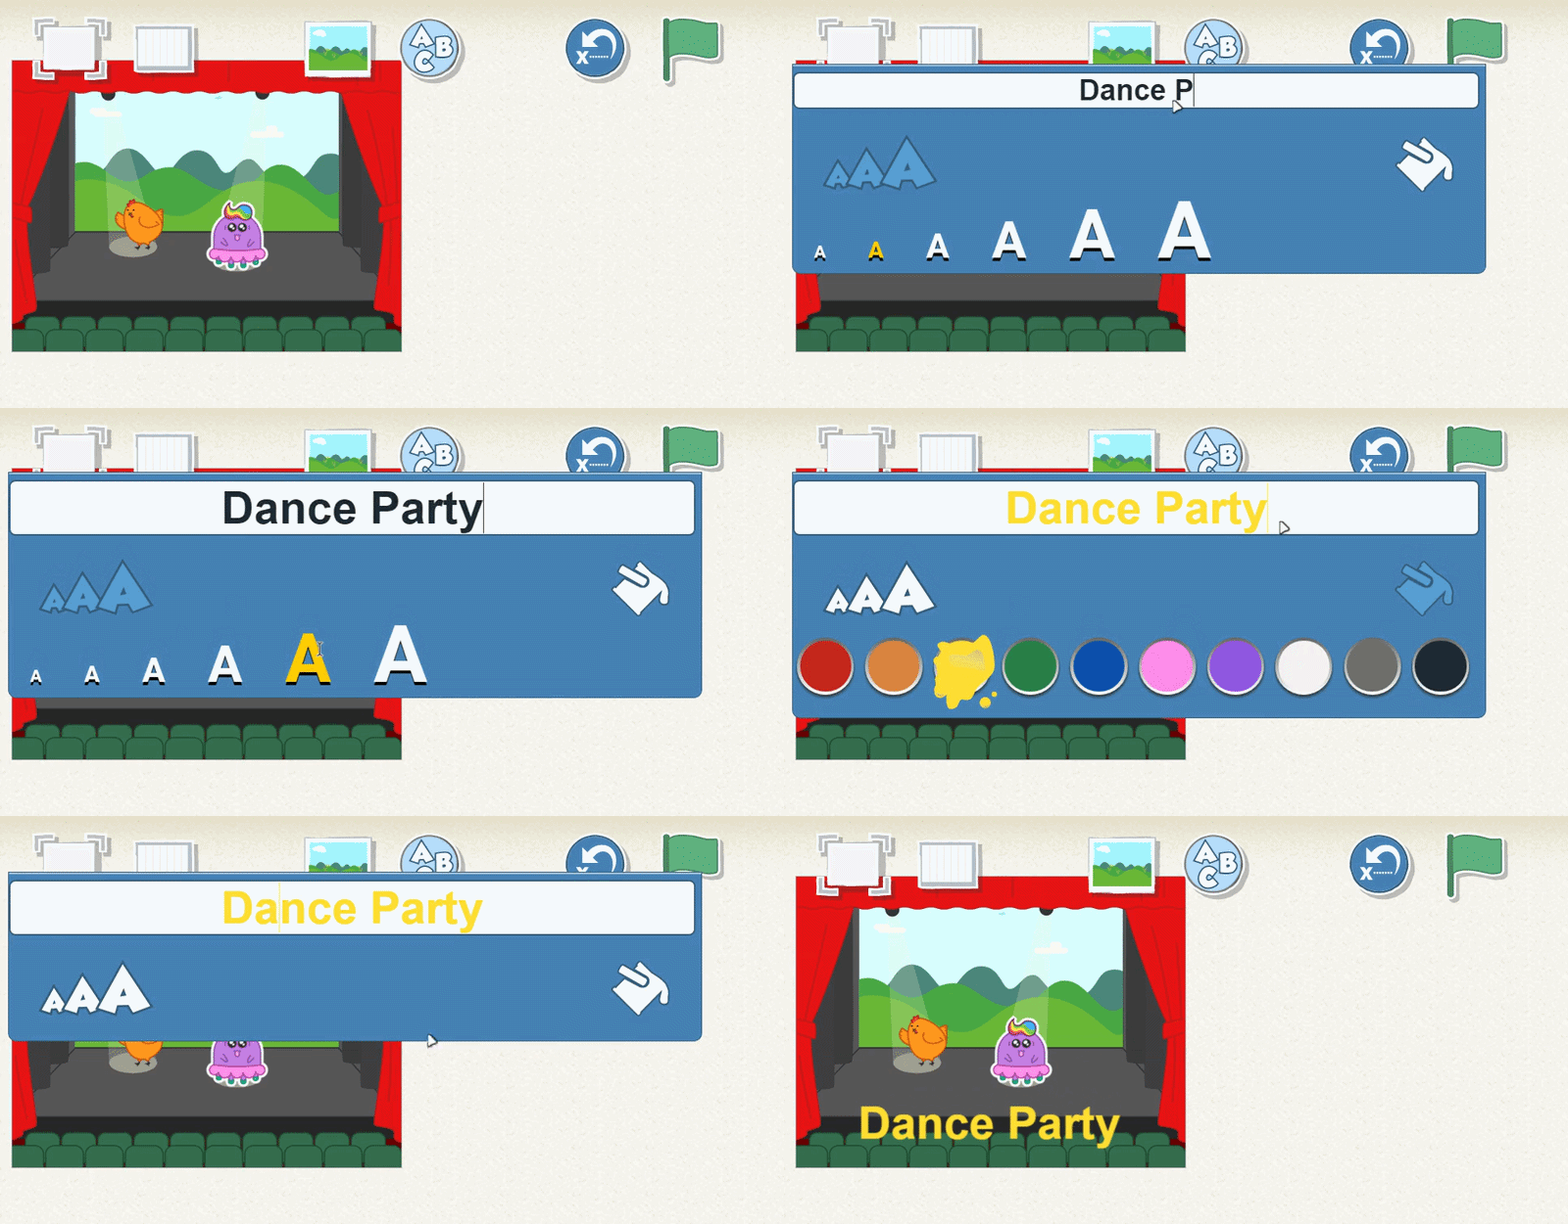
You can display a title on the stage by tapping the Add a Text button at the top of the screen. In the window that pops up, type Dance Party. You can drag the title around the screen and place it anywhere you wan
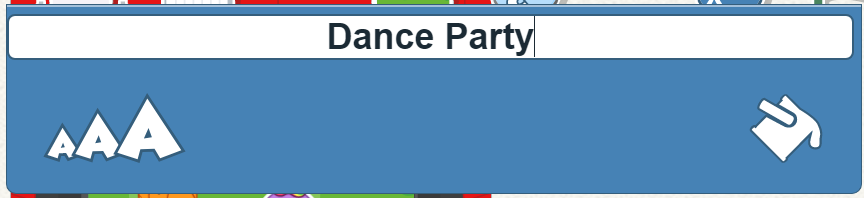
You can also use the Change Size and Change Color buttons to change the size and color of the title you give your project.
Press Go to try it out on the stage. If you want to edit the title again, you can tap on the words to bring the text window back up.
Step 10 | Name Your Project
To name your project, tap the yellow tab in the top-right corner of the screen. Then delete the current project name (Project 1) and type Dance Party. When You're ready to return to the main screen, tap the check mark.
Step 11 | Save Your Project
To save your project and go back to the home screen, tap the Home button( ) in the top-left corner.
Your project will not be saved until you return to the home screen
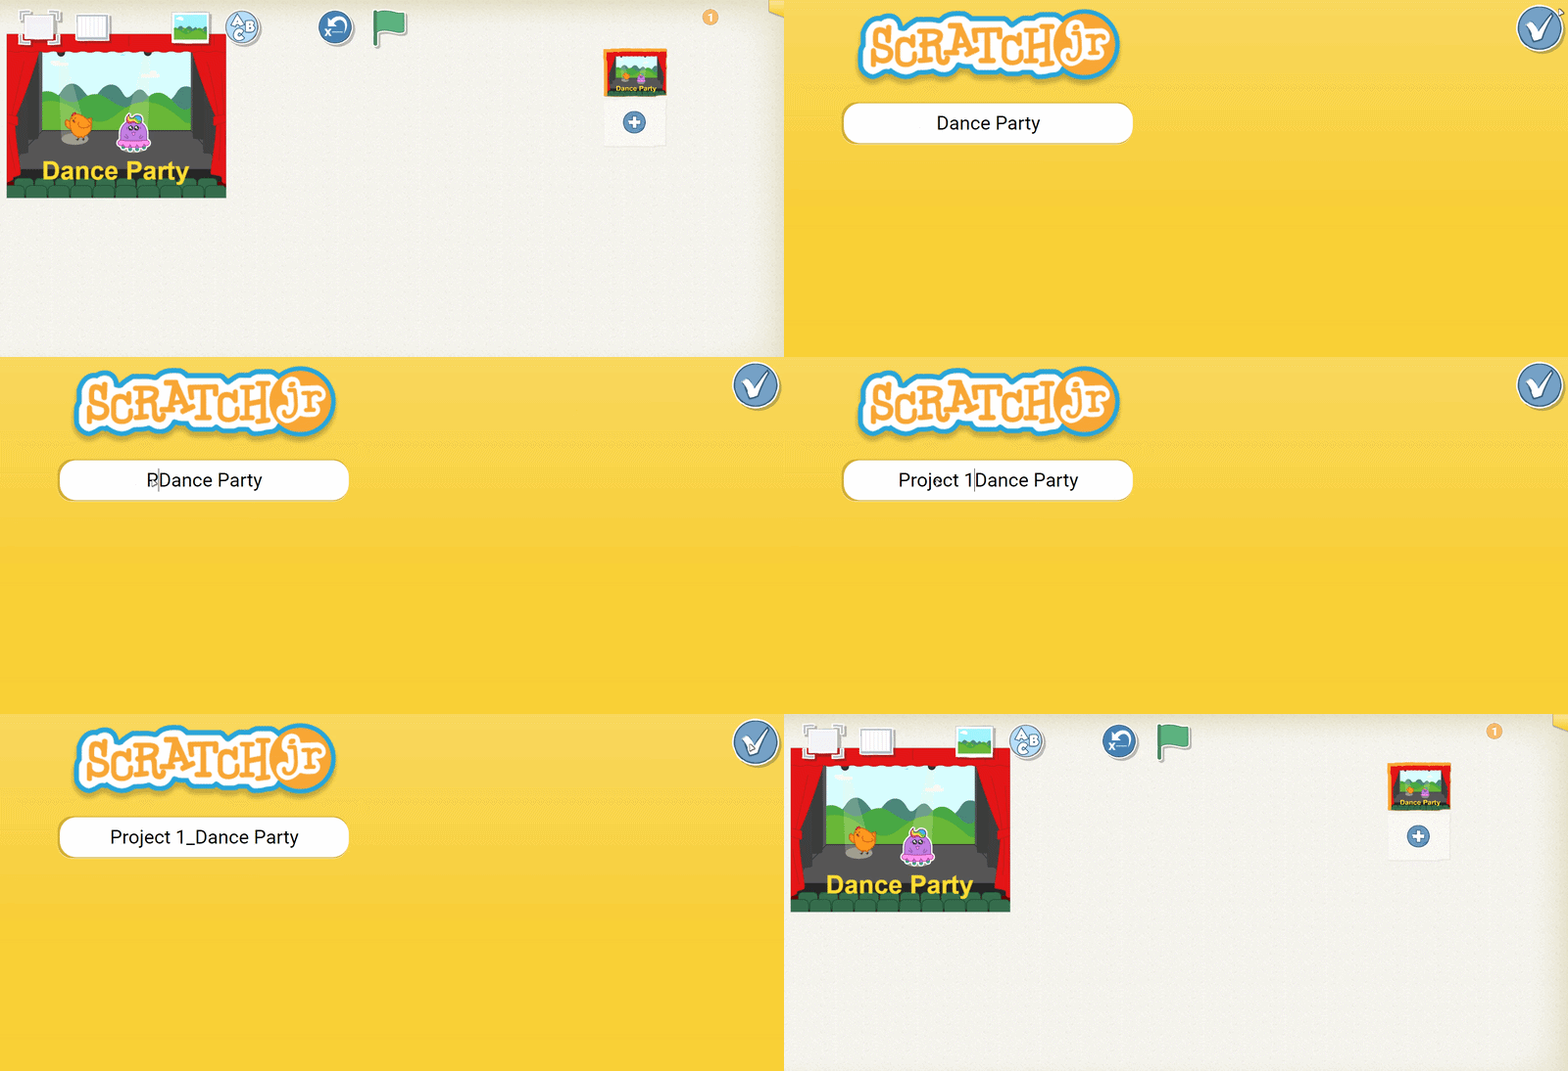
Step 10 , Step 11
Deleting Objects
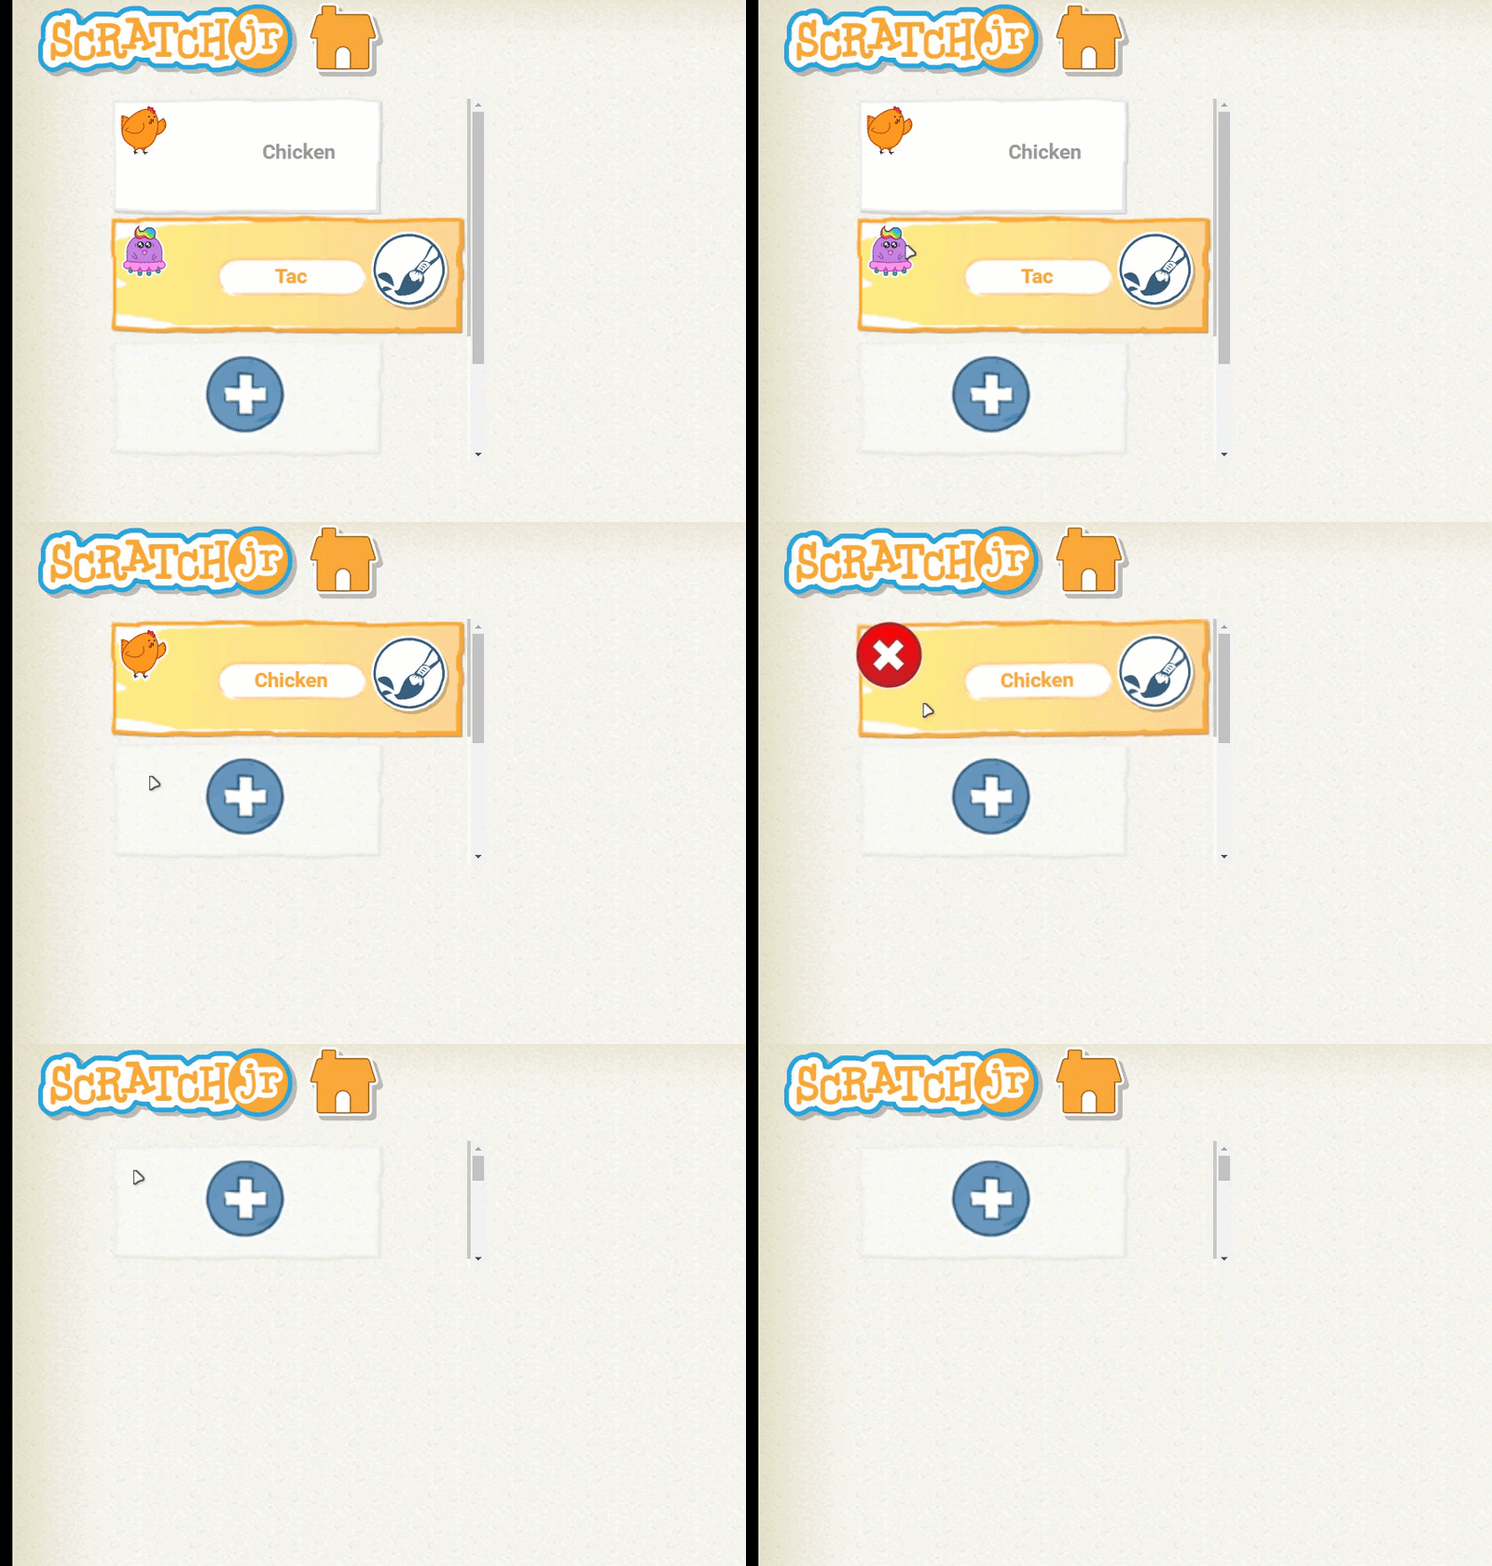
To delete something from ScratchJr, press it with your finger and hold it for a few seconds (sometimes called a long press) until you see a red X appear on the object. Tap the X to delete
the object.
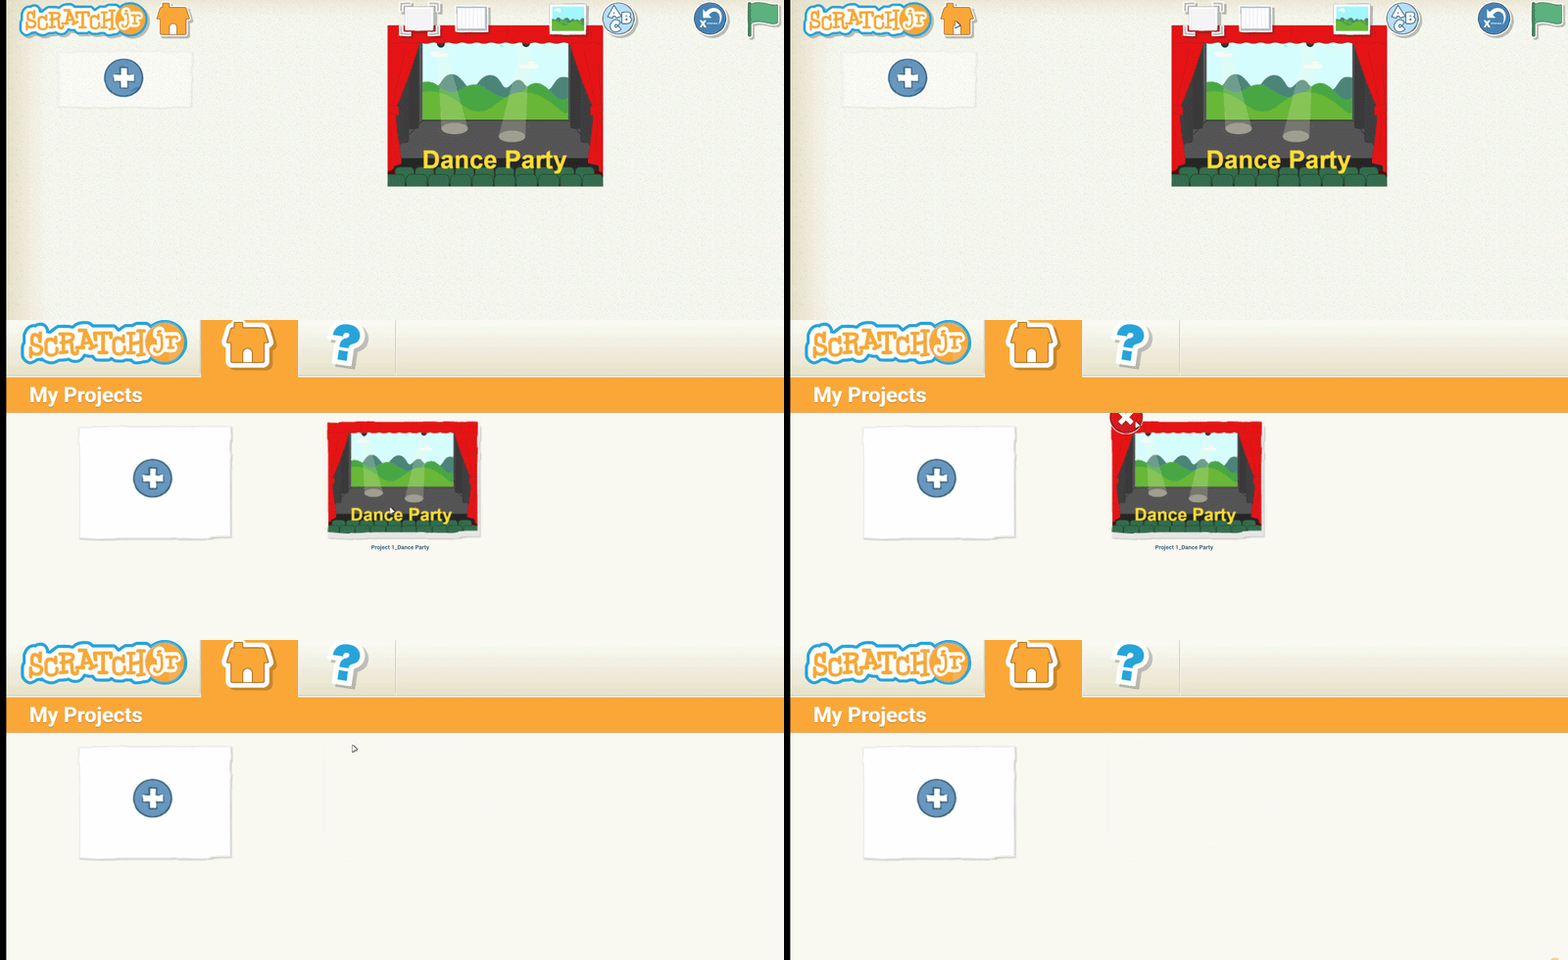
Delete a character
You can use this process to delete a character within a project or even delete an entire project from the home screen.
Check final output for this project
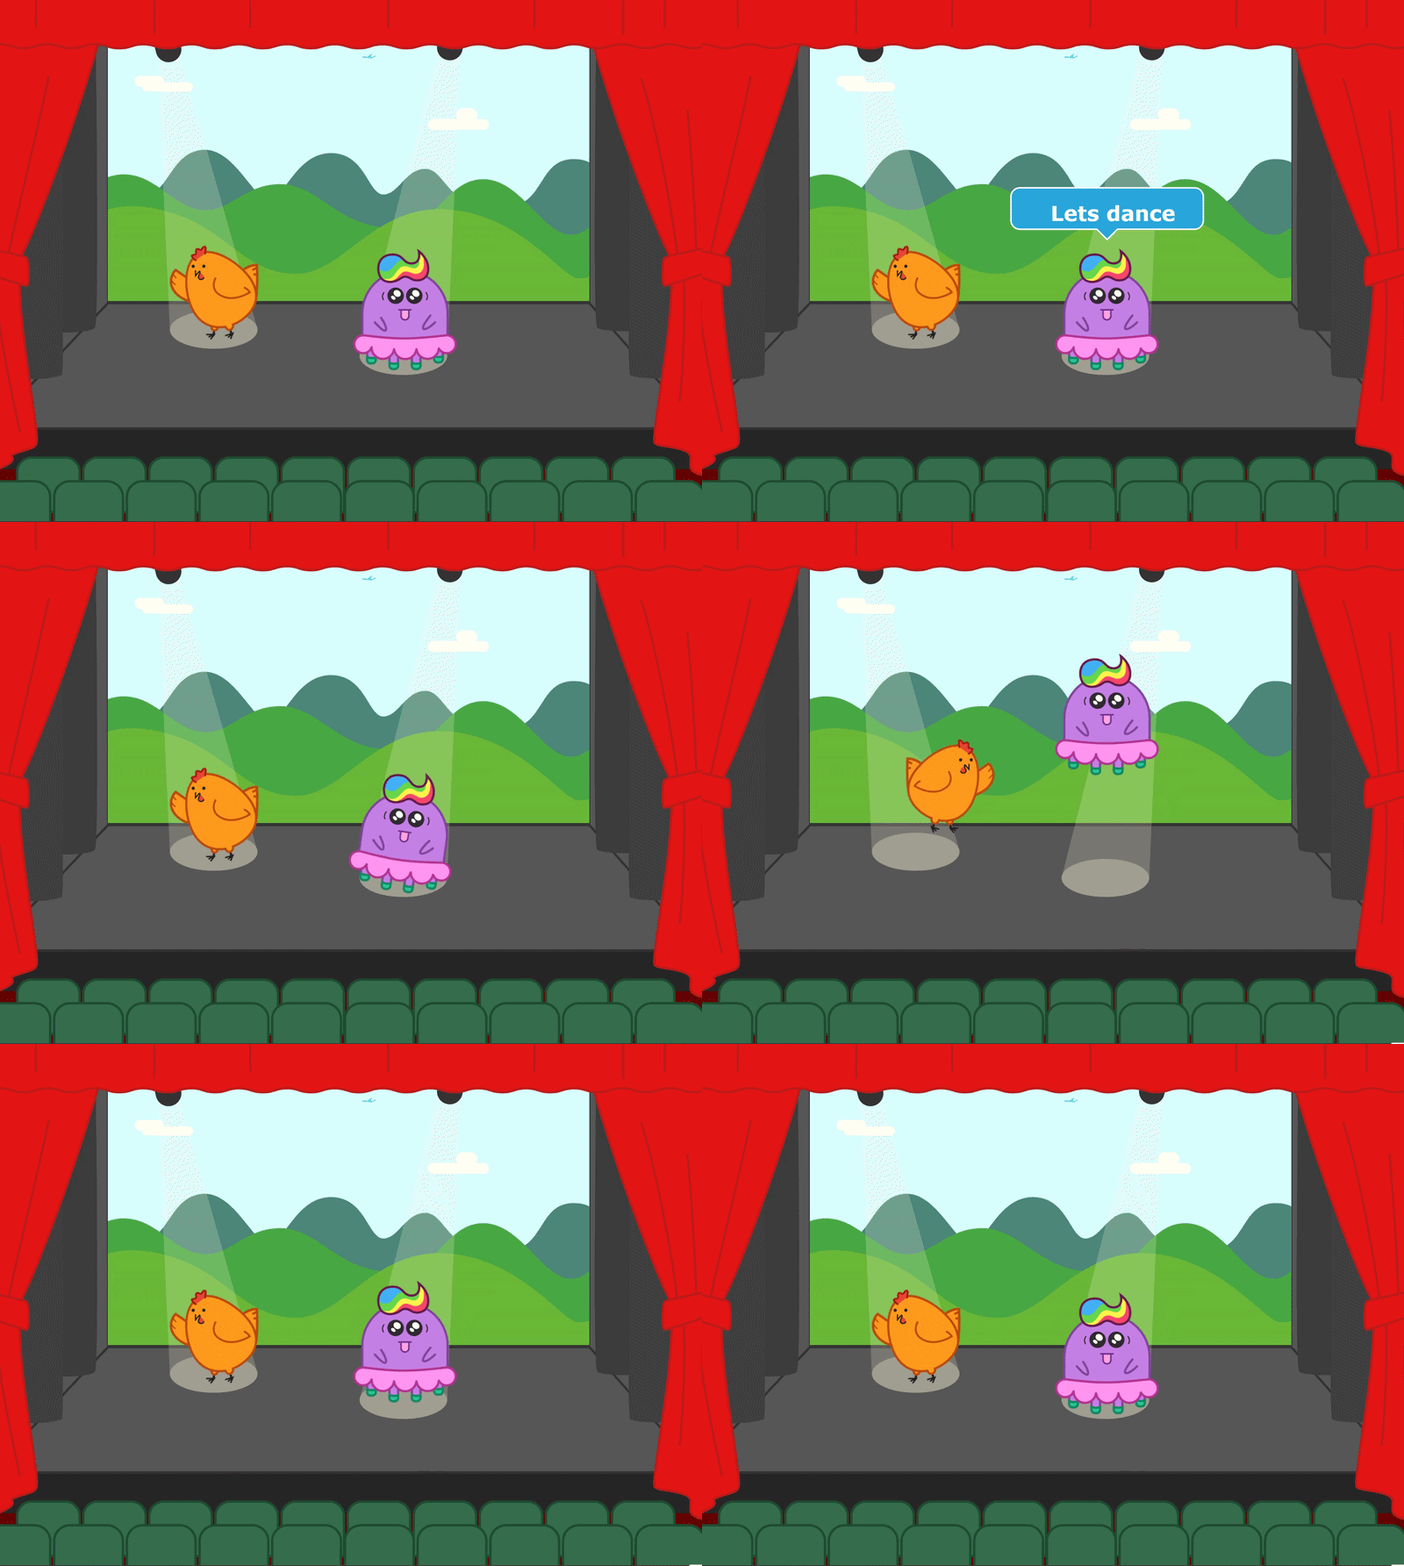
Challenge
Make your own dance party , add your favorite characters and record a song for , either play music and record, or sing your own song !